In the front, recall that I pinned out a wedge with the wide end at the V neckline and the point at the princess seam. This is to shorten the gappy front neckline. The other change was that I pinned out a little of the extra fullness above the bust, at the princess seam where it curves into the armscye.
Here's how these changes were marked on the muslin (click on the photo to enlarge it so you can see the detail).
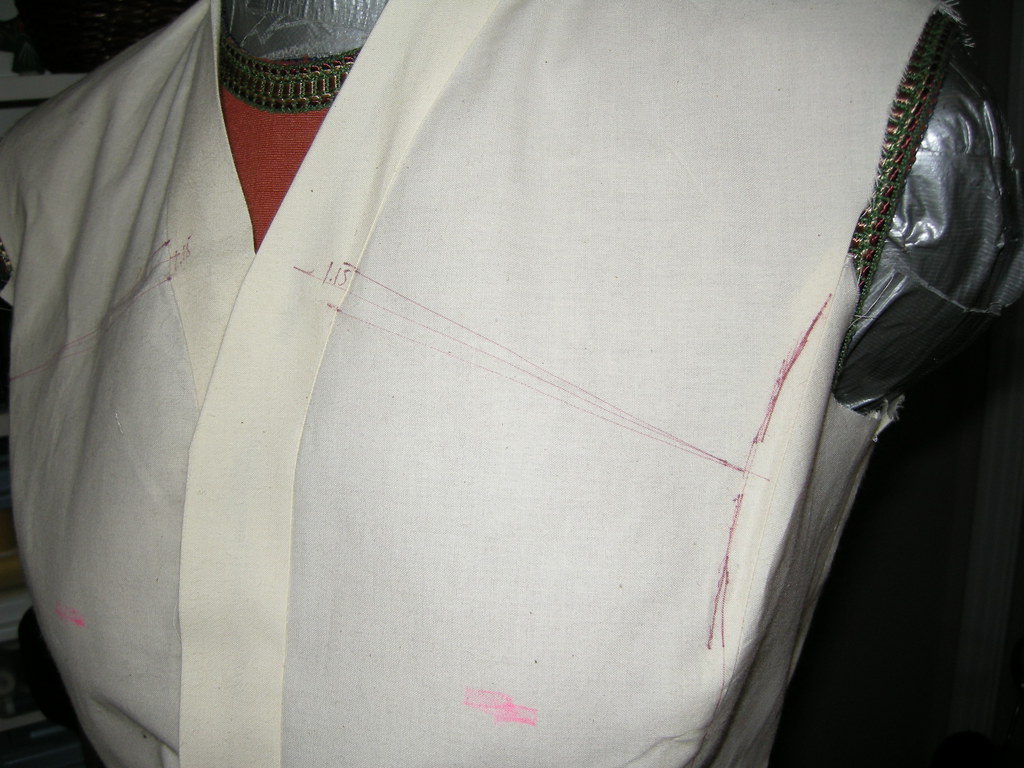
When you're pinning out extra fullness on the body, the changes are not necessarily symmetrical. I drew the changes I had made on both sides and, where they weren't quite the same, I made the smaller of the changes on my tissue. You can see I noted the size of the wedge at the front band (1.15cm).
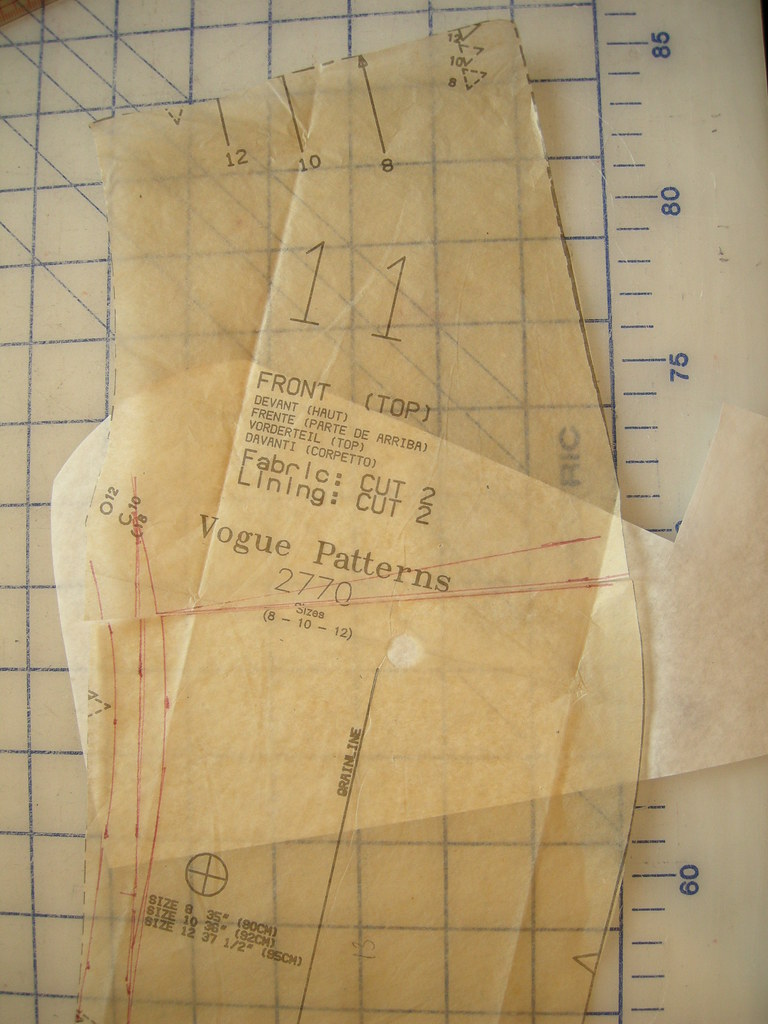
I also cut through the piece at the lower edge of the wedge.
The next step is to close the wedge by overlapping the lower line on the upper one, and taping the tissue in the new location. The effect is to shorten the front edge by the desired amount, while leaving the princess seam length the same.

I did this by opening up another wedge, but this one has its point at the front edge and its wide end at the princess seam, making it longer. This extra length will be eased into the side front piece which I left unchanged.
You might ask, doesn't this wedge undo the effect of the other one? It does not! In each case, I'm reducing length or adding it where it is needed to fit my body.
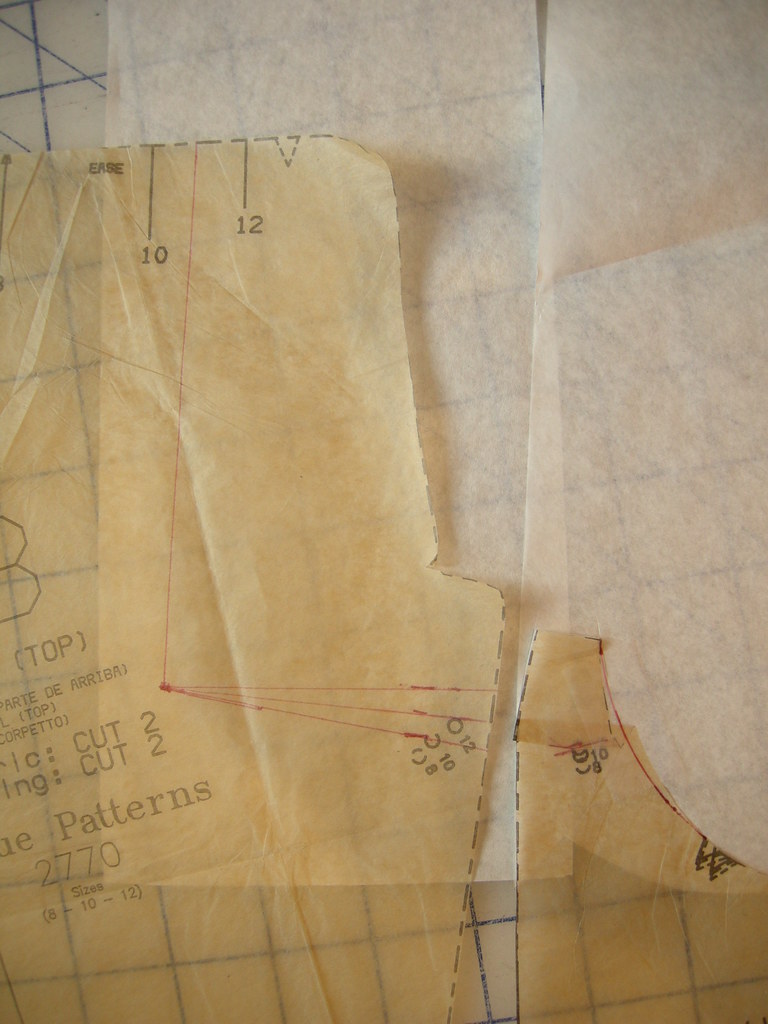
In this photo you can see I've added tissue where needed. After I cut the new fisheye above the bust I didn't like the line of the seam so I made it a little less indented there. I also added a thin piece of tissue at the CF, since the slight rotation to add length at the bust meant that the line was no longer straight.
Recall that in the back, I had a little excess length at the lower armscye which I had pinned out. Here are the changes I made to the back pieces.
You can see I have drawn a line heading up from the point of that dart to the shoulder seam. The next step is to cut into the pattern along that line, and then out to the princess seam along the upper leg of the marked dart.
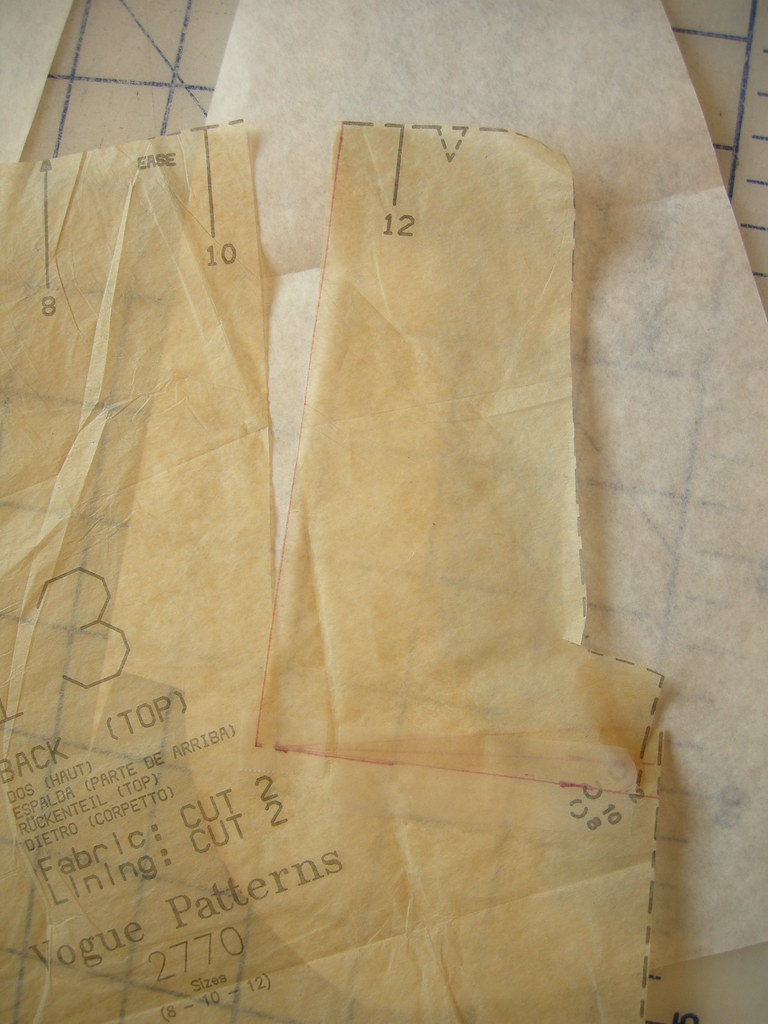
Here is the result. I have overlapped the dart which opens up an apparently much bigger dart to the shoulder line (it is bigger at the upper edge, because it's longer, but the angle of it is the same).
I've reduced the size of it slightly by moving the corner piece in, towards CB, so that the corner overlaps the rest of the tissue by a small amount (click on the photo and you'll be able to see what I mean).

The resulting piece is the same width as the original, and the new dart eliminates the gappy little wing effect I had at the back armscye.
I'm mostly done sewing the top using this adjusted pattern, and I'm very pleased with the fit!


Interesting. Looking forward to seeing the jacket.
ReplyDeleteThis is so helpful. Thank you!
ReplyDelete