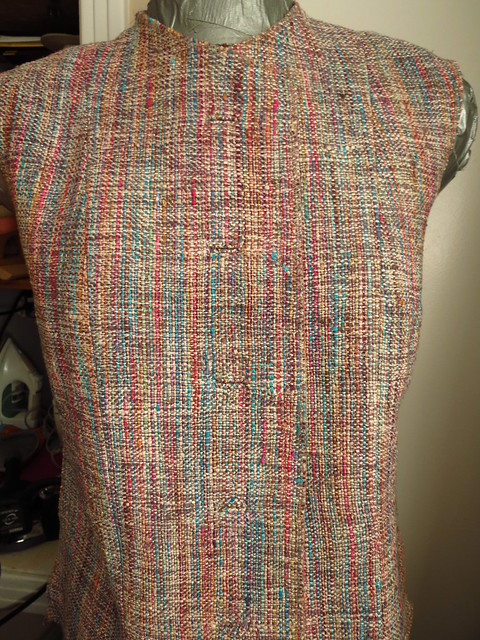
I bought some different trim and buttons, but on getting my purchases home I'm not so taken with them, and I cannot convince anyone who has seen them on the fabric in real life (except the probably slightly biased owner of the shop in which I bought them). So I took some time off my search for the perfect trim, and actually sewed instead - what a concept!
 |
| Let's play "spot the buttonholes"! |
Since the placement of the buttonholes and CF on this pattern are dictated by the size of the buttons and trim intended, and since I intend to buy the right size, I figured I could go ahead and make the buttonholes.
Now this pattern calls for hand-worked buttonholes and The Sewing Lawyer has a confession to make. I have NEVER made a hand-worked buttonhole. And from the start, a decision had been made that this jacket wasn't going to involve my first attempt. However, I have made quite a few bound buttonholes and, despite departing from the Chanel path as taught in the extensive instructions in V8804, bound buttonholes will have to do, and in fact they will do just fine.
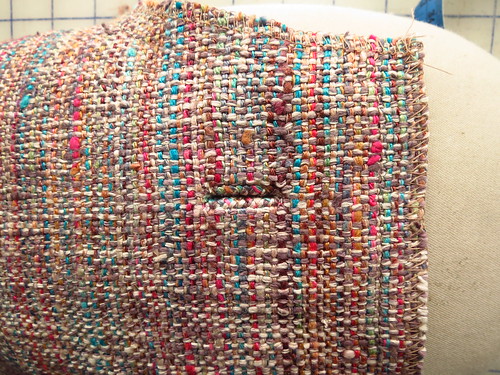
In fact, I just made three (practice) buttonholes, and took pictures. Exhibit A, to the right. What do you think?
So, my super-duper no-windows never-fail patch buttonhole tutorial follows. (NB: these instructions are slightly simpler than the
tutorial I previously posted on Flickr.)
 Step 1 - Marking
Carefully mark your buttonholes. This involves several steps. First, determine exactly how far from the edge of the piece each buttonhole should start, and exactly how long they will be, and exactly how far apart from each other they will be. Mark these dimensions with pins.

Then, with a stitch length of 3 or 3.5 mm, mark the dimensions with thread. I used a contrasting thread (black) which will be visible on both sides. I stitched the practice buttonholes in black
because I forgot to rethread my machine so you can see my stitching easier in this tutorial. To sew the actual buttonholes, I'll switch to the right colour.
Double-check that your thread lines are in the right places!
A couple of other things to note about preparation. The pattern calls for non-fusible interfacing for this piece and I am using a rather stiff silk organza rather than hair canvas or some other interfacing. It's gray. However, Claire Shaeffer suggests fusing a patch of interfacing at each buttonhole site. Given the loose weave of my fabric, this was a must. These patches are fused directly to the fashion fabric, so lie under the organza.

Then mark the long sides of the buttonhole. On my sewing machine, I can move the needle R and L by 0.5mm increments. This is an extremely useful feature for this part of the job. I was able to align the presser foot so it was accurately centred on the originally-marked CL of the buttonhole, and sew a parallel line on each side, at the chosen distance away.
(NB my finger is there to highlight the needle position only!)
A word on buttonhole dimensions: In The Sewing Lawyer's not-so-humble opinion, thick/fat bound buttonhole lips, especially if they are lumpy and/or uneven, scream "happy hands at home". (A recent Threads article on bound buttonholes therefore made me wince - it's in #140 at p. 16, if you want to see what I mean. I simply cannot believe that "industry" uses the method the author proposes, or would put up with the results pictured there...) [Rant over] The Sewing Lawyer says: make your buttonholes as thin as possible given the characteristics of your fabric. The thinner the fabric, the thinner you want the lips to be. I moved my needle 5 clicks away from the CL, and the finished dimension of my buttonholes is 5mm or about 3/16".
After completing this step you can remove the basting marking the CL of the buttonhole; you don't need it anymore.
Step 2 - The patches
Cut bias patches that are bigger than the finished dimensions of the buttonhole - you will need approximately 1" (2.5cm) on either side and a bit more at the top and bottom. Don't skimp. The patches can be trimmed down to size after the buttonholes are sewn. Centre the patches over the markings for the buttonholes, right sides together, and pin in place.
For my practice buttonholes, I decided to try using two different fusibles and to sew one buttonhole without any interfacing. Don't ask me to tell you exactly what kind of interfacing they are - all I know is that the one with lines (on left) probably came from Fabricland. I have no idea if they still sell it. I fused so that the interfacing was most stable along the length of the buttonhole.
Step 3 - Sewing the patches
Working from the wrong side so you can see your thread markings, and using a small (2mm or so) stitch length, sew along the outer marked lines, backstitching as precisely as possible at the lines marking the end of the buttonholes.
I find it useful to stitch a hairs-width beside the basting rather than trying to sew directly on top of it. This makes it SO much easier to remove the basting afterwards.
Speaking of which, you can now remove the lines of basting along the top and bottom edges of your buttonhole, and the CL basting too (if, like me, you didn't do so already).
Step 4 - Cutting etc.
Simple: cut down the middle of the buttonhole, through all layers, but stopping short of the ends. Then cut at an angle exactly into each corner, as close as you can without cutting through the stitching. You should have little triangles at each end of the buttonhole. You need these.
Then carefully pull the patch through the hole. This is where I started to get a sense for whether I wanted interfacing (I do) and which one (the softest).
After you do this the buttonhole will look all weird and hopeless (from both sides). It isn't.
Step 5 - Whispering to the buttonhole (with heat and steam)

The next step is to fold the patch back and press open the teensy little seam allowances in the seam along each edge of your buttonhole. Finding them and holding them open for the iron may not be easy, but it can and must be done. Use an awl if you have one. Press FIRMLY, but just the sewn part of the patch. Do the other side too.
The Sewing Lawyer's humble opinion: This is the step that makes these buttonholes non-bulky and flat, and therefore what marks this method as superior. When the lips (the patch) are folded back, one side of the open seam allowance is inside the buttonhole and the other is outside it. Other methods open a window and leave ALL the SAs outside the actual buttonhole. This means that the actual buttonhole is 2 layers of fabric but the surrounding area has 5 layers (jacket front, 2 layers of window SAs, 2 layers of lip fabric). Lumpy! Hard to press evenly! Harder to avoid "happy hands at home" look!
Then flip your piece over and start manipulating the lips with both hands until they are evenly filling the rectangle. Keep the little triangles folded back so the buttonhole retains its rectangular shape. Once you have it how you like it, press it into position. Be firm! (I find it easiest to do this job on a sleeve roll or other pressing aid rather than on the flat ironing board.)
Step 6 - The pesky triangles


You have already pressed them into place. The very last step is to secure the little triangles at each end of the buttonhole with stitching. To the left, you can see what they look like after being flattened. Notice that the patch is pleated where it forms the lips. VERY CAREFULLY transfer your pressed buttonhole over to the sewing machine. Take care to preserve the pressed shape of the lips. With the right side up, fold the fashion fabric back, exposing the triangle and the patch.
Using a short stitch length, sew through all layers, as close as possible to the basting which marks the end of the buttonhole, and forms the base of the triangle. Sew back and forth to anchor all layers of the triangle to the patch.

After stitching, your patches look kind of strange from the back. The only visible stitching relates to the triangles. This will be covered up (and would in any case be practically invisible if I'd used the right colour of thread) by the facing.
At left you can see what the interfacing did. The top patch (uninterfaced) is very soft and draws in. The middle one (firmest interfacing) is almost square. The lowest retains the softness of the fabric, but is more stable. I like it best.
That's all there is to it. Now, I have to replicate these excellent results five more times... Wish me luck!


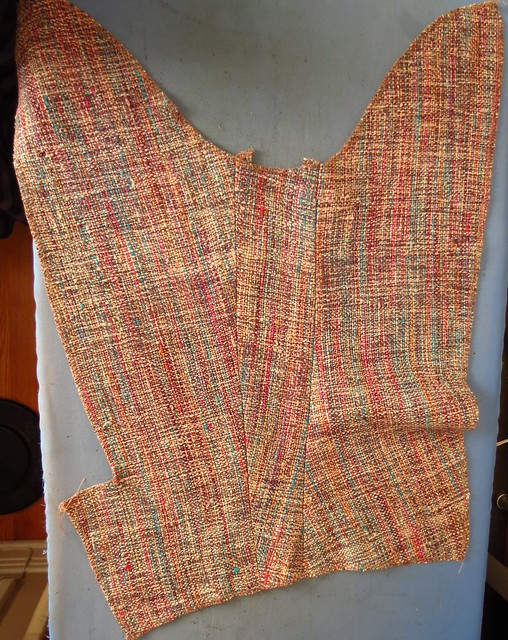
 First, I sewed the long CF seam to attach the facing to the coat front. Then I marked the location of each buttonhole (with pins and measuring tape to triple check). Then I marked them in a contrasting colour of thread and sewed a little box (1.5mm stitch length) for each one. As you can see (at right) I have the needle set to the left of centre and am using the marked CL of the buttonhole as a guide.
 Then carefully clip open each little window.