Friday, October 6, 2023

Lumb Bank cardigan


We (the retreaters) have revealed our finished and mostly-finished cardigans to each other and to Nic Corrigan and are cleared to show them to whomever we please. So here is the cardigan I mostly made while in Yorkshire, but finished here at home. There, I used the assigned machine, which was a Silver Reed punchcard (a Zippy plus, which is older than a SR 360 I think). Here, I used my Brother KH965i. 

The Lumb Bank Slipover pattern is named after the location of the retreat (the steep hill) and Nic designed it with or without sleeves and with 3 different stitch patterns that evoke different aspects of the location - a leafy canopy, library bookshelves and mullioned windows. These designs can be used in whichever locations the maker wants - the entire sweater, panels, single motifs or otherwise. 

Even though all of us were working with a limited colour palette and the same pattern, every cardigan was totally different. This is a pattern that allows you to really make it your own. 

I chose to place the leaf pattern on the centre fronts and at the lower edge of the side fronts and back. One punch card repeat perfectly aligned with the pocket opening and continues around the back. 

I didn't know (or possibly had failed to notice or forgotten) that stranded knitting is always longer than the equivalent number of rows in plain stockinette. I found I had to unravel about 10 rows of my centre fronts and re-cast off by hand to even them up with the side fronts.

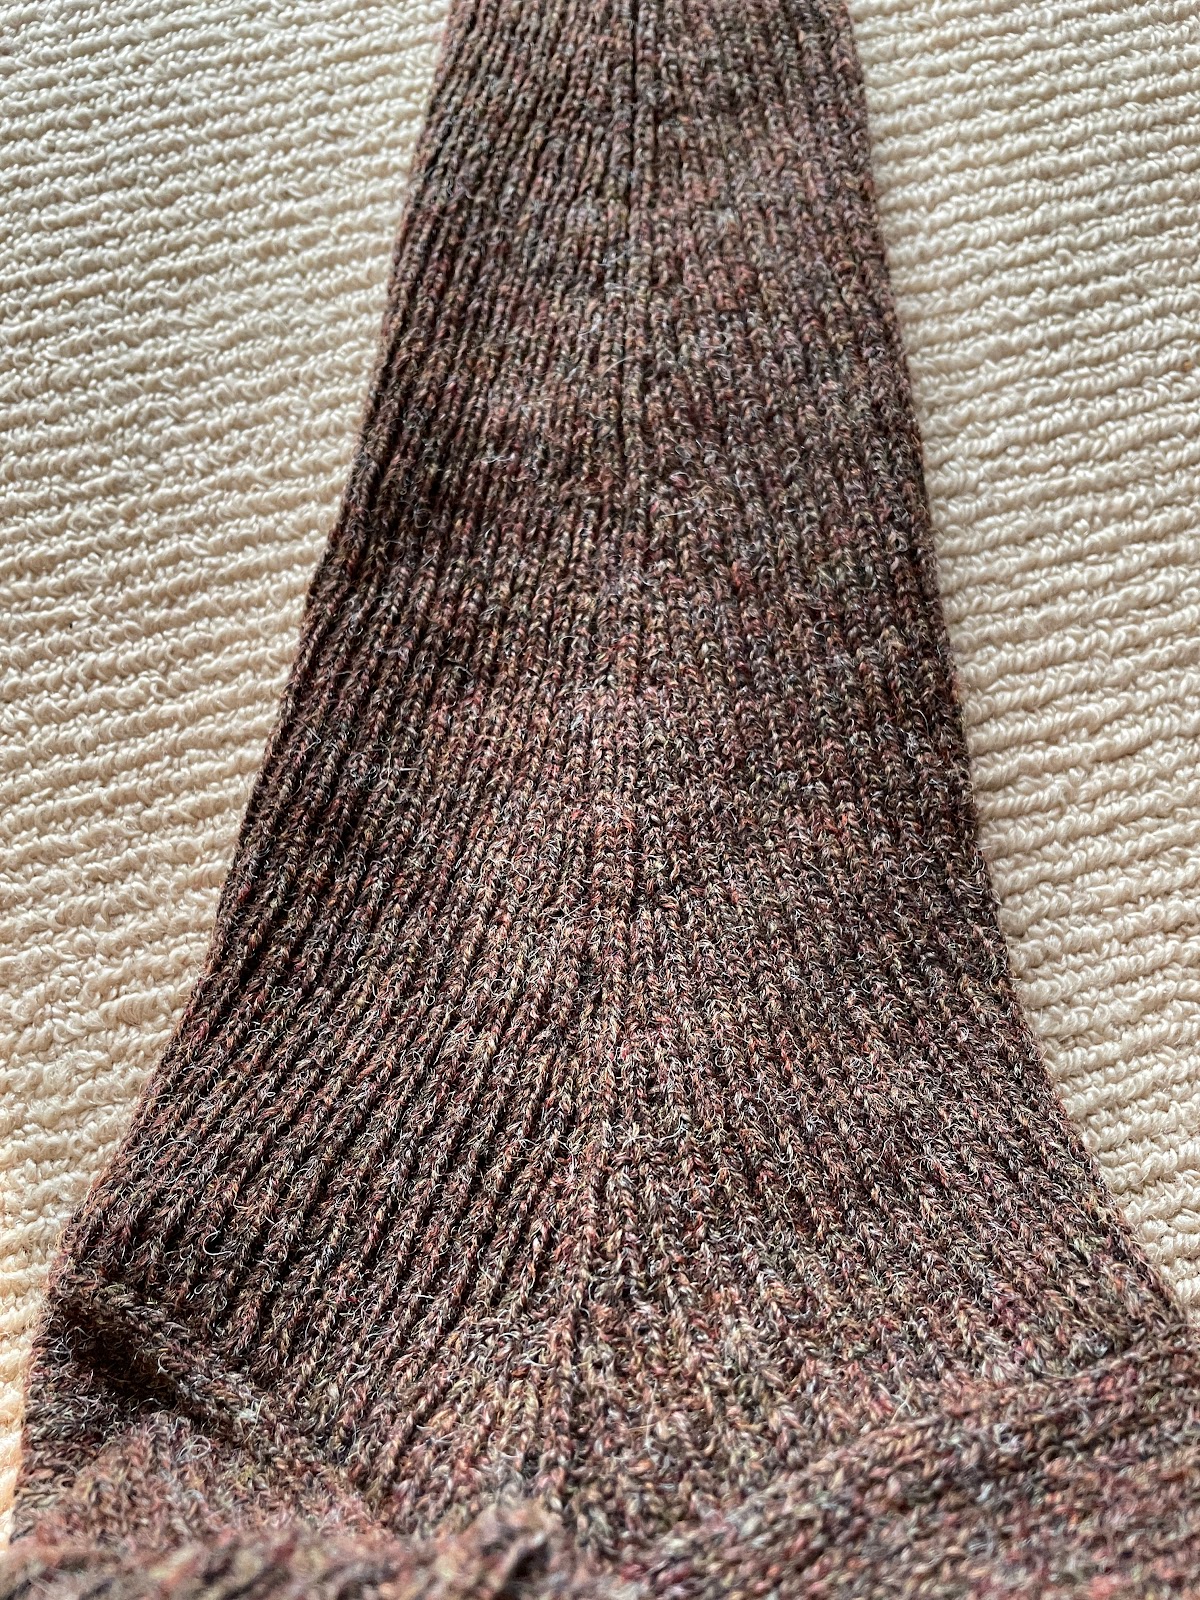
As you can see, this is a boxy design with relatively narrow 1x1 ribbed sleeves. There is virtually no shaping in the body - no back neck drop, no armscye shaping. The shoulders are shaped with short rows. 
We were able to examine and try on some samples at the retreat, and based on my assessment I made some changes so it would fit me better. 

There is a V neck at front, which is fully fashioned. As designed, it is quite a bit lower than the front of my cardigan. I knit extra rows to raise it up by about 10cm. 

I also decreased the width of the back by approximately 4cm (there is a centre back seam) because my back is narrow. 

Finally, I lengthened the back overall and added a back neck drop. This helps the cardigan sit correctly on my shoulders. 

I did a couple of things differently in the construction as well. 

The samples had seams sewn with wrong sides together. I made mine the conventional way. 

The instructions asked for all body pieces to be taken off the machine on waste yarn rather than cast off, and then seamed using a linker. I wanted the stability of a cast off edge at the shoulder and back neck. Also, I was taking the pieces home in my luggage and wanted the stitches to be extra secure. So I cast off around the gate pegs on all but the sleeves. I left the sleeve stitches live but cast off the waste yarn for security.

I totally recalculated the neck band so that it had a seam at CB rather than (as designed) two seams above the V crossing of the front neck. The structure of the band is many stitches cast on in full needle rib, and then every 2nd stitch transferred on the ribber bed. It looks like 1x1 ribbing on the ribber side, which is the public side once attached, and like FNR on the main bed side. It's OK but not my favourite ever neck band technique. My thought was that it needed to be stretched much more than the pattern indicated - i.e. that the pattern instructions would produce a neck band that is overall too long for the opening. I am glad I shortened it and think I could have been even more aggressive as it is not sitting quite flat at the side neck. 
I made the pockets exactly
as the pattern instructed. They are just an extra length of knitting within the side fronts (knitted with the few stitches to either side in hold). I made them in the contrasting colour. 
I attached the lower corners to the seams so they don't flip up (copying what I saw in Nic's samples).
I assembled the cardigan mostly on my linker but had to attach the band by hand due to technical issues too tedious to describe. 

New features/experiences associated with this project:

  • Intensive knitting experience - no time to ruminate, had to make quick decisions, jump in and just knit. That was surprisingly tiring!
  • Properly fully fashioned ribbing (behold at right the underarm seam). 
  • Put almost the whole thing together using my linker, which hasn't been my favourite piece of kit. 
BTW the actual colour of this cardigan is somewhere between how it appears in the inside and outside-in-the-sun photos. The yarn is very heathery. It's Gardiner Yarns SS11 Shetland, 100% wool. I'm not convinced I got all of the spinning oil out of it when I washed it and may attempt to rough it up some more to make it a bit softer. 
Once I finished it I realized I didn't have a lot of tops that would look good with this. I'll have to make something!

Sunday, October 1, 2023

First ever MKC retreat

Last month, I went to a machine knitting retreat. It was AMAZING! 

Five days in a beautiful house perched halfway down a steep hill (Lumb Bank) outside a quaint, tiny village (Heptonstall) outside a quaint small town (Hebden Bridge) in the Calderdale district of Yorkshire, England, with 15 like-minded knitters, 3 wonderful hosts and 2 expert instructors. 

I'm still processing it. 

For now, enjoy these photos.


Here is the house. It's the Ted Hughes Arvon Centre at Lumb Bank. I took this photo from across the very steep valley. The house is an 18th century millowner's house that once belonged to Ted Hughes, who was for a time the poet laureat of England and the husband of Sylvia Plath. 

Another view of it from the "road" that leads to it. It's really not more than a track. 


This is the view from the front lawn of the house, looking out more or less in the direction from which I took the first photo. 

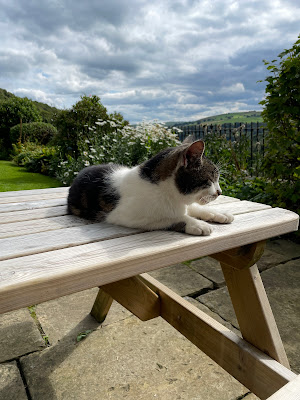
And here is the cat, Ted Hughes, who is not allowed in the house at all.


Our knitting room was in "the barn". 


This was before we started, which explains why it is so neat.

On day 1, we were introduced to a forthcoming pattern (holding a retreat seems an elaborate way of finding pattern testers LOL) and got to choose our yarn.


My knitting throne. I lucked out!


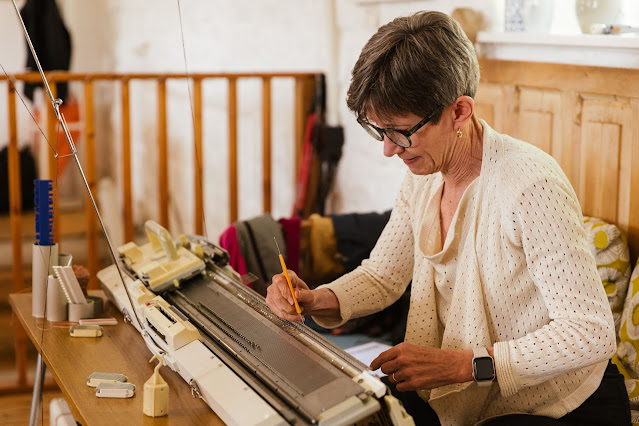
Proof that I sat there and worked. I was concentrating!


In four very intense days I knitted all of the pieces of my (secret project). It is now finished and this coming week, we retreaters are meeting up by Zoom to unveil our finished items to each other. Afterwards, Nic (Corrigan, founder of the Machine Knit Community) will release the pattern to the world. 


Thursday, September 28, 2023

Momentous development

Should I edit the title of my blog? 


As of mid September, this is me. More time for doing my stuff. We shall see if it includes more sewing and knitting projects, and if I make time to blog about it. 

Stay tuned!

Sunday, July 23, 2023

My onesie is not a onesie

Once again, I fell for a new Closet Core pattern. This time it is the Jo Dress & Jumpsuit. The dress immediately appealed to me, but as I'm about to retire (no more office clothes!) I decided maybe I shouldn't be sewing a structured dress that I would have very few occasions to wear. So then, the pants...  

But an actual jumpsuit????? No way. 

I think jumpsuits and I passed each other on fashion street when I was in my 20s or 30s (?). I cannot actually remember but I know that I didn't want to wear them then either. Their immense impracticality is a deal breaker. 

But then I thought - I could make a top using the Jo pattern and some matching pants! Two pieces would be so much more versatile. 

So that is what I did. I had this linen print in stash and there was enough of it to make my outfit. 

Let's talk about the top first. It is, almost straight-up, the Jo bodice. 

In the olden days (long pre- pandemic) I would obsessively test every pattern before cutting it out in my "good" fabric. Somehow I've lost the desire for that, and have become more willing to live dangerously and prepared to adjust on the fly.

This was not a fantastic strategy for the top of the Jo pattern. Based on my measurements I cut a size 6 but I could easily have gone down to 4 or maybe even 2. 

There are two main pattern pieces - a front and a back. The sleeves are cut on. Because of this, you cannot really alter the size once cut. 

The top is interesting because of the way these pieces are connected at the top of the shoulders and centre front. The pattern describes the joining seams as "slot seams" but in my opinion they are not. A typical slot seam is structurally similar to a centred (non-invisible) zipper but instead of a zipper that's hidden, it's a contrasting strip of fabric. 

The seams of the Jo top do have a separate strip of fabric that connects the main pattern pieces, but the overlap, which is formed by bias binding, is very firmly stitched down to the strip underneath, rendering it all but invisible.

In the photo at right, you can see that the bias binding continues above the sleeve seam and finishes the front and back neck. At centre front, it curves again into another "slot seam" that continues down to the waist of the dress or jumpsuit (and to the hem of my top). 

You can't really try this on before it is all constructed, mostly because the centre back seam (a zipper if you are actually making the Jo pattern as designed) is the very last step. I wasn't sure I would need any kind of back opening to get this on as a top, and I was hedging my bets on this up until the end, i.e. until it was essentially fully constructed.

Oh who am I kidding? I could have slammed it together enough to try it on before I did all the bias binding. But what I could not have done was any serious adjustment at that point. Because, of course, the size and shape is pre-ordained once you have cut out the main pieces without alteration. So I continued on a wing and a prayer.

Only to find out that the neckline was HUGE. Too low and too wide, especially at the back. 

In order to make this wearable, I added the little orange linen triangles you can see in the photo above. These not only bring the deep V of the front neck up, and the wide Vs of the shoulder points in, they also stabilize those joins and keep them from spreading out. Since I had cut orange joining strips in the faint hope that a bit of orange would shine through my "slot seams", I am very happy with the aesthetics of these little triangles as well as with their functionality. 

I did not need a zip at the back. The pattern has a zipper there, and a ruler-straight centre back seam. I took a good 4-5cm out of the CB at the neck edge, tapering out to the original seam by mid back. This helped with the falling-off-my-shoulders feature of the bodice as designed. It's easy to pull the top on over my head. 

What else? I obviously lengthened the pattern pieces to top length and I ignored the darts in the front of the Jo pattern. 

I made the bigger sleeves (go big or go home?). The bias strip construction gives them lots of structure. 

The sleeve hem was far too wide for my frame. I sewed the underarm sleeve seam in by at least 5cm at the hem, tapering back to the original seam at the point where it pivots to become the side seam. 

If making this again (assuming I need more than one top shaped like this, maybe questionable) I would start with a smaller size, fold out some length in the upper bodice/sleeve at front, and shorten the sleeves by a couple of cm. As made, it tends to fall back at the shoulder. I think the upper front is too long. 

If I had thought about my experience over decades of sewing for myself, I ought to have predicted all of this. 

Onward to the pants.

The bottom of the Jo jumpsuit is a cropped pant with a flat front and elasticated back waist. The crotch depth is ... baggy (jumpsuit, another reason not to like them). I wanted pants with a similar look but that would actually fit me. Pietra to the rescue. I picked View B (the slim legged, cropped pants). 

I do not like clothes that are too tight, and it's a tiny bit possible that I think I am bigger than I am. So my tendency is to err on the large side, and then I have to adjust in the sewing once I can see how things are going to fit. 

My hip measurement these days is exactly in the middle between size 8 (94cm) and 10 (98cm) on the Closet Core chart. According to the pattern, the garment hip would measure 98.4cm, only 2.4cm of ease. Not enough for my liking, I thought. So I graded out to a size 10 at the inner and outer leg, and to size 12 at the hip (105.4cm finished). Which is what I got, and it was very baggy especially in the back. 

I retrofitted them by taking them in at the hip by about 4cm. Back to a teeny bit bigger than size 8. Now they fit OK, although I think they would have benefited from darts in the back, and to have the elastic a bit snugger at the waist. 

No mind, they are comfortable. I can definitely see myself making this pattern again.

It remains to be seen if I will wear this outfit more than I would have worn the dress...


Sunday, June 11, 2023

Everybody needs new PJs, right?

I usually make my husband a pair of tailored PJs at Christmas, but for some reason I was sleeping in disintegrating non-me-made flannelette PJs (winter) or t-shirts and shorts (summer). I have a couple of trips coming up this summer and needed to up my game. 

I decided to make the Carolyn Pajamas pattern from Closet Core. Enter this Egyptian themed and weirdly badly printed fabric, pure cotton, that I bought years ago at the Fabric Flea Market. I had always earmarked it for PJs because ... well, that print! It's so strange!

Now behold, my new shortie PJ set.


When I make tailored PJs, I do it right with contrast piping (striped shirting from stash) and matching prints, even where the print is pretty ridiculous. 

The shirt pocket (totally redundant and also almost completely impossible to find) is at left. This set also has piping up the front edges, around the collar, and on the cuffs of both the sleeves and the shorts. 

I made the Carolyns once before but didn't use the pants pattern. This time I printed off the shorts pattern. It's interesting that there is a separate set of pages for the shorts, they are not just a "cut here" line on the long pants. 

Looking at the dimensions of the pattern, I decided to size up. Who needs snug and low-rise PJ pants? Not I!

My hips put me in a size 10 so I cut a 12 for width and went up to the size 20 line at the waist. 

It is kind of silly to have pockets in PJ pants, but these do. 

I can't see them in this photo. Take it on faith.


One thing that bugged me about my previous Carolyns (pictured at left) is that the collar and facings don't behave unless you iron your PJs. Who irons PJs? Not me!

They were made from light weight flannelette with the contrast piping and facings in quilting cotton. I interfaced everything (as per pattern) with an extra layer of the cotton. 

For this pair, because this cotton fabric is quite firm, I decided not to interface anything. The piping ensures the edges won't collapse. And I stitched the facings to the fronts, through all layers, so they will never flip up or fold back. 


As in my other pair, I added a deep back neck facing to encase the neckline seam. 

I wasted a bit of time treating this print seriously and trying to figure out which Egyptian personages are featured. No luck. Maybe one of them is the god of sleep... 


Sunday, May 28, 2023

This shirt is HUUUUGE!

I recently bought the pattern for the Phen Shirt, after seeing versions I loved on Instagram

Behold:

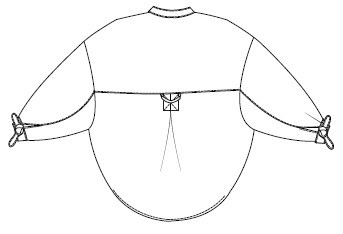
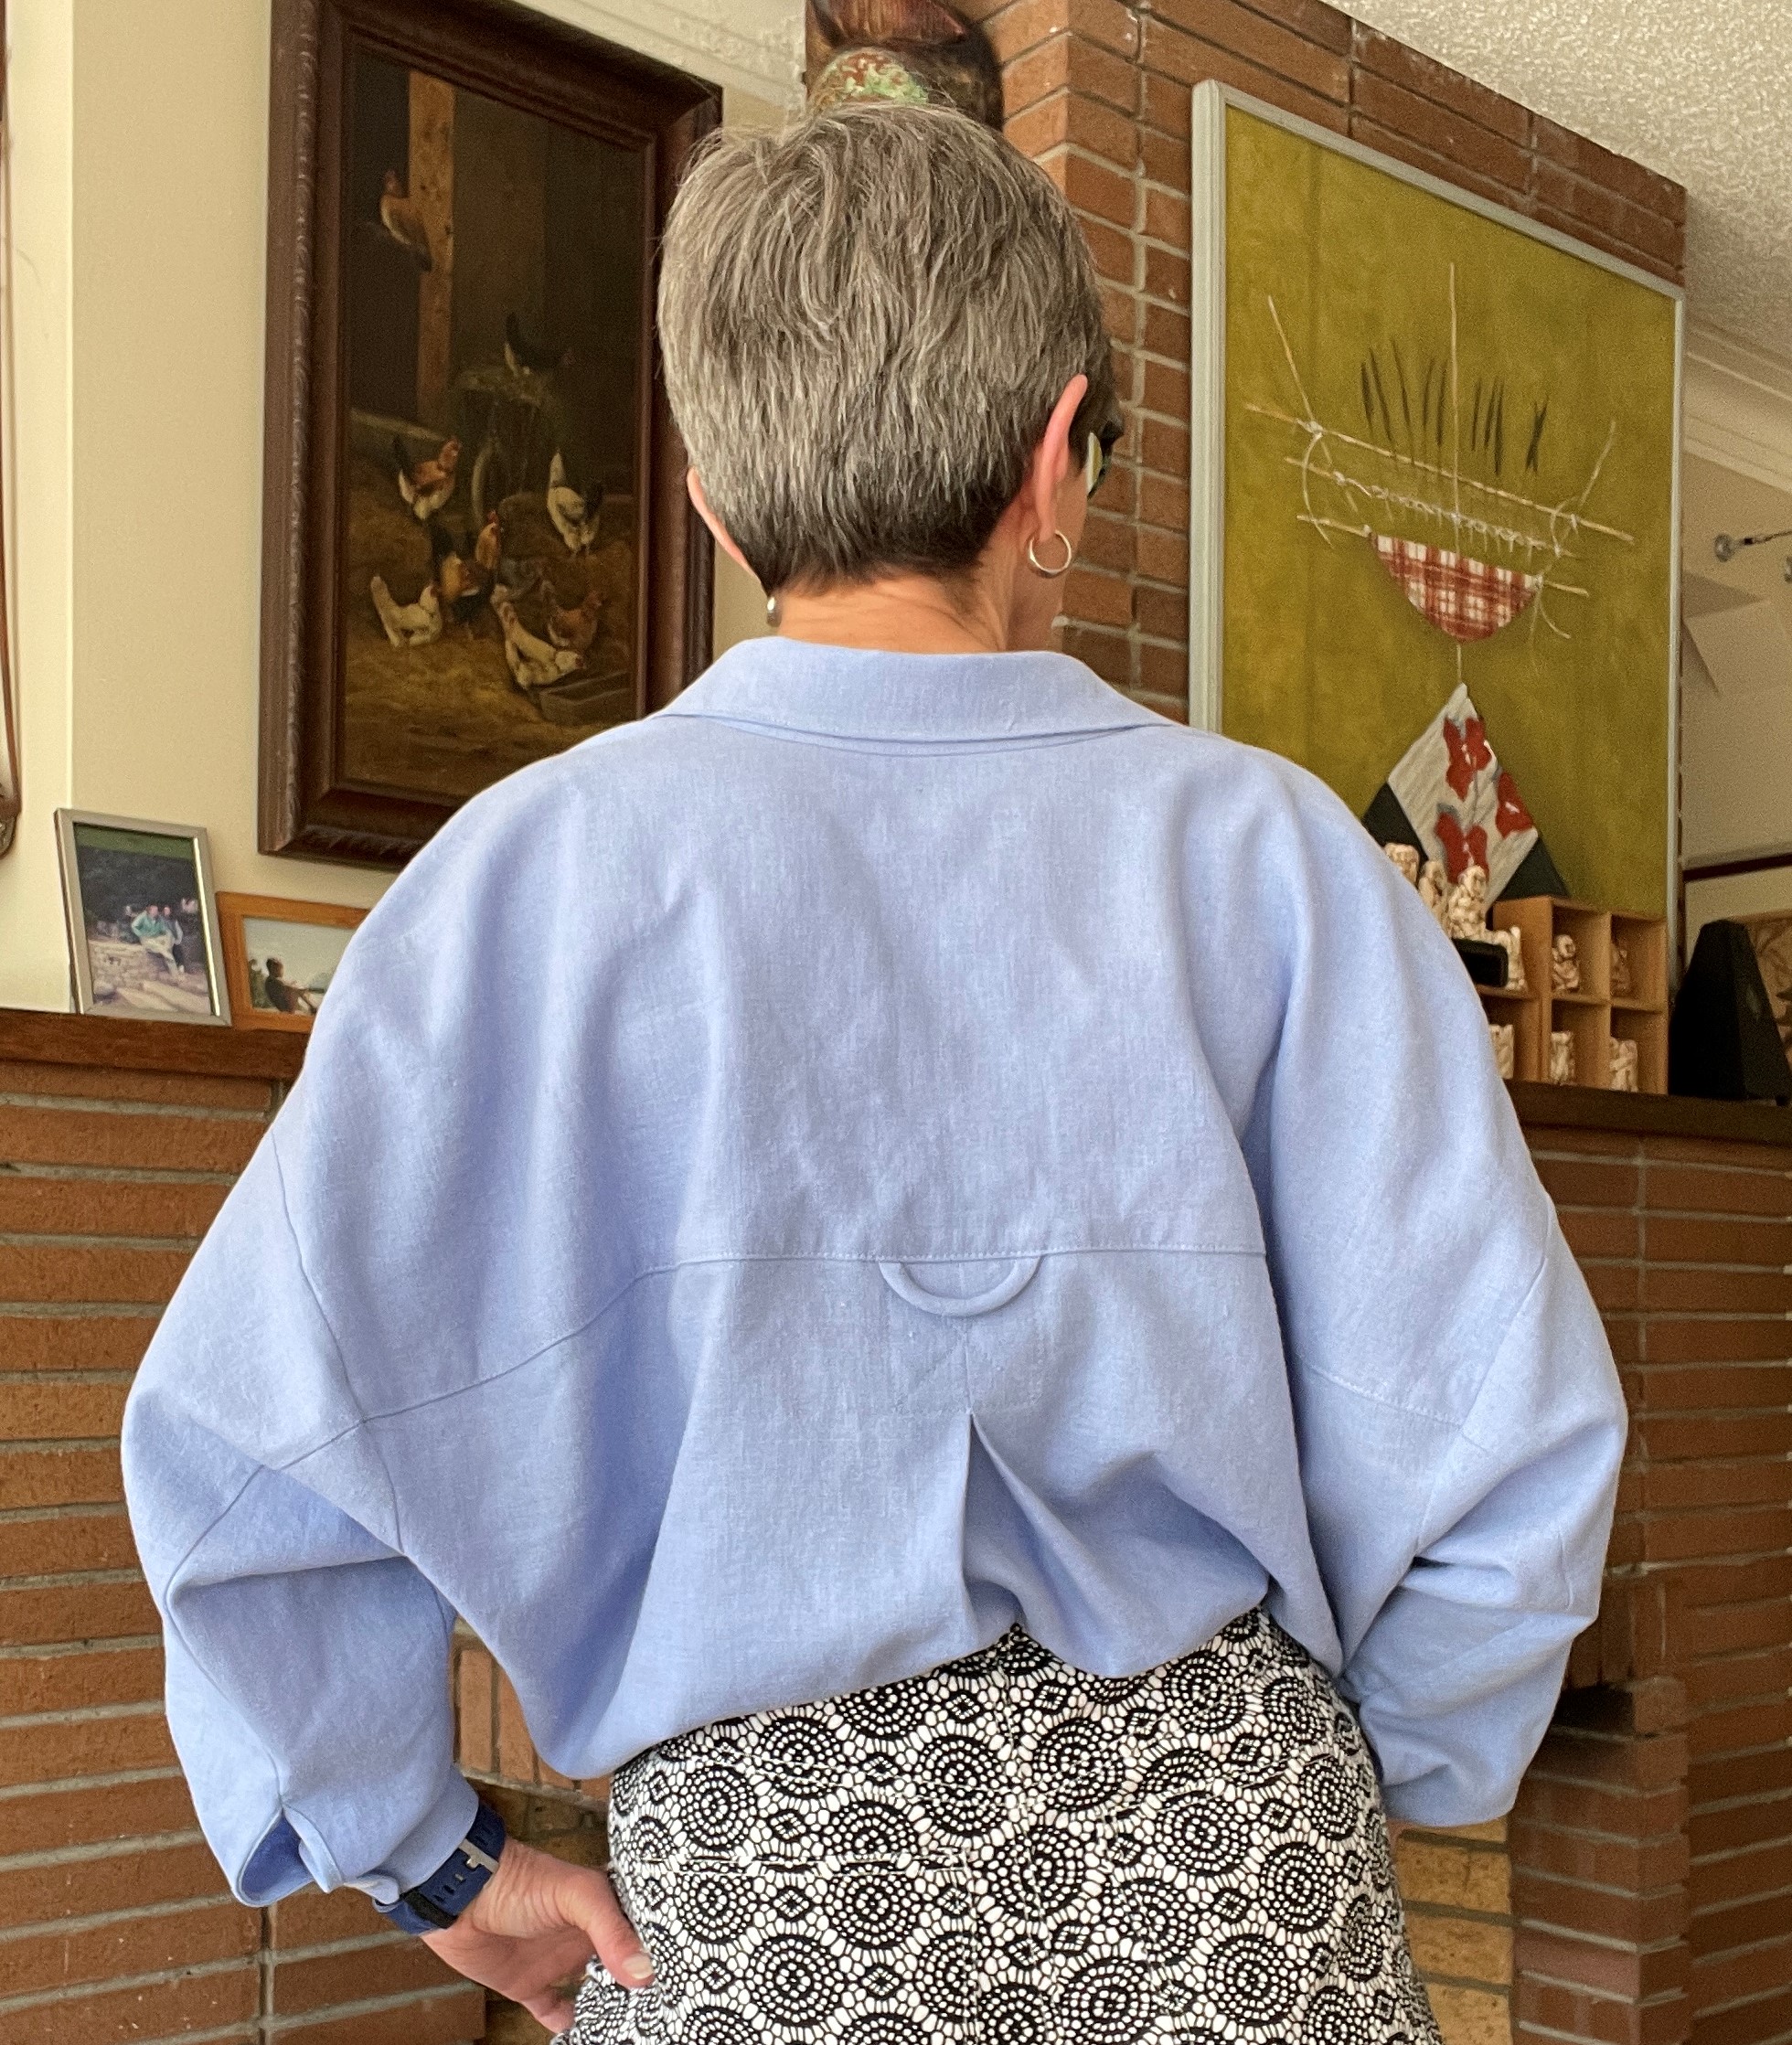
How could I resist this crazy silhouette? The beautiful deep back yoke? The stitched down box pleat? The big, fat hanging loop? So fun!

The shirt is basically a big flat circle. The side seams slant from way out, below the extremely low armscye, and end up forming part of a big continuous curve to the hem. 


This means you have a big amount of shirt up top and a little amount below. If you tuck it in to create that fun back view, there is relatively little bulk to deal with. This seems clever. 

The sleeves are ridiculous too, starting way down on the arm and going from extremely wide to a quite narrow, curved cuff. They are (in theory) the perfect length for me, and the cuff is the perfect width for me. Which should be a warning to you, because I have short arms and am very small boned.

However, in the wearing, the Phen Shirt is not so beautiful.

Here it is tucked in, from the front.

That is a lot of fabric falling off my shoulders. The big pockets are sagging. And I made the smallest size (6) when my measurements put me in size 8. 

Maybe my fabric is a tiny bit heavier than the pattern can bear. It was a mystery fabric from stash which a burn test tells me is 100% cotton, but it's got a slightly sanded soft hand, and is the weight of silk noile. Handkerchief linen might have been a better choice.

But meh.

The back view is slightly better, but still more saggy than I would have liked.

All the photos I liked on Instagram (including the one up above) showed wearers with their arms out, but not too out.

So the shirt doesn't sag too much, but the shirt's other limitations are not evident either. 

Are there full length arms
in there somewhere?
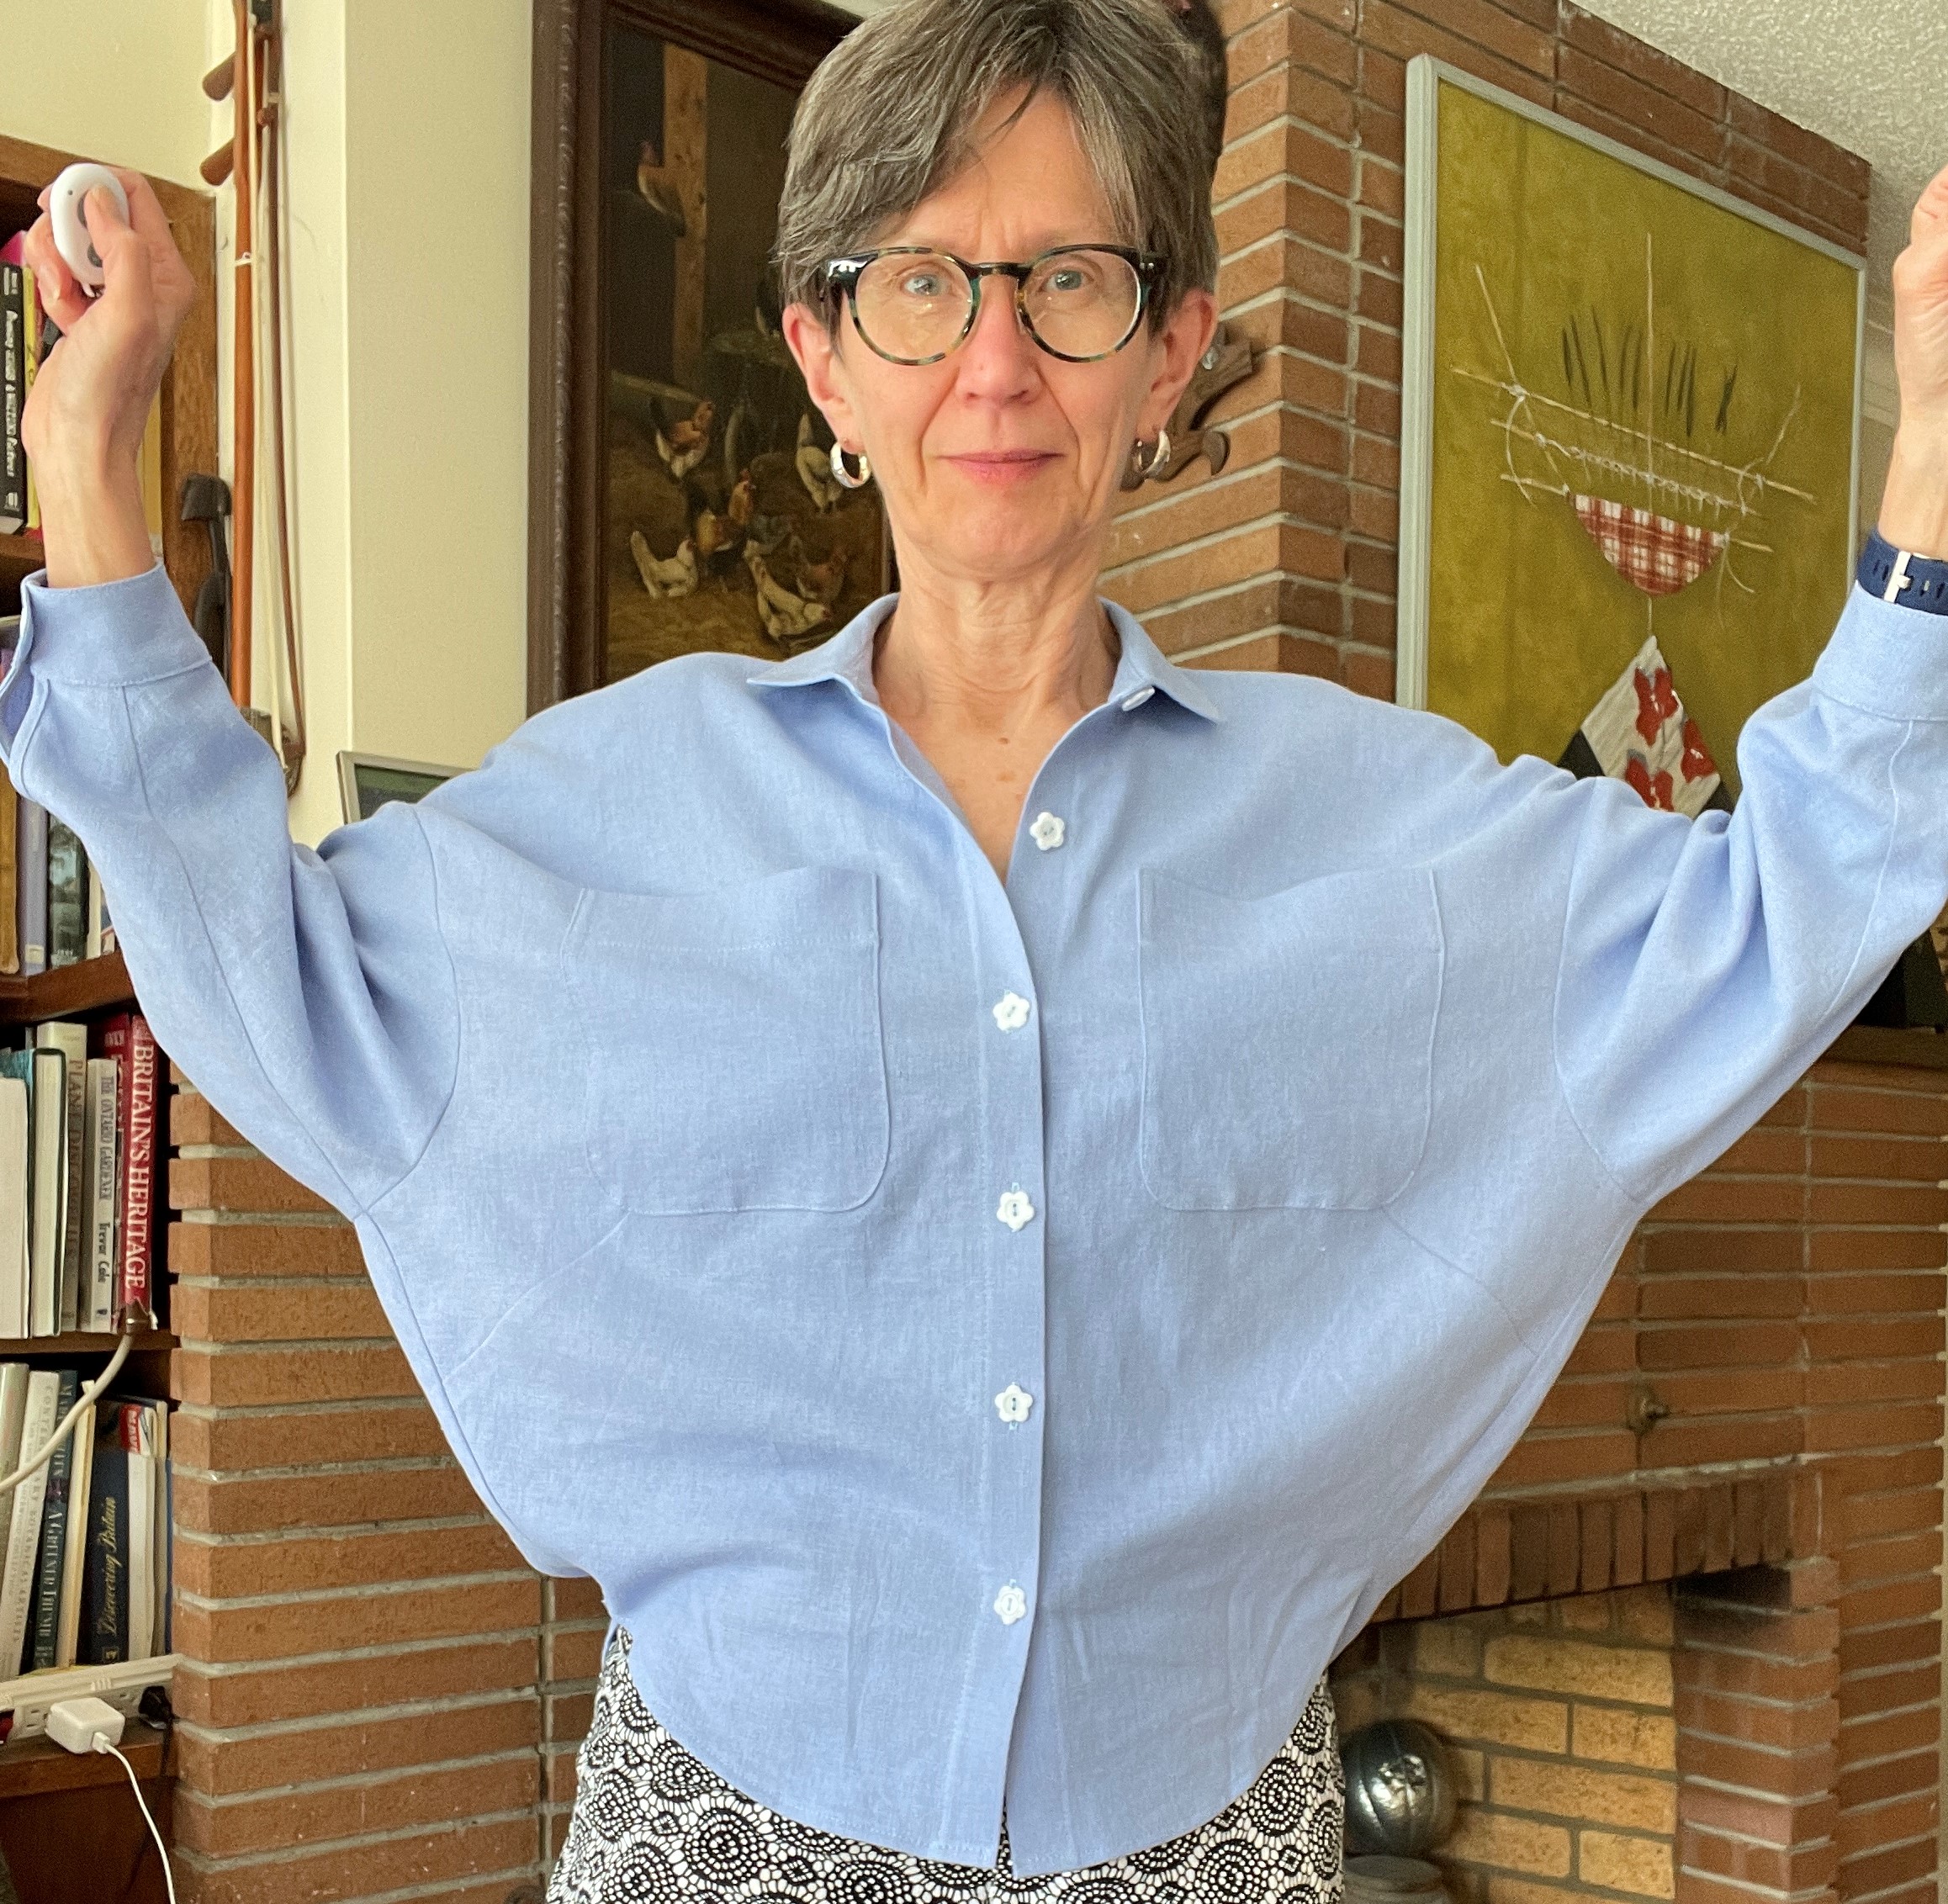
See what happens when you really put your arms out in this shirt?

For all that ease, there's not a ton of room to actually move in this.

Also, can I talk about the collar?

There are 3 views - collarless (stand only), tie collar and the more standard shirt collar I made.

The stand is extremely curved, so much so that it actually doesn't stand up. It would lie quite flat around the neck, if left to its own devices. 

But it isn't left to its own devices if you want to make the little shirt collar.


Have a look at how curved the stand is, by comparison with the collar. 

The lower edge of the collar piece in this photo attaches to the upper edge of the stand. 

While the two pieces fit together, in the sense that the edges are the same length, the combination of curves makes for a collar that really does not ever want to be buttoned up. 

As you can see, the collar piece is straining. It is too short around the lower edge and too flat. But I'm never going to wear this shirt buttoned up anyway, so it doesn't matter.

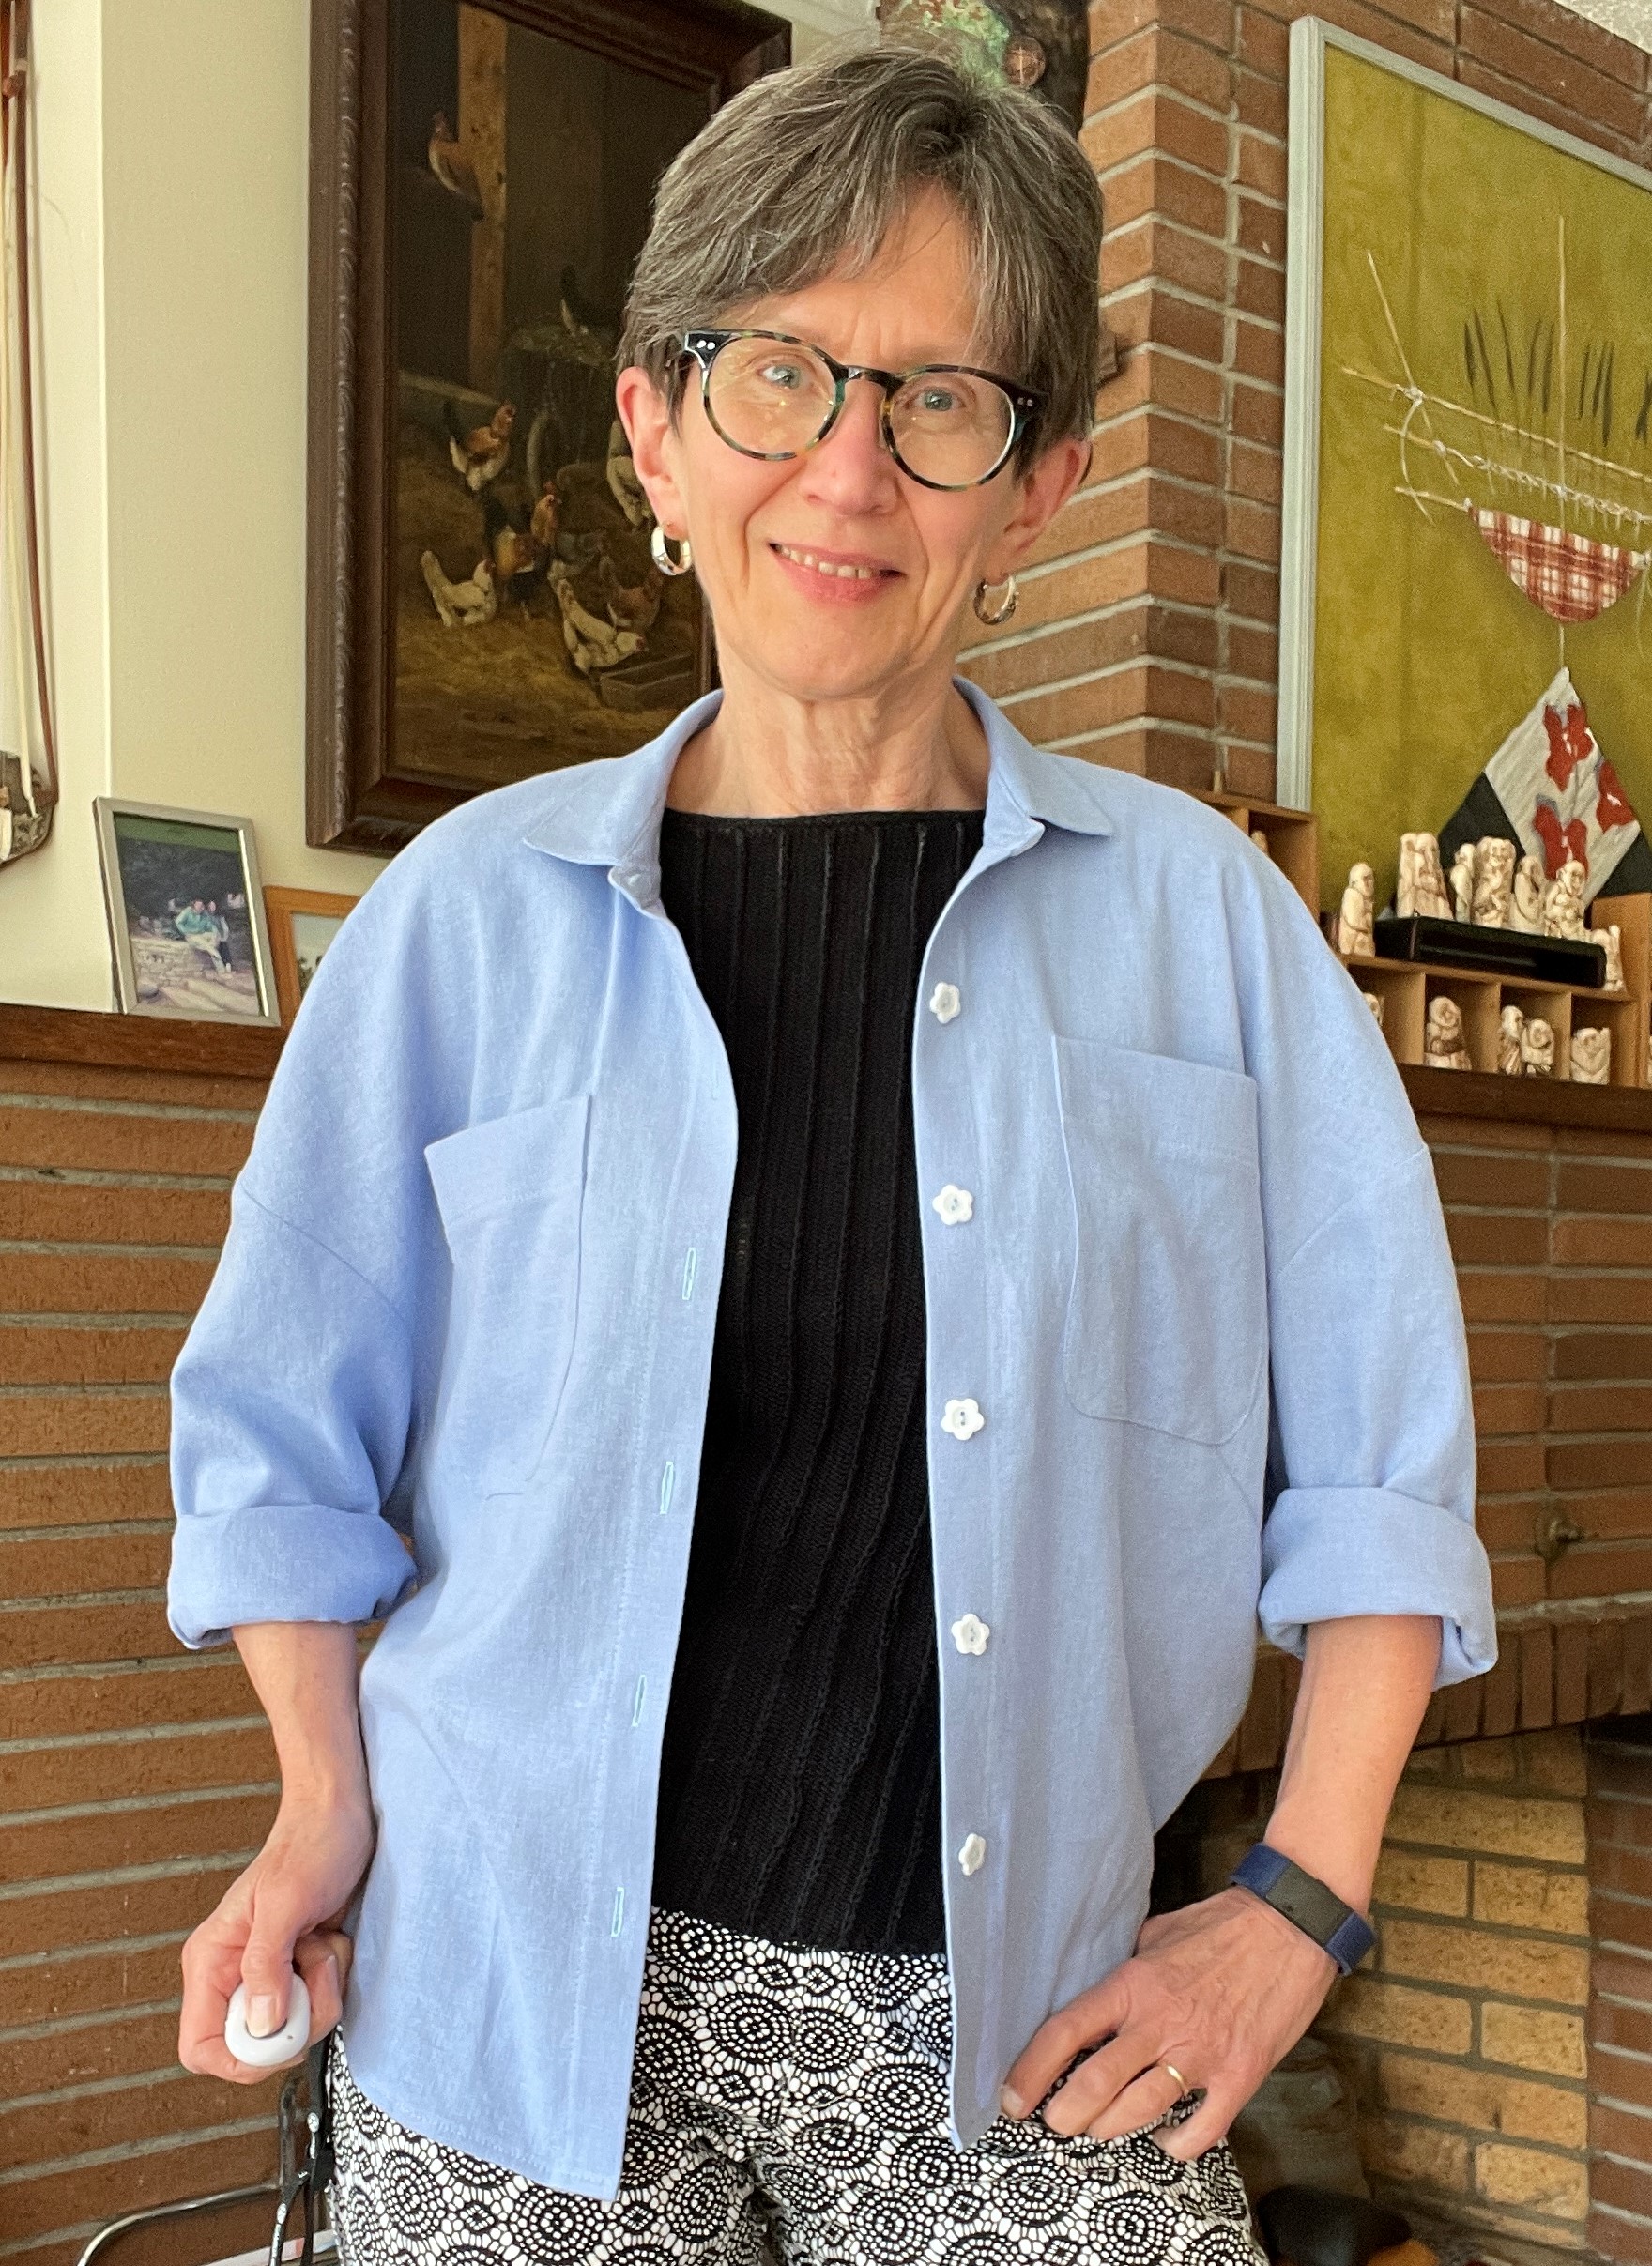
This is a big shirt that can only be worn open, with the cuffs rolled up (if you want to be able to move in it). 

That's OK, but I'm saving my linen blend jacquard fabric for another pattern. 

It looks fine as an open over-shirt
That's the way I will always wear it!


Friday, June 17, 2022

Cielo - finally!

How many years ago did this pattern come out? At least a few. And I've owned it for a while. But this is the first time I've tackled it. 

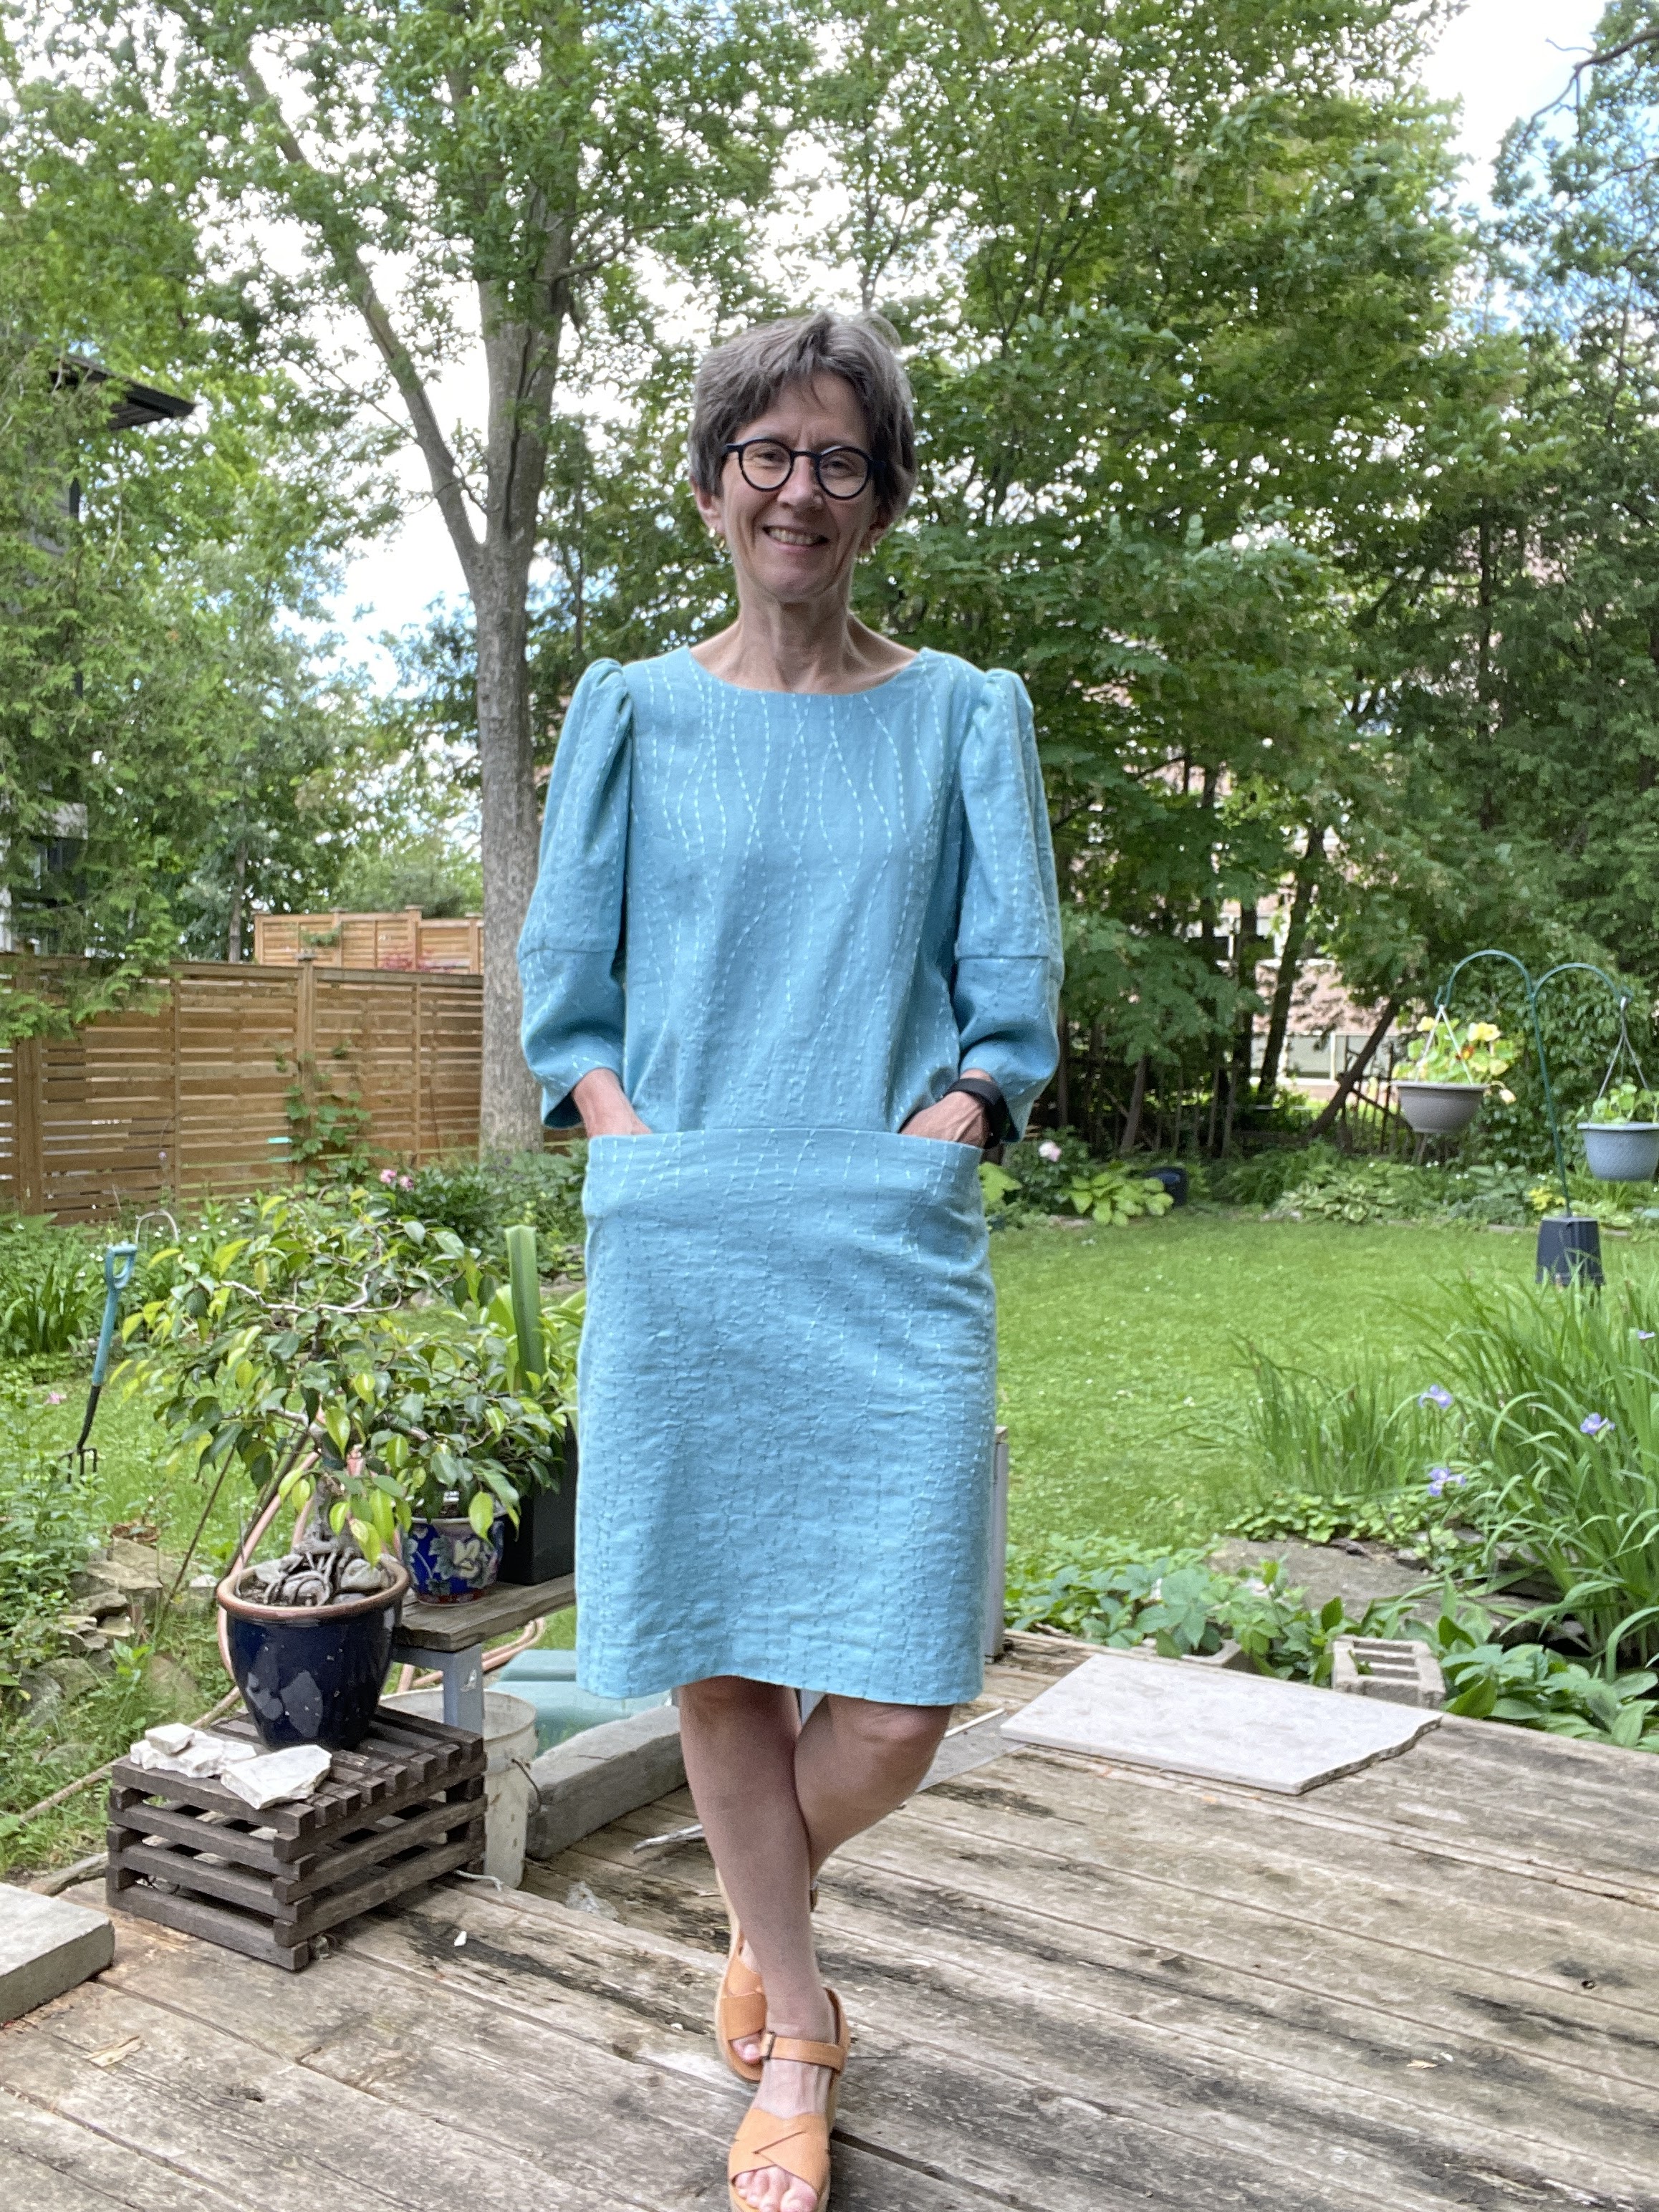
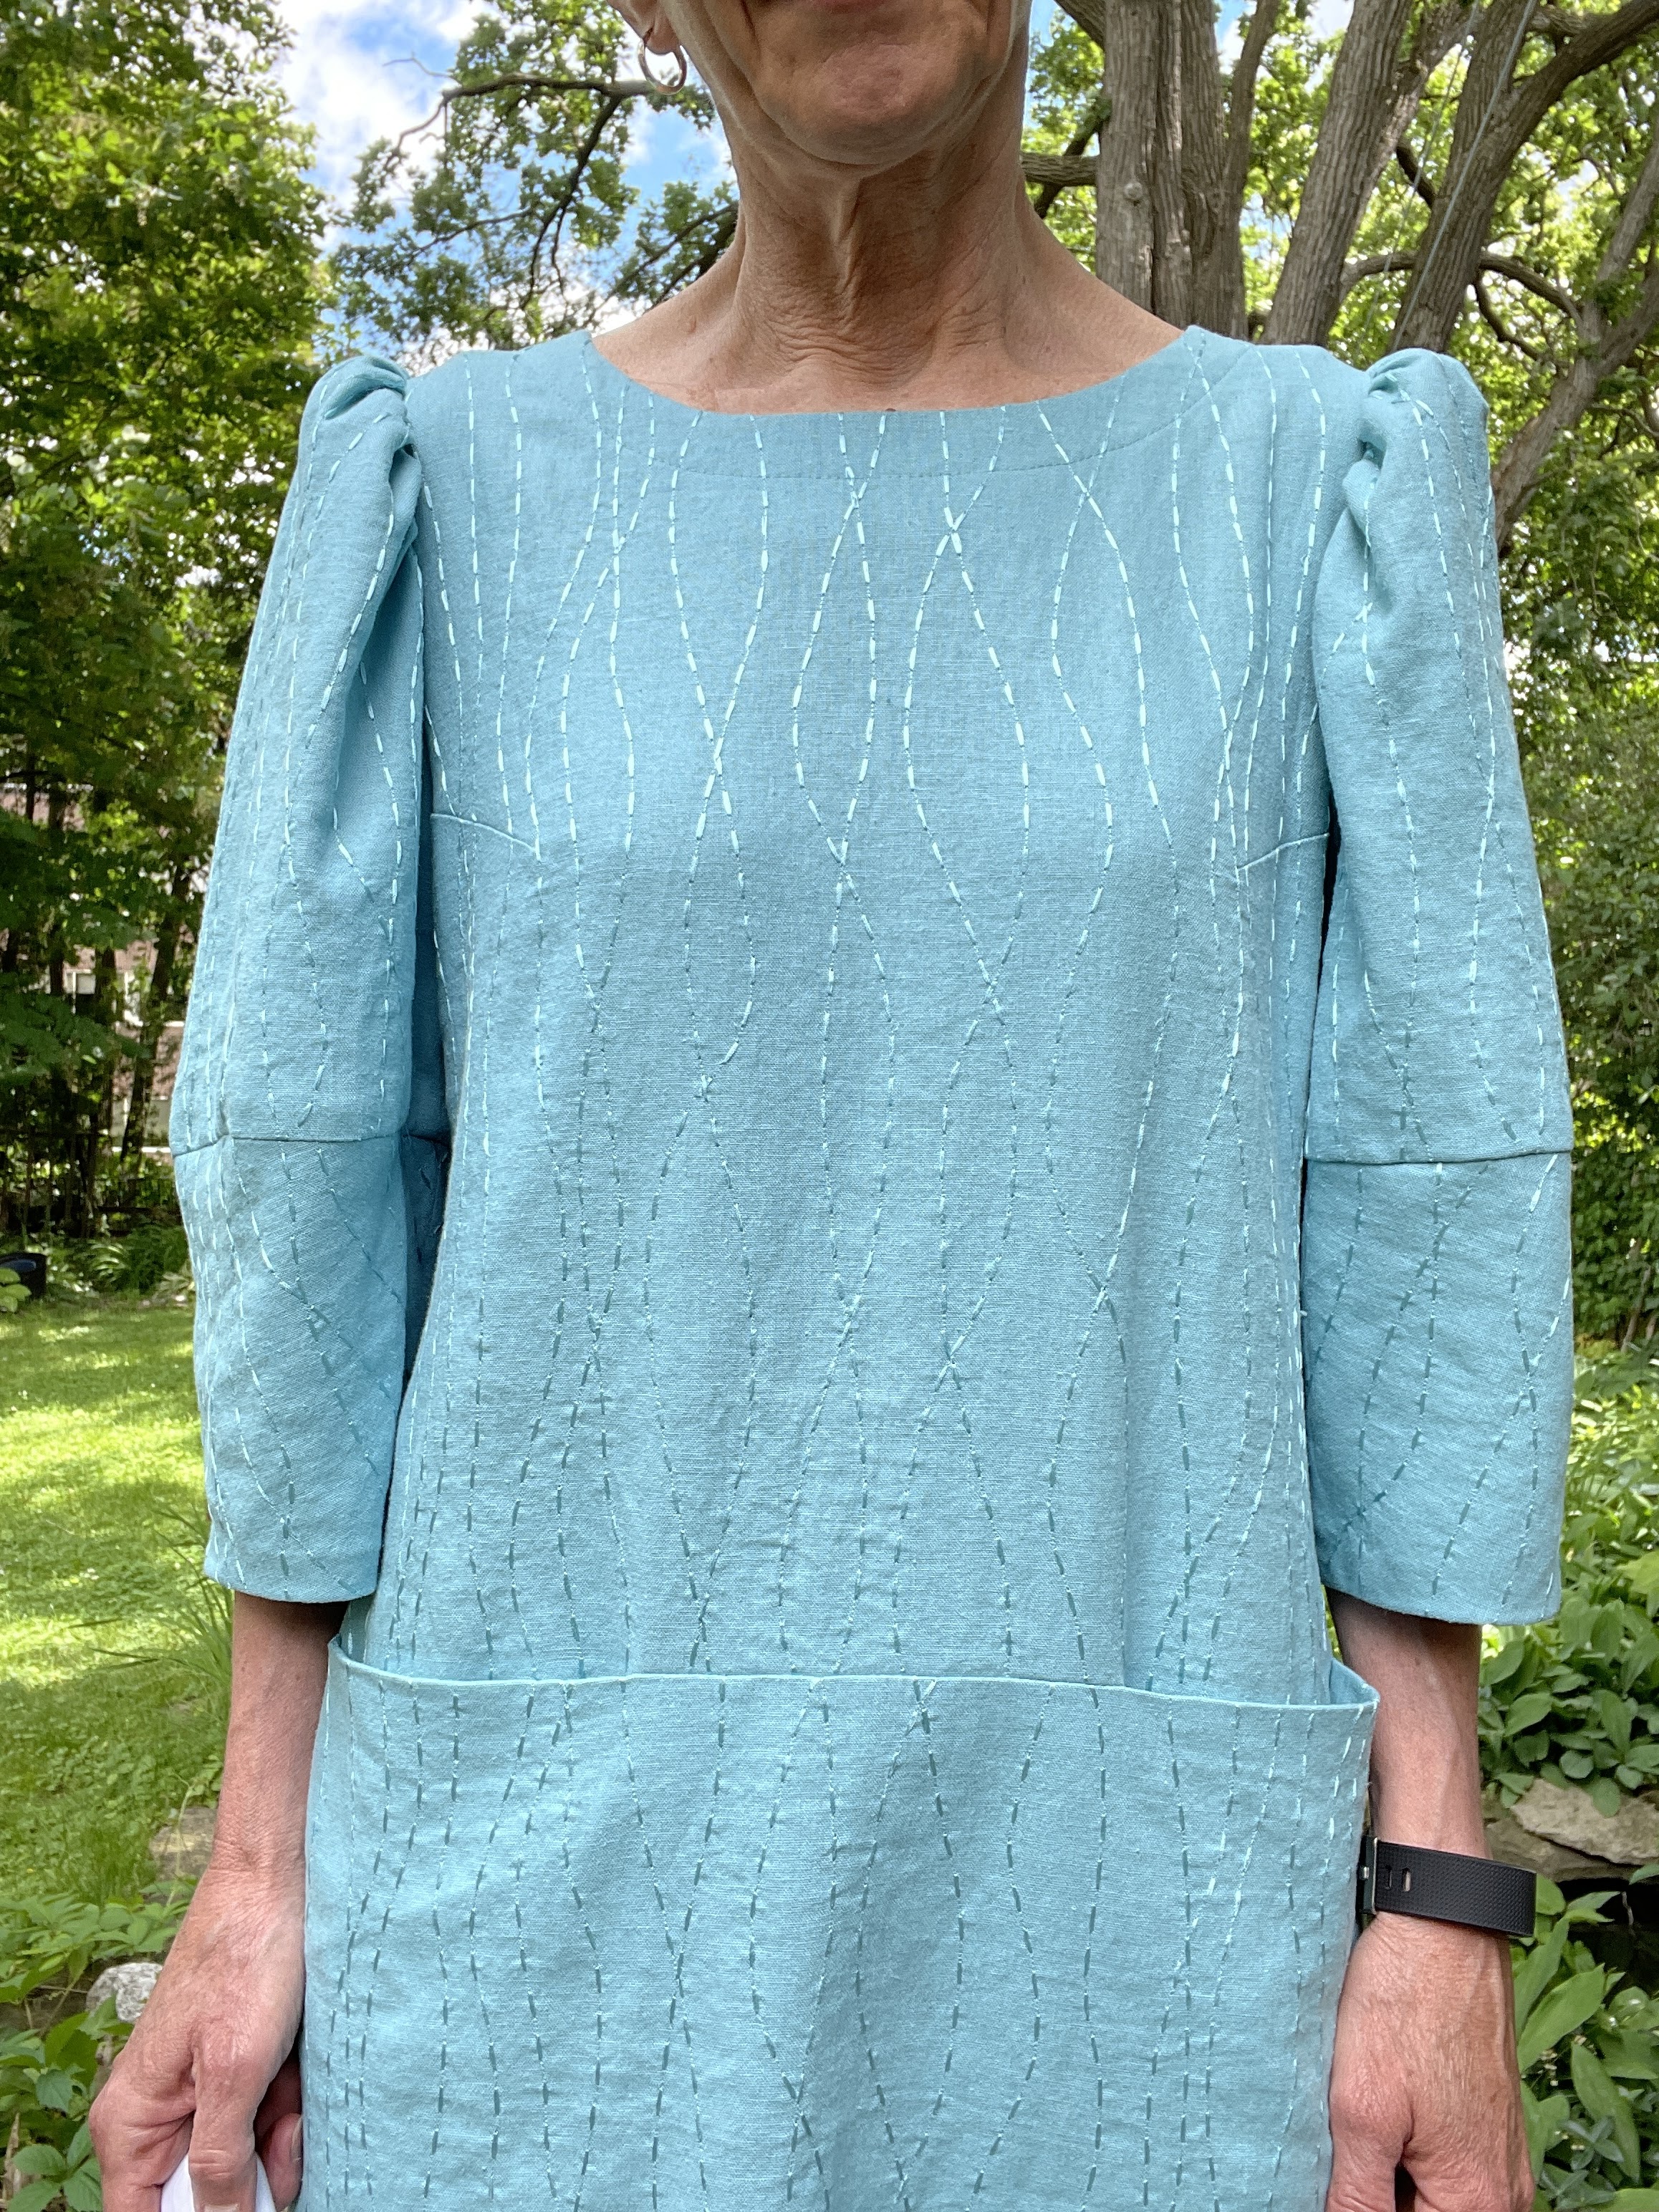
This version is made from a mid-weight woven embroidered blend (maybe viscose and something) from stash. I had more than enough to cut the extravagant sleeves and the pockets.

I predict more.

Not that this pattern is perfect. I had to tweak it to get it to a state I was prepared to live with.

This dress has 2 bust darts but otherwise no shaping at all. The side seams are dead straight - no flare, no curve in at the waist. This makes it challenging for a person whose hips (10) are typically 2 sizes bigger than her bust (6) to pick a size. 

I did some flat pattern measuring and decided I should just cut the size indicated for my measurements. 6 for the bodice, grading out to 10 at the hips. 

Readers, it hung off me. The finished dress is more like a 6 overall and if doing it again I think I would go for 4 in the bodice and sleeves.  

Another few tweaks were needed for the sleeves. These are kind of big. I shortened the upper sleeve by a full 6 cm because they hung down to an unattractive point on my arm. I like this length a lot better on me. 

Unlike similar dresses from the 80s and 90s, this pattern doesn't call for shoulder pads to support the sleeves, but they needed support of some kind. 

A roll of soft tulle to the rescue. I cut a strip approximately 11cm by 50cm, folded it lengthwise in 3 and gathered it. Then I inserted the gathered strip in the upper sleeve. 

My sleeves went from sad to statement in a flash. 

What's the point of big puffed sleeves that don't actually puff?

Someone asked if I can feel the tulle - I can't. It's soft stuff that I acquired in stash from a wedding dress maker, if memory serves. You never know when things like that will come in handy. 

The other thing I changed while sewing this pattern is the order of construction. The instructions say to sew the dress at shoulder seams, finish the neck, then install the upper sleeves. The underarm seam is then sewn in one pass. After that, you add the lower sleeve. 

I prefer sewing anything even slightly structured in the round, setting the sleeve into the armscye. Sewing the underarm/side seam in one pass flattens the seam joining the sleeve and body under the arm. Unless you're making a T-shirt, this risks distorting the garment. 

(The same goes for the crotch seam in pants. Sew it last if humanly possible.)

I should have ignored the instructions from the start for this reason. I could have checked the fit of the dress before having to deal with the fit of the sleeves. Having attached sleeve 1 to the body before checking fit made it a lot harder to adjust things on the fly. 

So it was a bit of a pain but in the end I have a dress that's quite wearable (at least if I don't need a sweater or coat...).

Wednesday, May 4, 2022

This is not a sweater, or "that's so meta"

 Rarely do I find fabric that I Must.Sew.Right.Now! This was one such piece. 

Why? A print that looks like bulky stockinette!

The fabric is my nemesis; a soft rayon/lycra jersey. But who can resist an irresistible print? I had to have it even though it will stretch and become less lovely over time. 

I bought it on Saturday, and a few days later, it has become a completed top. I had enough fabric to cut out a tank top too, but it's still unassembled.

The pattern is one I mentioned a few posts ago - Jalie 2449, but altered to be less figure hugging. It's still plenty fitted. 

It should be useful and comfy for a trip I'm taking this month. 

Monday, May 2, 2022

Still on the theme of casual clothes

 Jalie 2679 has been around for a while - since before Jalie started giving name identifiers to its patterns. (I don't know about you, but I find "Stretch Softshell Jacket" a more useful moniker than ... say ... Monika.) It was in my pattern stash for years before I got around to making it.

Why did I wait? This is such a comfortable and useful jacket!

I made it up with zero adjustments, out of some inexpensive softshell purchased at the local Fabricland. The fabric is naturally water-resistant rather than waterproof, but it is serviceable both in wet snow conditions and in rain. 

And in cold. I wore it cross-country skiing - a lot - this winter. 

Here I am after a strenuous outing at -30 something C in January. I was toasty warm!

Yes I realize that you can't really see the jacket. 

For some reason I didn't take modeled photos. 

Here's another action shot - a photo taken on a hike in March, after most of the snow was gone. Again, this jacket performed like a champ in much less frigid conditions. 

The zipped pockets are very big - the size of the entire front below the yoke and above the lower band. I used some miscellaneous mesh fabric from stash for the backing of the pockets. 

The sleeves are nice and long so the jacket is great for biking. 

The shape of the collar is perfect. I often find that stand collars jab me in the chin, but this one starts with a low enough scoop to be truly comfortable even when the jacket is zipped up to the top. 


Almost as good as a modeled photo, no?

I'm going to try to figure out a good fabric combo for a windproof/water-resistant running jacket. 
 

Sunday, May 1, 2022

More pandemic comfy clothes - workout edition

 All my posts these last 2 years start by apologetically noticing how neglected my blog is. So I won't do that again. 

I realized though that my blog is completely useful - to me at least. I bought some fun jersey yesterday and want to make a top I've made a few times before. The pattern is Jalie 2449, which is not in the catalogue any more (but is similar to 2910). I looked at the traced pattern and the top I last made from this pattern (in 2017) and thought hmmm it looks like I adjusted it to be less fitted. Sure enough, my blog entry mentions this. Stupidly, I didn't adjust the pattern though. This time, I retraced it so I can faithfully reproduce it the next time (maybe 2028 or so) I make this versatile top. Thanks to former me for mentioning it, thanks to present me for thinking to look it up. 

And for a report on recent (ish) projects...

My garment sewing has been sadly neglected except for a few tester patterns for Jalie. Stay tuned to Jalie's web site to see what the new patterns will look like. They should be released soon. 

Sewing has not been happening much, largely because the opportunities for wearing nice clothes are still evaporated. My work wardrobe has hung in my closet for 2 years, sadly neglected. Mostly I wear jeans and sweaters (winter) and am about to graduate to jeans and knit tops for spring and maybe to loose cotton dresses for summer. 

My recent makes are comfy clothes (several pairs of pants - see above mention of Jalie testing - which I cannot show you) and a sort of a hoodie dress (ditto). I also made an Anne-Marie top out of some wonderful fabric (merino wool with some kind of high tech wicking backing) I bought in Sydney, Australia in 2018. It's hot pink and I love it. I seem to have failed utterly to take any photos. 

Then there's workout wear. Who else is doing Zoom pilates? It keeps me sane.

I made two pairs of the GreenStyle Spark tights - one pair for myself and one (fleecy winter running tights) for my son's partner. This is a great pattern for two reasons: pockets (at the side) and multiple waistband choices. I made myself the "ultra contoured" high waist because I love tights that feel secure at the actual waist, and these really do. My son's partner requested mid-rise. Reportedly they are very comfy and warm. 

At left, my ultra high waist tights are modeled with the Audrey crop top, another Jalie pattern. 

I love Jalie but Audrey is not my favourite pattern. I find it too small in the neck and a bit too cut-in at the arm in front, and cropped is not my favourite length. I tried to make this one longer but it is still a bit on the too-short side. 

It is very secure once you wriggle into it though.

I have a sports bra (Pika) that matches the tights and a coordinating tank top (Jalie BĂ©atrice, but a racerback version that unfortunately did not make it into the final version of the pattern so I will be making this tester pattern forever). 

The detail in these patterns is great - you can confidently make perfect looking binding that is just the right length to finish off a simple top so it looks perfect. 

I've actually just cut out another, because there was just enough fabric left from my 1.something metres of jersey print that I bought yesterday at the spring fabric flea market after I cut out the latest version of Jalie 2449. I only have to piece a bit of the binding. 

I promise to post about them once done.