
As of March, 2014, the pattern is available for download on the BurdaStyle website.
I made a muslin. One thing that needed adjustment was that the bodice was too long. I shortened it by about 1cm.
I also realized that despite recent weight (and circumference) reductions, I still needed a bigger size in the hip, and some of the extra needed to be in the front thigh area. I could add a bit to the little tucks, and to the underlap left side front. However, I had a moment of puzzlement as I contemplated that dead straight right side overlap. I outwitted Burda by installing a long dart along the foldline.
Here's the pattern piece.
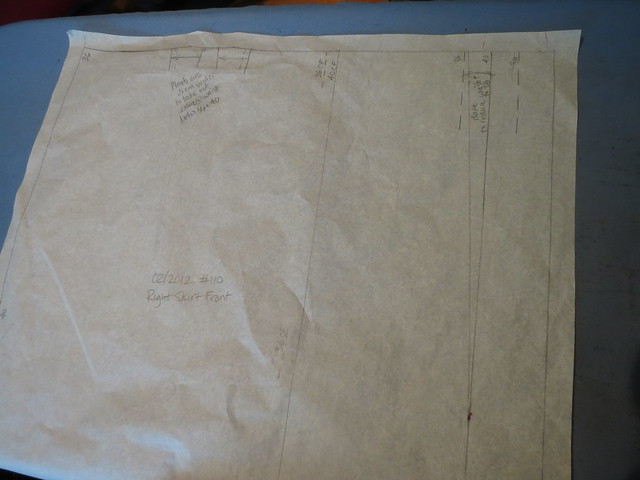 |
| Pattern piece showing enlarged tucks and long dart |
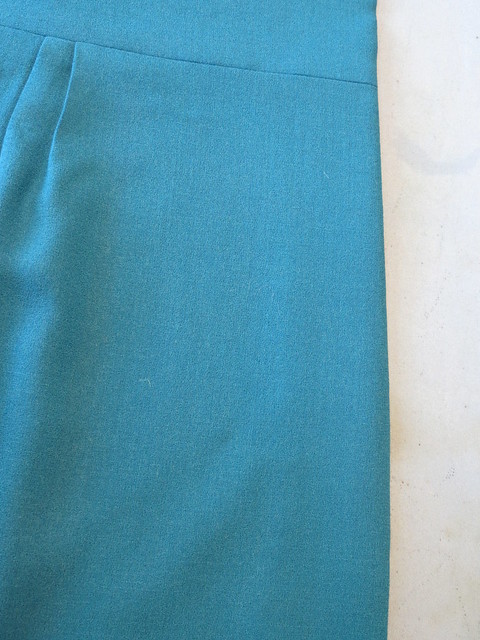 Once the dart is sewn and the facing is pressed back along the dart line, it is totally invisible.
As you can see at right (sort of).
Let me see, what else can I tell you?

Wow, that's unclear! Hoping a picture could be worth a thousand words, here I am pushing the zipper over in preparation for step two.
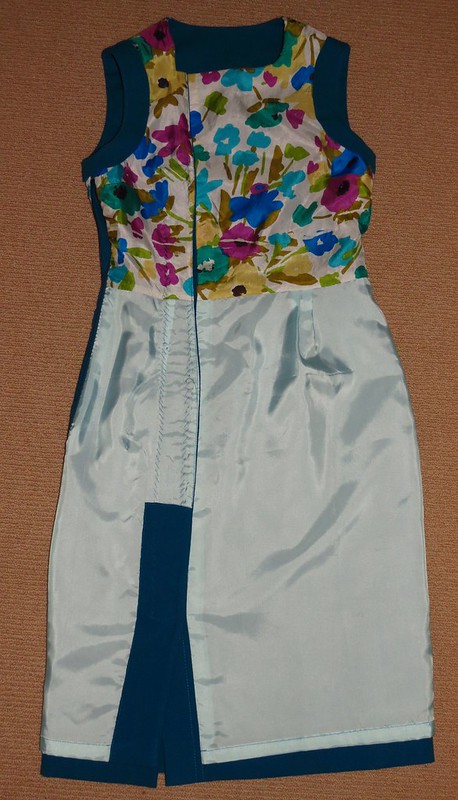
What can you tell from this flat on the floor inside-out photo? One: there are facings at the armcyes. It would have been impossible to sew the lining to the edge by machine at both the neck and the arm openings, and handsewing would have been (a) clunky and (b) a nightmare. I puzzled over this and then decided to take DIGS' excellent advice which was to draft a little facing and interface it with a clean finished outer edge.
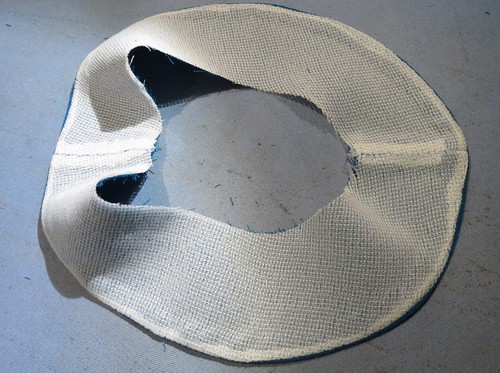
I've done this before. Here's a pic of the interfacing side of the facing.
Two: there is a fashion fabric facing at the lower end of the underlap side of the skirt. This was a retrofit; according to Burda I should have lined to the edge. A facing is needed for (a) stability and (b) looks, since when I sit down in this narrow skirt the underneath of both sides of the opening would show.
Three: the entire faux opening is ATTACHED BY HAND. I truly hope it's sufficiently secure. One of the (many) reasons why this dress is so delayed is that I was puzzling over whether I could possibly sew this by machine. I came to the conclusion that I could not for many technical reasons, and that if I tried it would look like crap and I would just have to rip it out and do it by hand. So I skipped to the end and just did it.

The dress will be modelled tomorrow when there is some light.
I need a simple sewing project ... badly!


Your zipper technique sounds interesting. Would you be able to show us what it looks like from the R.S.? Maybe a mini tutorial?
ReplyDelete-e.
Looks great so far! Can't wait to see the finished dress. Adding a dart to the front was a clever idea
ReplyDeleteVery nice looking dress. Love the buttons.
ReplyDeleteSimply stunning, Kay!
ReplyDeleteI find completing a difficult BurdaStyle garment is so gratifying! The dress looks beautiful and I can't wait to see it modeled.
ReplyDeleteBeautiful colour, looking forward to your photos.
ReplyDeleteThis dress is sewn so well, it looks like couture. The fit is perfect, the color is beautiful, and the buttons make just the right statement. I love how the dress is all business outside with a party inside!
ReplyDeleteYou did a gread job. I love this pattern and your variation is very good. The dress is very becoming to you.
ReplyDelete