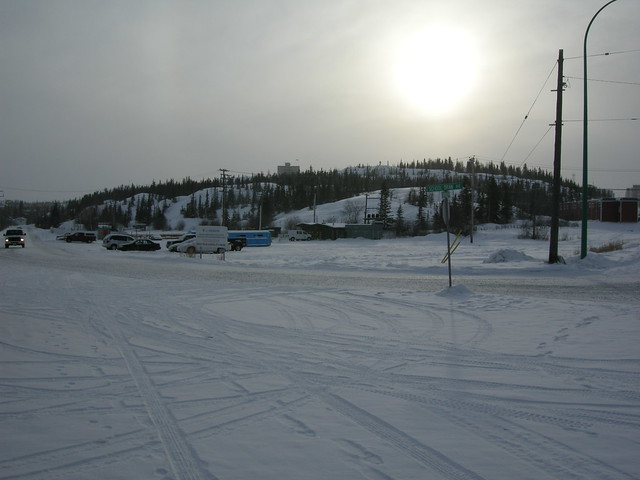
That's the verdict on the fur-lined coat so far. However, even though The Sewing Lawyer is now Way Up North the coat hasn't had a real test. It was only -19 yesterday when I went for a long walk, and -21 just now walking back to the hotel from dinner. (Edited to say, those numbers are degrees C, but getting down to those temperatures there's less and less difference between C and F. In degrees F, -21C is -6, and at -40, it doesn't matter which letter you use.)
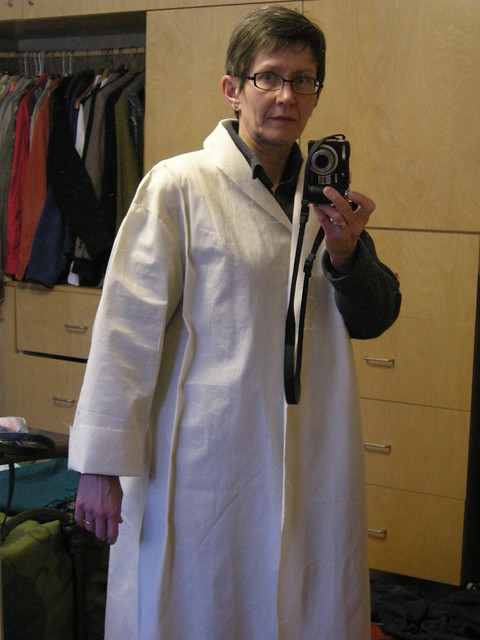
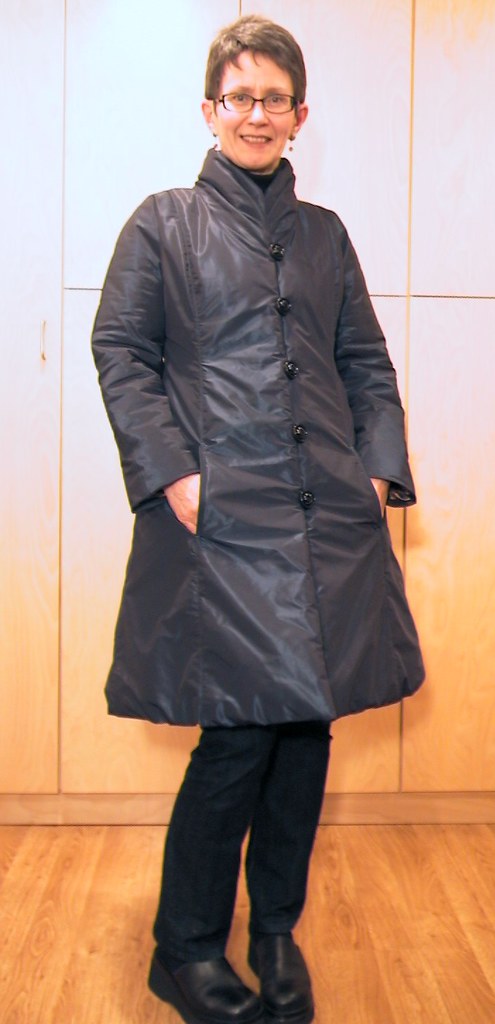
I'm still lacking for photos of the finished coat on me, but in the meantime I'll share some construction details.
Not knowing how a fur coat is built, I paid careful attention when disassembling Furla. It was a big surprise to me to realize how much sewing there was in this coat.
First off, the "fabric" of the fur is carefully constructed to maximize its natural beauty. The mink was "let-out" - which means that the raw pelts are sliced into thin strips, apparently diagonally, and the strips are offset and sewn back together so that the original piece is lengthened.
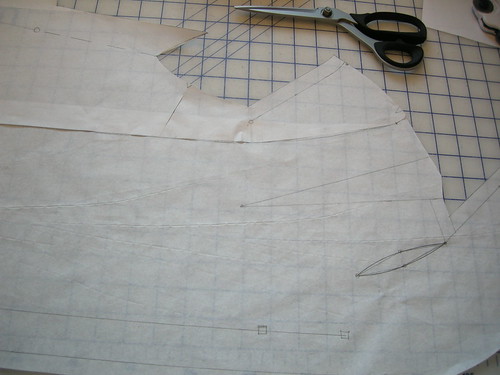
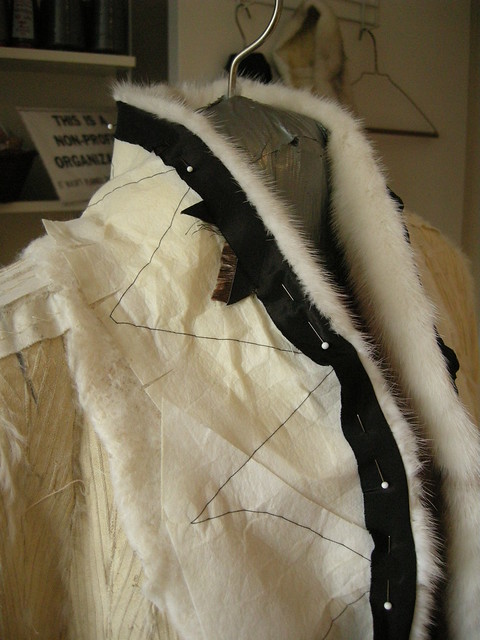
Here's a photo of the inside of the upper front of the coat, after I took out the lining and removed the upper collar and front facing. You can see (click the photo to get more detail) the diagonal lines of stitching joining these strips of fur, as well as vertical lines where the lengthened skins are joined to each other. Towards the bottom of the photo you can see little dashes forming connected Vs. These seem to correspond to darker markings on the fur and must have guided the furrier who originally painstakingly transformed the raw pelts into the symmetrical fabric needed for the coat.
The sewing is done with very light thread and the seams are extremely flat. There must be miles of thread in the average let-out coat.
The construction seams are a little different. They look like a tiny serged seam and create a slight ridge. In the photo you can see the seam joining the under collar to the body of the coat, at the shoulder and joining the front of the sleeve at the armscye. Something vaguely similar can be accomplished on an ordinary zig-zag sewing machine using a universal needle. Set the zig-zag for about 2.5mm in width and the same in length. The trick is to align the edges of the skins, fur sides together and sew catching both layers in the left swing of the needle, with the right swing landing to the right of the cut edges for an extremely narrow seam. So, for sewing fur you do not need to allow for a seam allowance. All the while, you have to be pushing/poking all the fur inside and away from the edges to be sewn. I found my seam ripper worked reasonably well for this, but I had to stop very frequently to readjust. If you do catch some of the fur in the seam, it may well not show, and if it does, you can (carefully) pull the hair out of the seam from the right side.
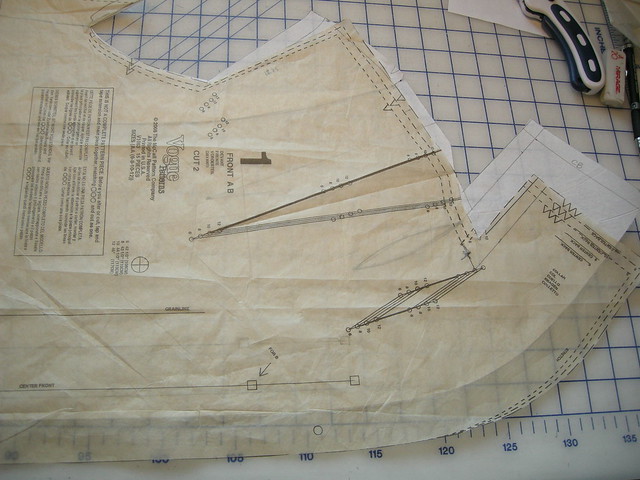
Back to Furla. Bias strips of a woven fabric were applied to all edges of the garment pieces in the original coat, as well as horizontally at the waist level. You can see it in the photo above. The tape appears to have been attached with a blind hemming machine or similar - the stitch is a chain stitch and again, very light weight thread is used. I am not sure what function the tape plays. It wouldn't work really well to prevent stretching of the fur, since it is cut on the bias. Second, it's only lightly attached in a single line down the centre of the tape (and sometimes not too neatly). Third, it is inconsistently sewn along with the skins in the seams, so doesn't seem necessary to strengthen the seams. If any furriers read this, please enlighten me - what's it for?
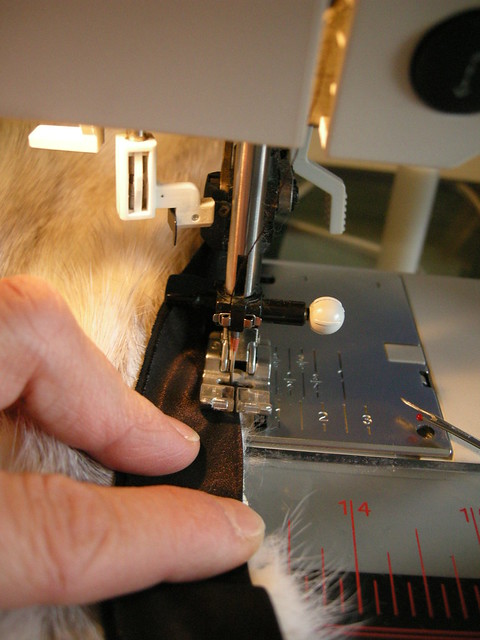
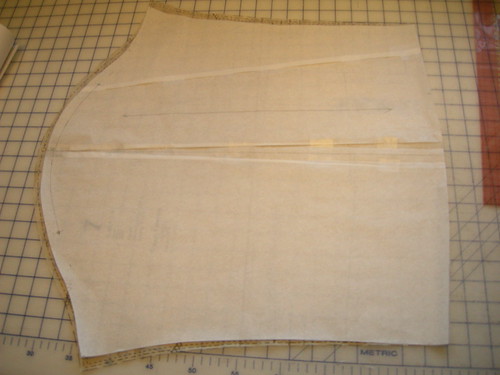
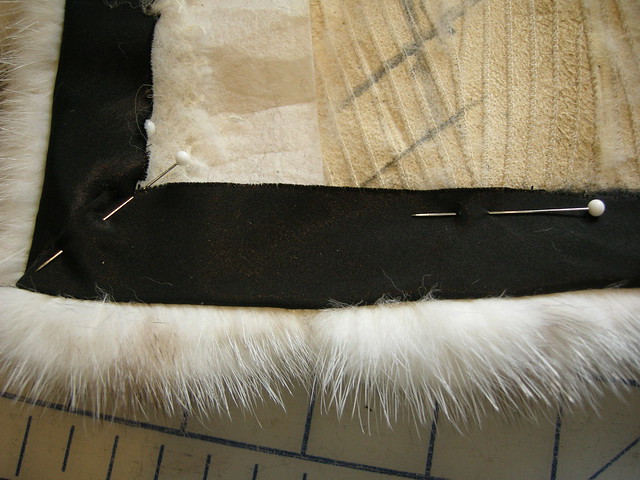
The skin of the mink is very soft and thin. Once I had cut off the original facings and upper collar, the edges were very insubstantial. However, I remade the edges as they were in the original coat. All edges of the fur (i.e. where the lining attached) were finished with a bias strip of lining fabric (a substantial polyester) that was folded in half lengthwise. The folded edge was attached to the fur. I cut 5cm (2") bias strips of the outer coating, which is thin, folded them down the middle, and used a narrow zig zag stitch to attach them. At left you can see an in-progress photo. The seam ripper is just visible on the right - ready to poke those pesky hairs in and out of sight.
In addition, all edges (front, collar and hems) were originally padded with folded strips of lambswool interlining. The collar and front edges were also reinforced with fairly rough-cut pieces of sew-in non-woven interfacing. Folding the bias strip over the lambswool produced a firm padded edge, very surprising in comparison with the un-reinforced fur.

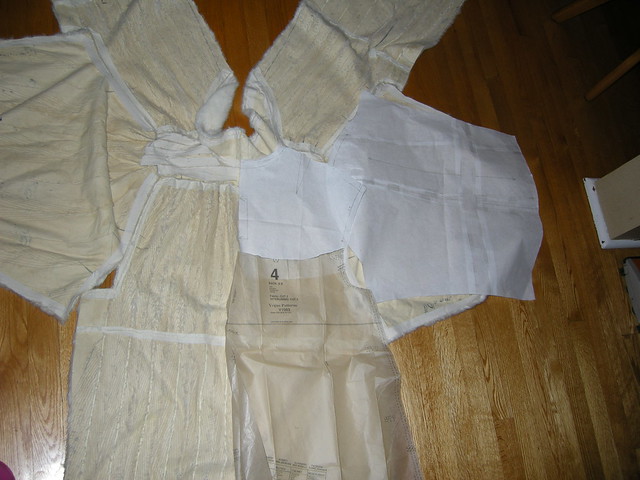
To the left are the lambswool padding and interfacing removed from the collar of the original coat. I decided to re-use this material. I first pressed the interfacing, and then loosely basted the layers together. To the right is a photo of this padding sandwich, in the process of being reinstalled. You can see that I've pinned the bias edges over it. This causes the fur to roll attractively at the very edge.
I was surprised to discover when taking Furla apart that there are little holes all over the coat. Most of these are a byproduct of the sewing needed to let-out the fur. There might be a little point missing or imperfectly sewn at the edge, so the edge of one strip isn't a perfectly straight line. However I also spotted a couple of mistakes, which were roughly repaired with a couple of hand stitches. You would never spot these from the furry side, and the little holes do not impair the warmth of the coat, apparently. Unlike sewing with leather, sewing with fur conceals a multitude of errors and imperfections!
That's it for now; I've got to get ready to go out to watch the Aurora borealis tonight. My fingers are crossed for a really good show. Will try to get photos...

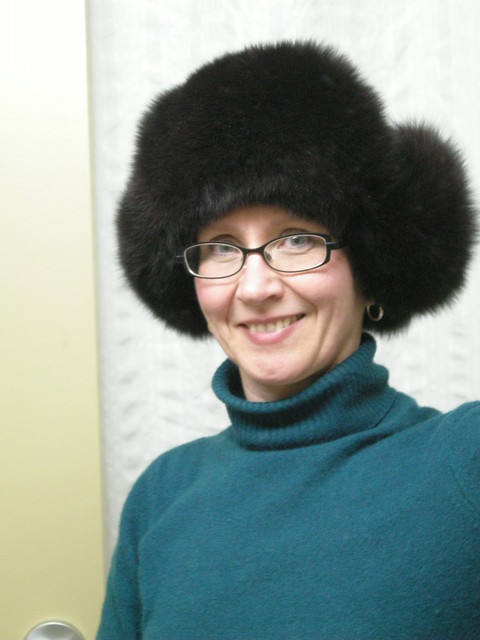
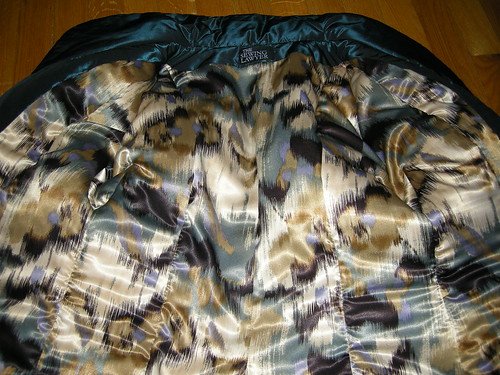
 Ahh, the mink inside. So cozy! It did finally get a "real" workout in the north when the temperatures plummeted to about -30C, with a wind. I'm pleased to report that it came through with flying colours! No wind penetration, except below the bottom button of course. If I had thought to wear my snow pants I would have been entirely toasty warm, if not so elegant.
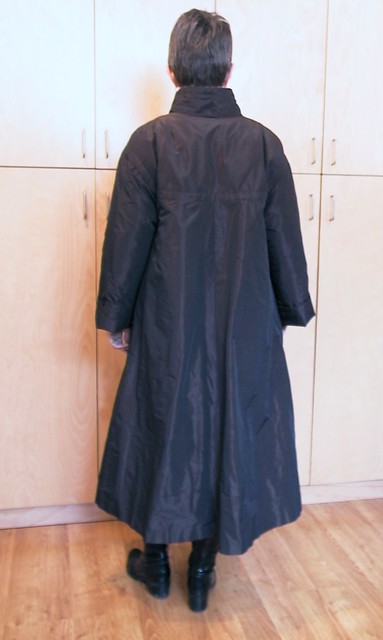

 I took a lot of the flare out of the hem at CB but still, the outer coat is more flared at the hem than the fur. Because the fabric is thin and a little stiff (think a synthetic taffeta) I weighted it by sewing small metal washers into the hem. I thought airport security might be puzzled, but no questions were asked.
 To the left is is the best picture showing the edges in more detail. I sewed the outer and inner coats separately, finishing the edges of each. The outer coat facings are topstitched at about 2cm (.75") using heavy duty thread on my Featherweight. I then hand-sewed the coats together along the front edge.
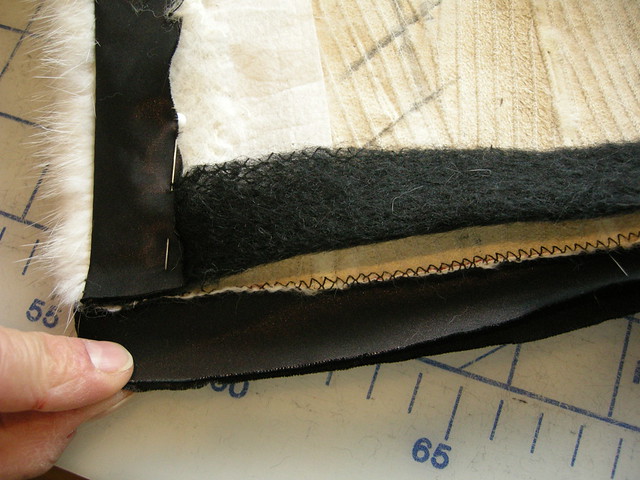
 At left you can see how the bias strip is attached by zig zag to the lower edge of the coat, and the lambswool strip is in place. To the right, I have folded up the bias strip and mitered the corner in preparation for hand sewing it to the coat.