Don't tell anyone.
I have some much nicer wool for my next version of this jacket. As for this fabric, well, let's just say that a crochet hook to pull the most egregious of the nubs and loose threads through to the side I've deemed to be the wrong side is The Sewing Lawyer's best friend.
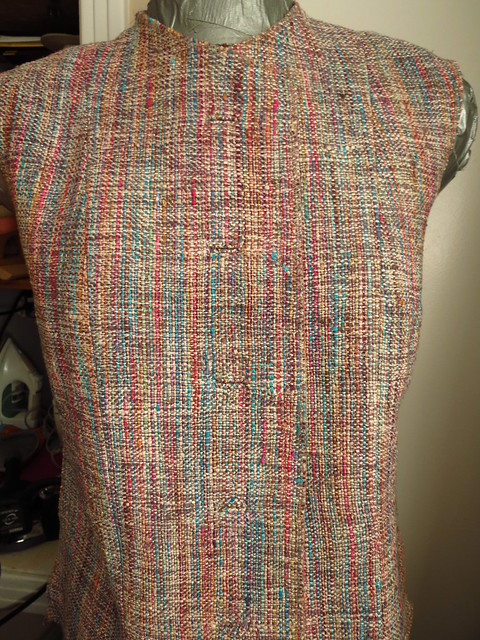
Murphy was in the sewing room, however. I did 3 perfect practice buttonholes yesterday, and 3 perfect ones today. Guess which ones were not perfect? That's right, the last 2 I tackled, the ones closest to the top, and therefore the most visible.
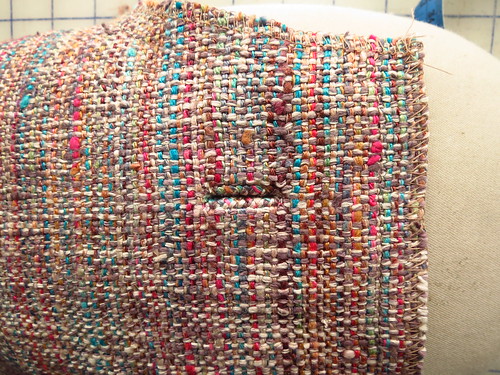 |
| Fixed the top buttonhole |
See?
I thought not.
A few more bits of information about V8804.
If you are worried about the printing error in the undersleeve, I don't think it's necessary. Apparently the piece was supposed to be graded for the different sizes, but in the first printing the piece is a straight one-size (14, I believe). The differences must be very minor because I have had no problem with the ungraded piece.
The back neck interfacing is marked with a bias grain line but in the printed instructions, it says that this piece (unlike the sleeve and body hem interfacing pieces) should be cut on the same grain as the main piece, i.e. not on the bias. Claire Shaeffer herself (via FaceBook) says it doesn't really matter. Really? Then why so specific in the instructions? I cut it on the straight grain.
The shaping in the fashion fabric is done by steam so that the outer layer mimics the inner one, in which darts are actually sewn. By hand. After the two layers are attached with the lines of machine quilting. I haven't done this step yet. I'll let you know if it's physically possible.
 The only shaping done before the quilting step is the side seam bust darts, which are not actually darts, in the fashion fabric. You do a dart stay in interfacing, and then ease the fabric to conform to it.
I secured the dart stay with machine stitching along the grain of the fashion fabric, figuring that it would be invisible. It is.
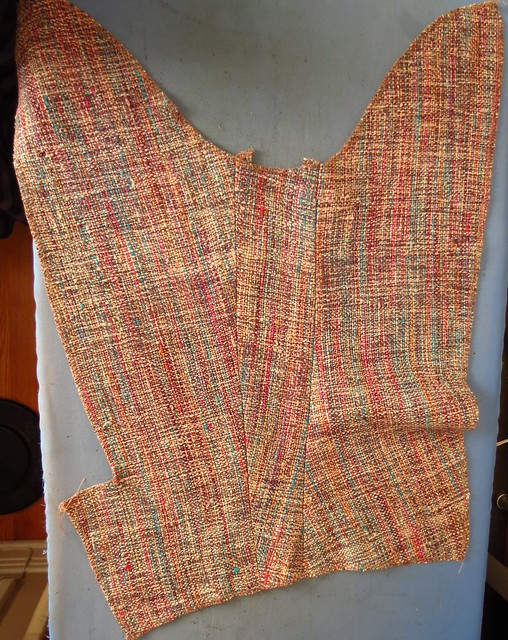
Finally, please admire the constructed sleeve. See the crazy grain placement?


Nope, I can barely see your bound button holes in the first picture at all, and that's staring at it closely and knowing they're there. so I don't think you need to worry too much about the last couple being imperfect :)
ReplyDeleteThe grain placement does look crazy, but looking through Ann Rowley's flickr stream, this doesn't look too odd in the final cut.
Fabric is gorgeous! I look forward to seeing the finished product!
ReplyDeleteThis fabric is mesmerizing...I so want to see the finished product.
ReplyDeleteHello Kay . That tutorial on the bound buttonholes is very good . I agree about opening up the seams to even out the bulk. I also really like the square buttons .Had you thought of using the actual fabric and using the threads to crochet a trim?? Perhaps mounting that on the Petersham . I do like the beading however . Happy hunting and I am enjoyig this journey as I have this pattern too and am thinking of doing it although we are coming into summer here in Aus.
ReplyDeleteThat sleeve is interesting! Your fabric is gorgeous as well. I am anxious to see how the jacket eases to the dart, interesting concept.
ReplyDeleteI'm so glad you've shared your experiences with this pattern. You've saved me from disaster. I was going to use this pattern, and I'm a much less skilled sewer than you. I'm looking for another pattern to use but so far no luck. I may draft one on Pattern Master Boutique and use some of the techniques from the instructions with this pattern and from an article in an old Threads issue.
ReplyDelete