What is a balanced dart? It's a dart which is, when pressed flat to one side, balanced by a strip of self-fabric which is stitched down the middle along the line of the dart, and pressed flat to the opposite side. The two layers of fabric sewn into the dart are of equal thickness to the folded strip of self fabric. The desired result is that instead of a visible ridge at the dart, which has one layer of fabric on one side of the stitching line and 3 on the other, this pressed-to-one-side dart leaves an outer surface that is as flat and smooth as a seam that has been pressed open.
This dart is pressed to the centre and the strip towards the side seam, but I don't think it really matters which goes which way.
Balancing the darts is unnecessary if your fabric is thin and will press very flat. For my dress, however, I'm using a suiting weight wool which is underlined with silk organza.
Start by cutting strips of fashion fabric which are about 2.5cm (1") wide and the length of the dart plus 2.5cm. They are cut on the straight grain. Even if you only have shreds of fabric left, you'll have more than enough to do this.
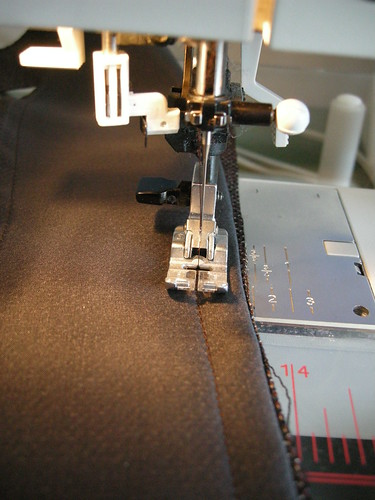
Then go ahead and stitch the darts.
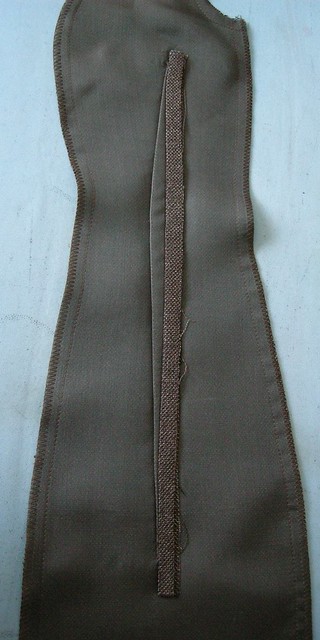
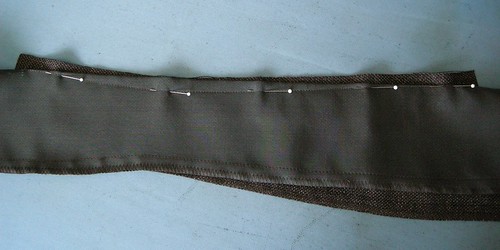
Take the strip of fabric and pin it under the stitched dart, like so:
Place the strip so that the stitching line of the dart runs (approximately) down the centre line of the strip of fabric, and so that the ends of the strip are a little bit beyond the pointy end of the dart. More of the strip is visible at the thin ends of the dart than in the thicker middle, as you can see.
Press carefully, with the dart going one way and the folded strip the other (as shown above).
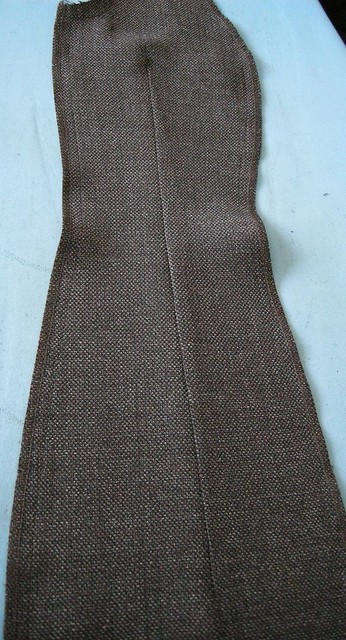
From the right side, there is no ugly ridge.
Voila.


Beautiful technique. Now I take it that this is something you can do instead of cutting the dart open and pressing? Seems like a much safer alternative at any rate!
ReplyDeletexoxo,
Sunni
Nice technique!
ReplyDeleteThank-you, Kay
ReplyDeleteVery nice!
ReplyDeleteI have a question about this technique...Why would you use it? Is it for unlined garments? Because if you are lining a garment, why wouldn't you just slice the dart open and press it flat? Then there is a single piece of fabric on either side of the dart. I mean the technique is kewl and I understand the premise...just wondering why you would use it instead of other options?
ReplyDeleteSmart idea. Only to be expected of the sewing lawyer!
ReplyDeleteI've seen the technique in the book. THanks for showing such clear pictures. I'll add it to the tutorials blog.
ReplyDeleteinteresting!
ReplyDeletethanks for the great tutorial. I have never done this in 50 years of sewing............
ReplyDeleteThis is a technique I used a long time ago when I made my first jacket (It was included in the instructions for the Burda magazine jacket)
ReplyDeleteI've seen this technique in numerous couture books but never could quite figure out why adding this additional bulk, compared to proper pressing over a seam stick would warrant it. I've always subscribed to Roberta Carr's philosophy of " reduce bulk whenever possible" and with proper pressing technique never noticed a problem of seam show through on darts.
ReplyDeleteThank you! Nice explanation.
ReplyDeleteNever heard of this in 66 years of sewing. I'll have to try it. Thank you
ReplyDelete