Should I edit the title of my blog?

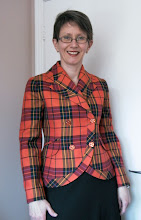
As of mid September, this is me. More time for doing my stuff. We shall see if it includes more sewing and knitting projects, and if I make time to blog about it.
Stay tuned!
Should I edit the title of my blog?
Stay tuned!
Once again, I fell for a new Closet Core pattern. This time it is the Jo Dress & Jumpsuit. The dress immediately appealed to me, but as I'm about to retire (no more office clothes!) I decided maybe I shouldn't be sewing a structured dress that I would have very few occasions to wear. So then, the pants...

But an actual jumpsuit????? No way.
I think jumpsuits and I passed each other on fashion street when I was in my 20s or 30s (?). I cannot actually remember but I know that I didn't want to wear them then either. Their immense impracticality is a deal breaker.
But then I thought - I could make a top using the Jo pattern and some matching pants! Two pieces would be so much more versatile.
So that is what I did. I had this linen print in stash and there was enough of it to make my outfit.
Let's talk about the top first. It is, almost straight-up, the Jo bodice.
In the olden days (long pre- pandemic) I would obsessively test every pattern before cutting it out in my "good" fabric. Somehow I've lost the desire for that, and have become more willing to live dangerously and prepared to adjust on the fly.
This was not a fantastic strategy for the top of the Jo pattern. Based on my measurements I cut a size 6 but I could easily have gone down to 4 or maybe even 2.
There are two main pattern pieces - a front and a back. The sleeves are cut on. Because of this, you cannot really alter the size once cut.
The top is interesting because of the way these pieces are connected at the top of the shoulders and centre front. The pattern describes the joining seams as "slot seams" but in my opinion they are not. A typical slot seam is structurally similar to a centred (non-invisible) zipper but instead of a zipper that's hidden, it's a contrasting strip of fabric.

In the photo at right, you can see that the bias binding continues above the sleeve seam and finishes the front and back neck. At centre front, it curves again into another "slot seam" that continues down to the waist of the dress or jumpsuit (and to the hem of my top).
You can't really try this on before it is all constructed, mostly because the centre back seam (a zipper if you are actually making the Jo pattern as designed) is the very last step. I wasn't sure I would need any kind of back opening to get this on as a top, and I was hedging my bets on this up until the end, i.e. until it was essentially fully constructed.
Oh who am I kidding? I could have slammed it together enough to try it on before I did all the bias binding. But what I could not have done was any serious adjustment at that point. Because, of course, the size and shape is pre-ordained once you have cut out the main pieces without alteration. So I continued on a wing and a prayer.
Only to find out that the neckline was HUGE. Too low and too wide, especially at the back.
In order to make this wearable, I added the little orange linen triangles you can see in the photo above. These not only bring the deep V of the front neck up, and the wide Vs of the shoulder points in, they also stabilize those joins and keep them from spreading out. Since I had cut orange joining strips in the faint hope that a bit of orange would shine through my "slot seams", I am very happy with the aesthetics of these little triangles as well as with their functionality.
I did not need a zip at the back. The pattern has a zipper there, and a ruler-straight centre back seam. I took a good 4-5cm out of the CB at the neck edge, tapering out to the original seam by mid back. This helped with the falling-off-my-shoulders feature of the bodice as designed. It's easy to pull the top on over my head.
What else? I obviously lengthened the pattern pieces to top length and I ignored the darts in the front of the Jo pattern.

The sleeve hem was far too wide for my frame. I sewed the underarm sleeve seam in by at least 5cm at the hem, tapering back to the original seam at the point where it pivots to become the side seam.
If making this again (assuming I need more than one top shaped like this, maybe questionable) I would start with a smaller size, fold out some length in the upper bodice/sleeve at front, and shorten the sleeves by a couple of cm. As made, it tends to fall back at the shoulder. I think the upper front is too long.
If I had thought about my experience over decades of sewing for myself, I ought to have predicted all of this.
Onward to the pants.
The bottom of the Jo jumpsuit is a cropped pant with a flat front and elasticated back waist. The crotch depth is ... baggy (jumpsuit, another reason not to like them). I wanted pants with a similar look but that would actually fit me. Pietra to the rescue. I picked View B (the slim legged, cropped pants).
I do not like clothes that are too tight, and it's a tiny bit possible that I think I am bigger than I am. So my tendency is to err on the large side, and then I have to adjust in the sewing once I can see how things are going to fit.

I retrofitted them by taking them in at the hip by about 4cm. Back to a teeny bit bigger than size 8. Now they fit OK, although I think they would have benefited from darts in the back, and to have the elastic a bit snugger at the waist.
No mind, they are comfortable. I can definitely see myself making this pattern again.
It remains to be seen if I will wear this outfit more than I would have worn the dress...

I decided to make the Carolyn Pajamas pattern from Closet Core. Enter this Egyptian themed and weirdly badly printed fabric, pure cotton, that I bought years ago at the Fabric Flea Market. I had always earmarked it for PJs because ... well, that print! It's so strange!
Now behold, my new shortie PJ set.


Behold:
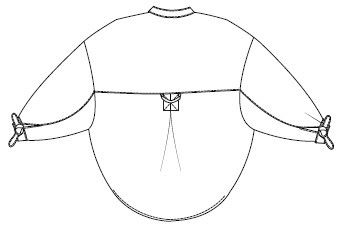
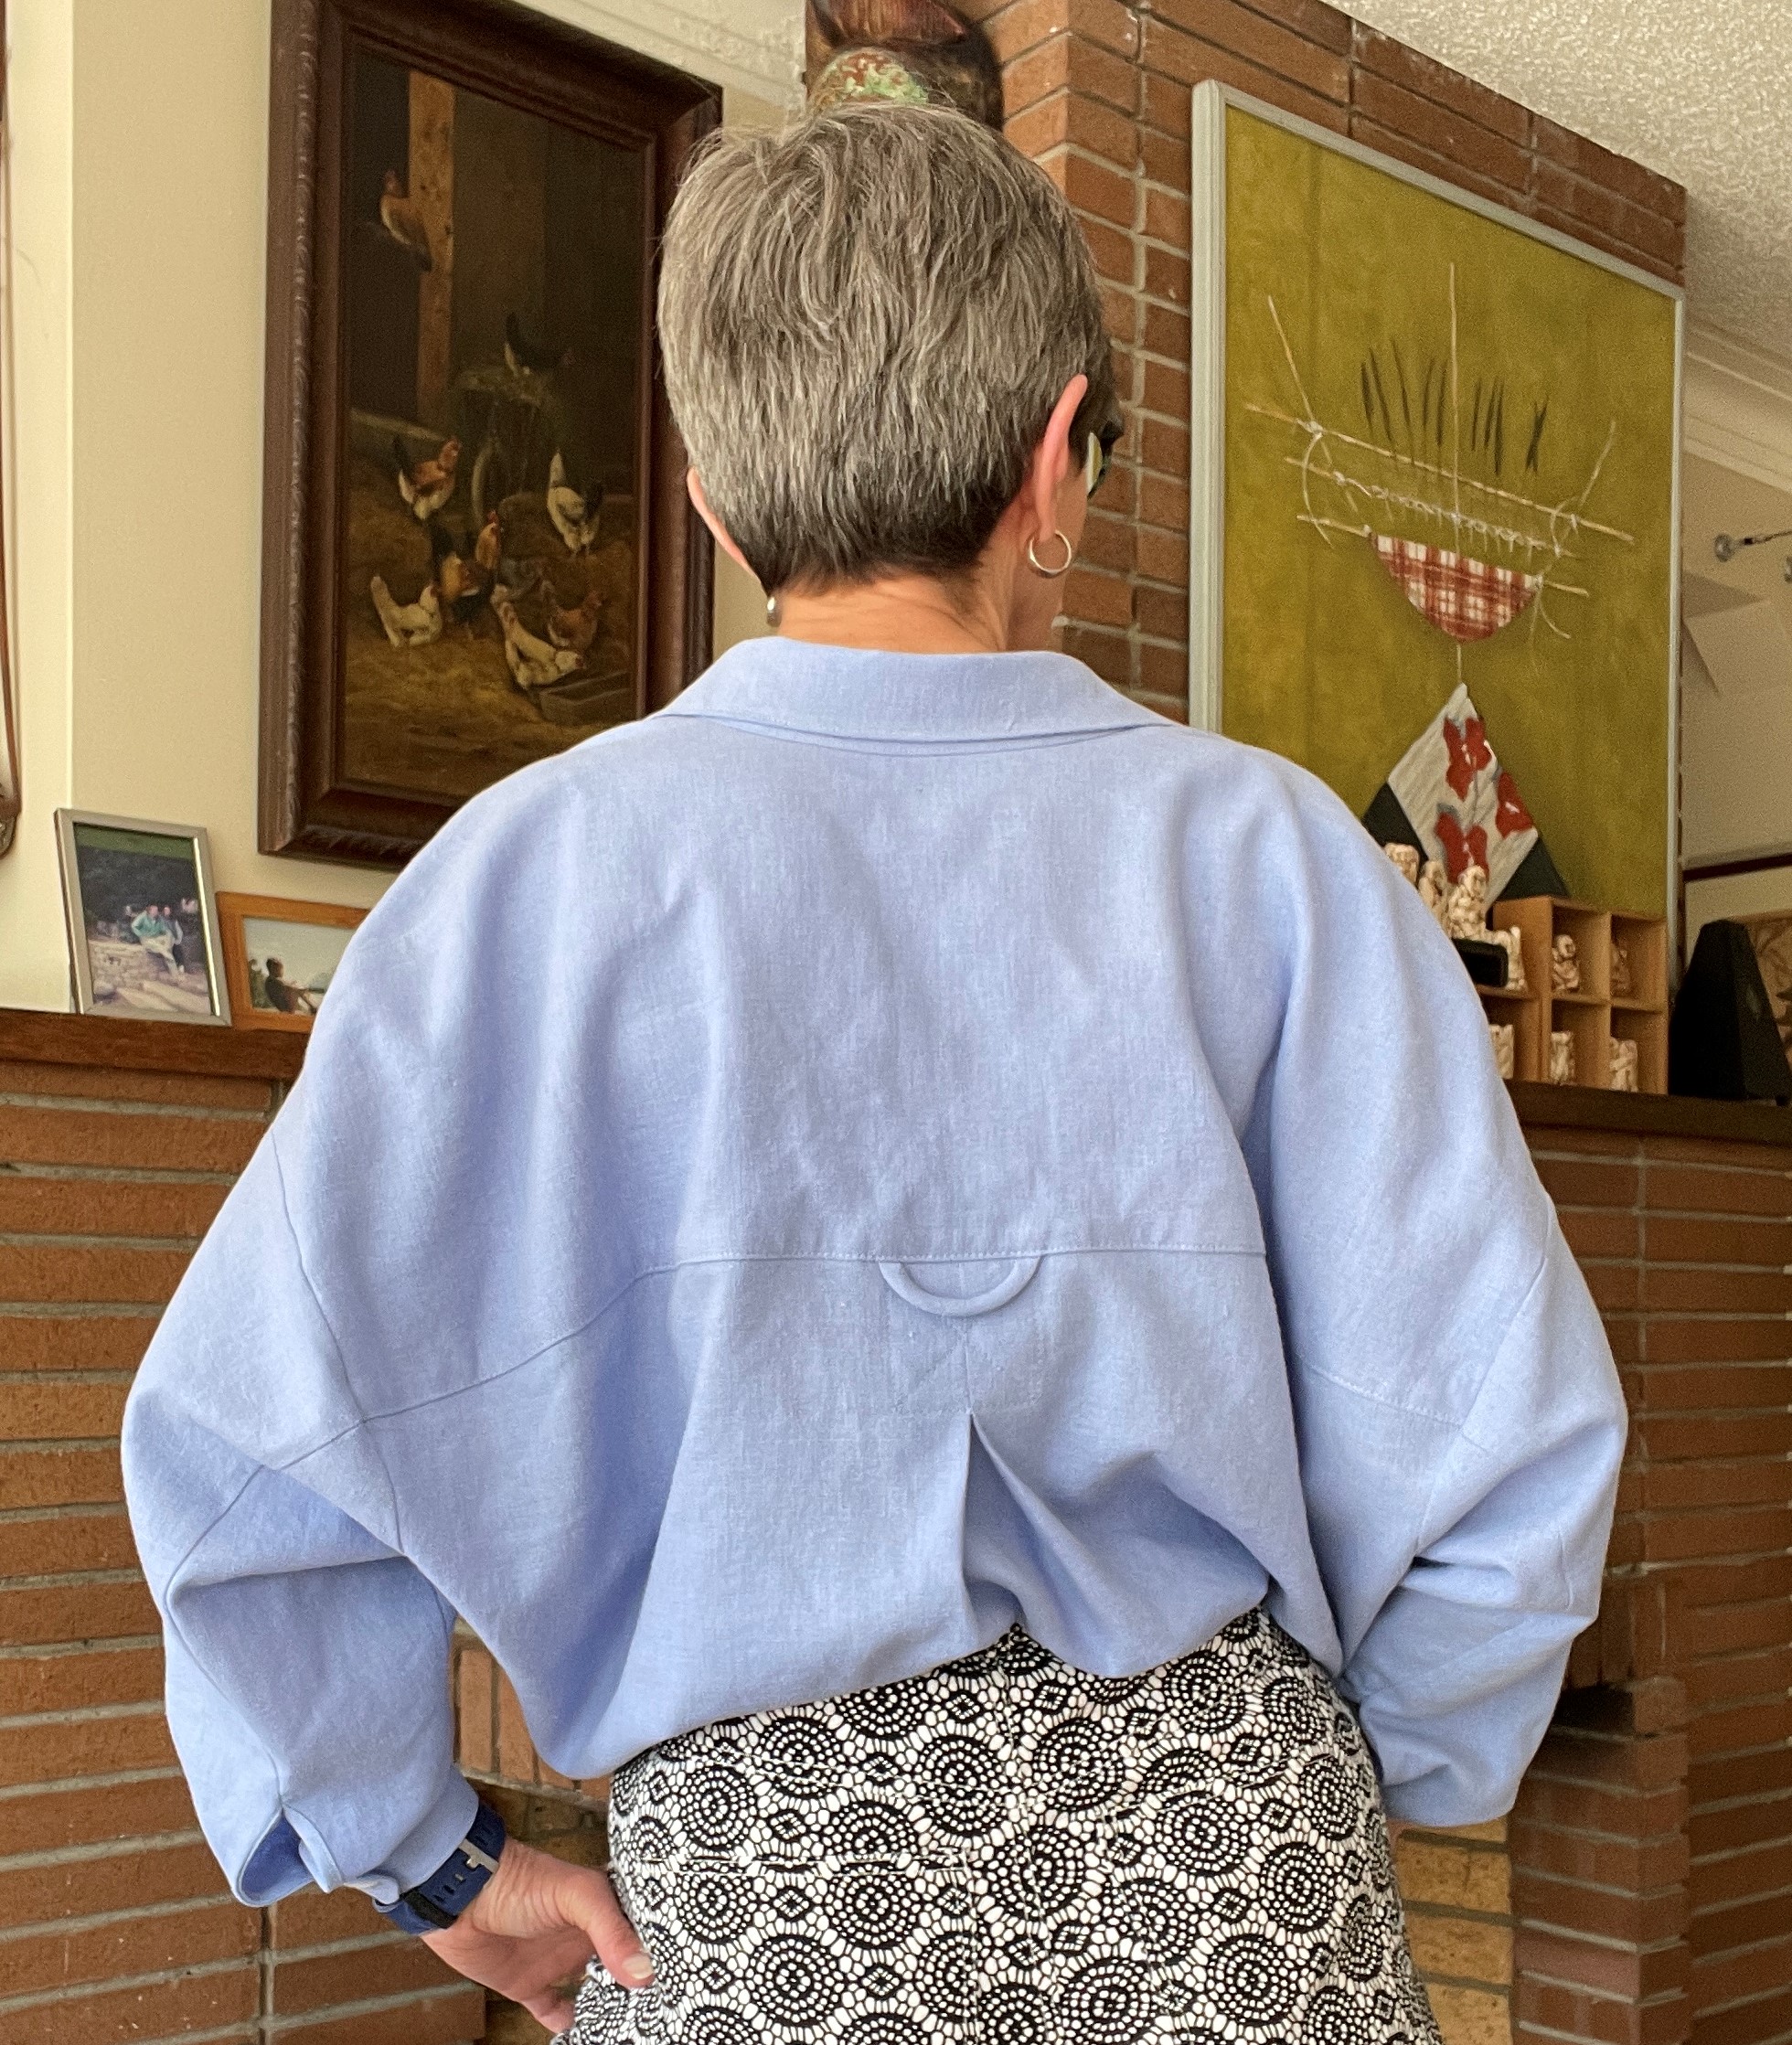
How could I resist this crazy silhouette? The beautiful deep back yoke? The stitched down box pleat? The big, fat hanging loop? So fun!
The shirt is basically a big flat circle. The side seams slant from way out, below the extremely low armscye, and end up forming part of a big continuous curve to the hem.

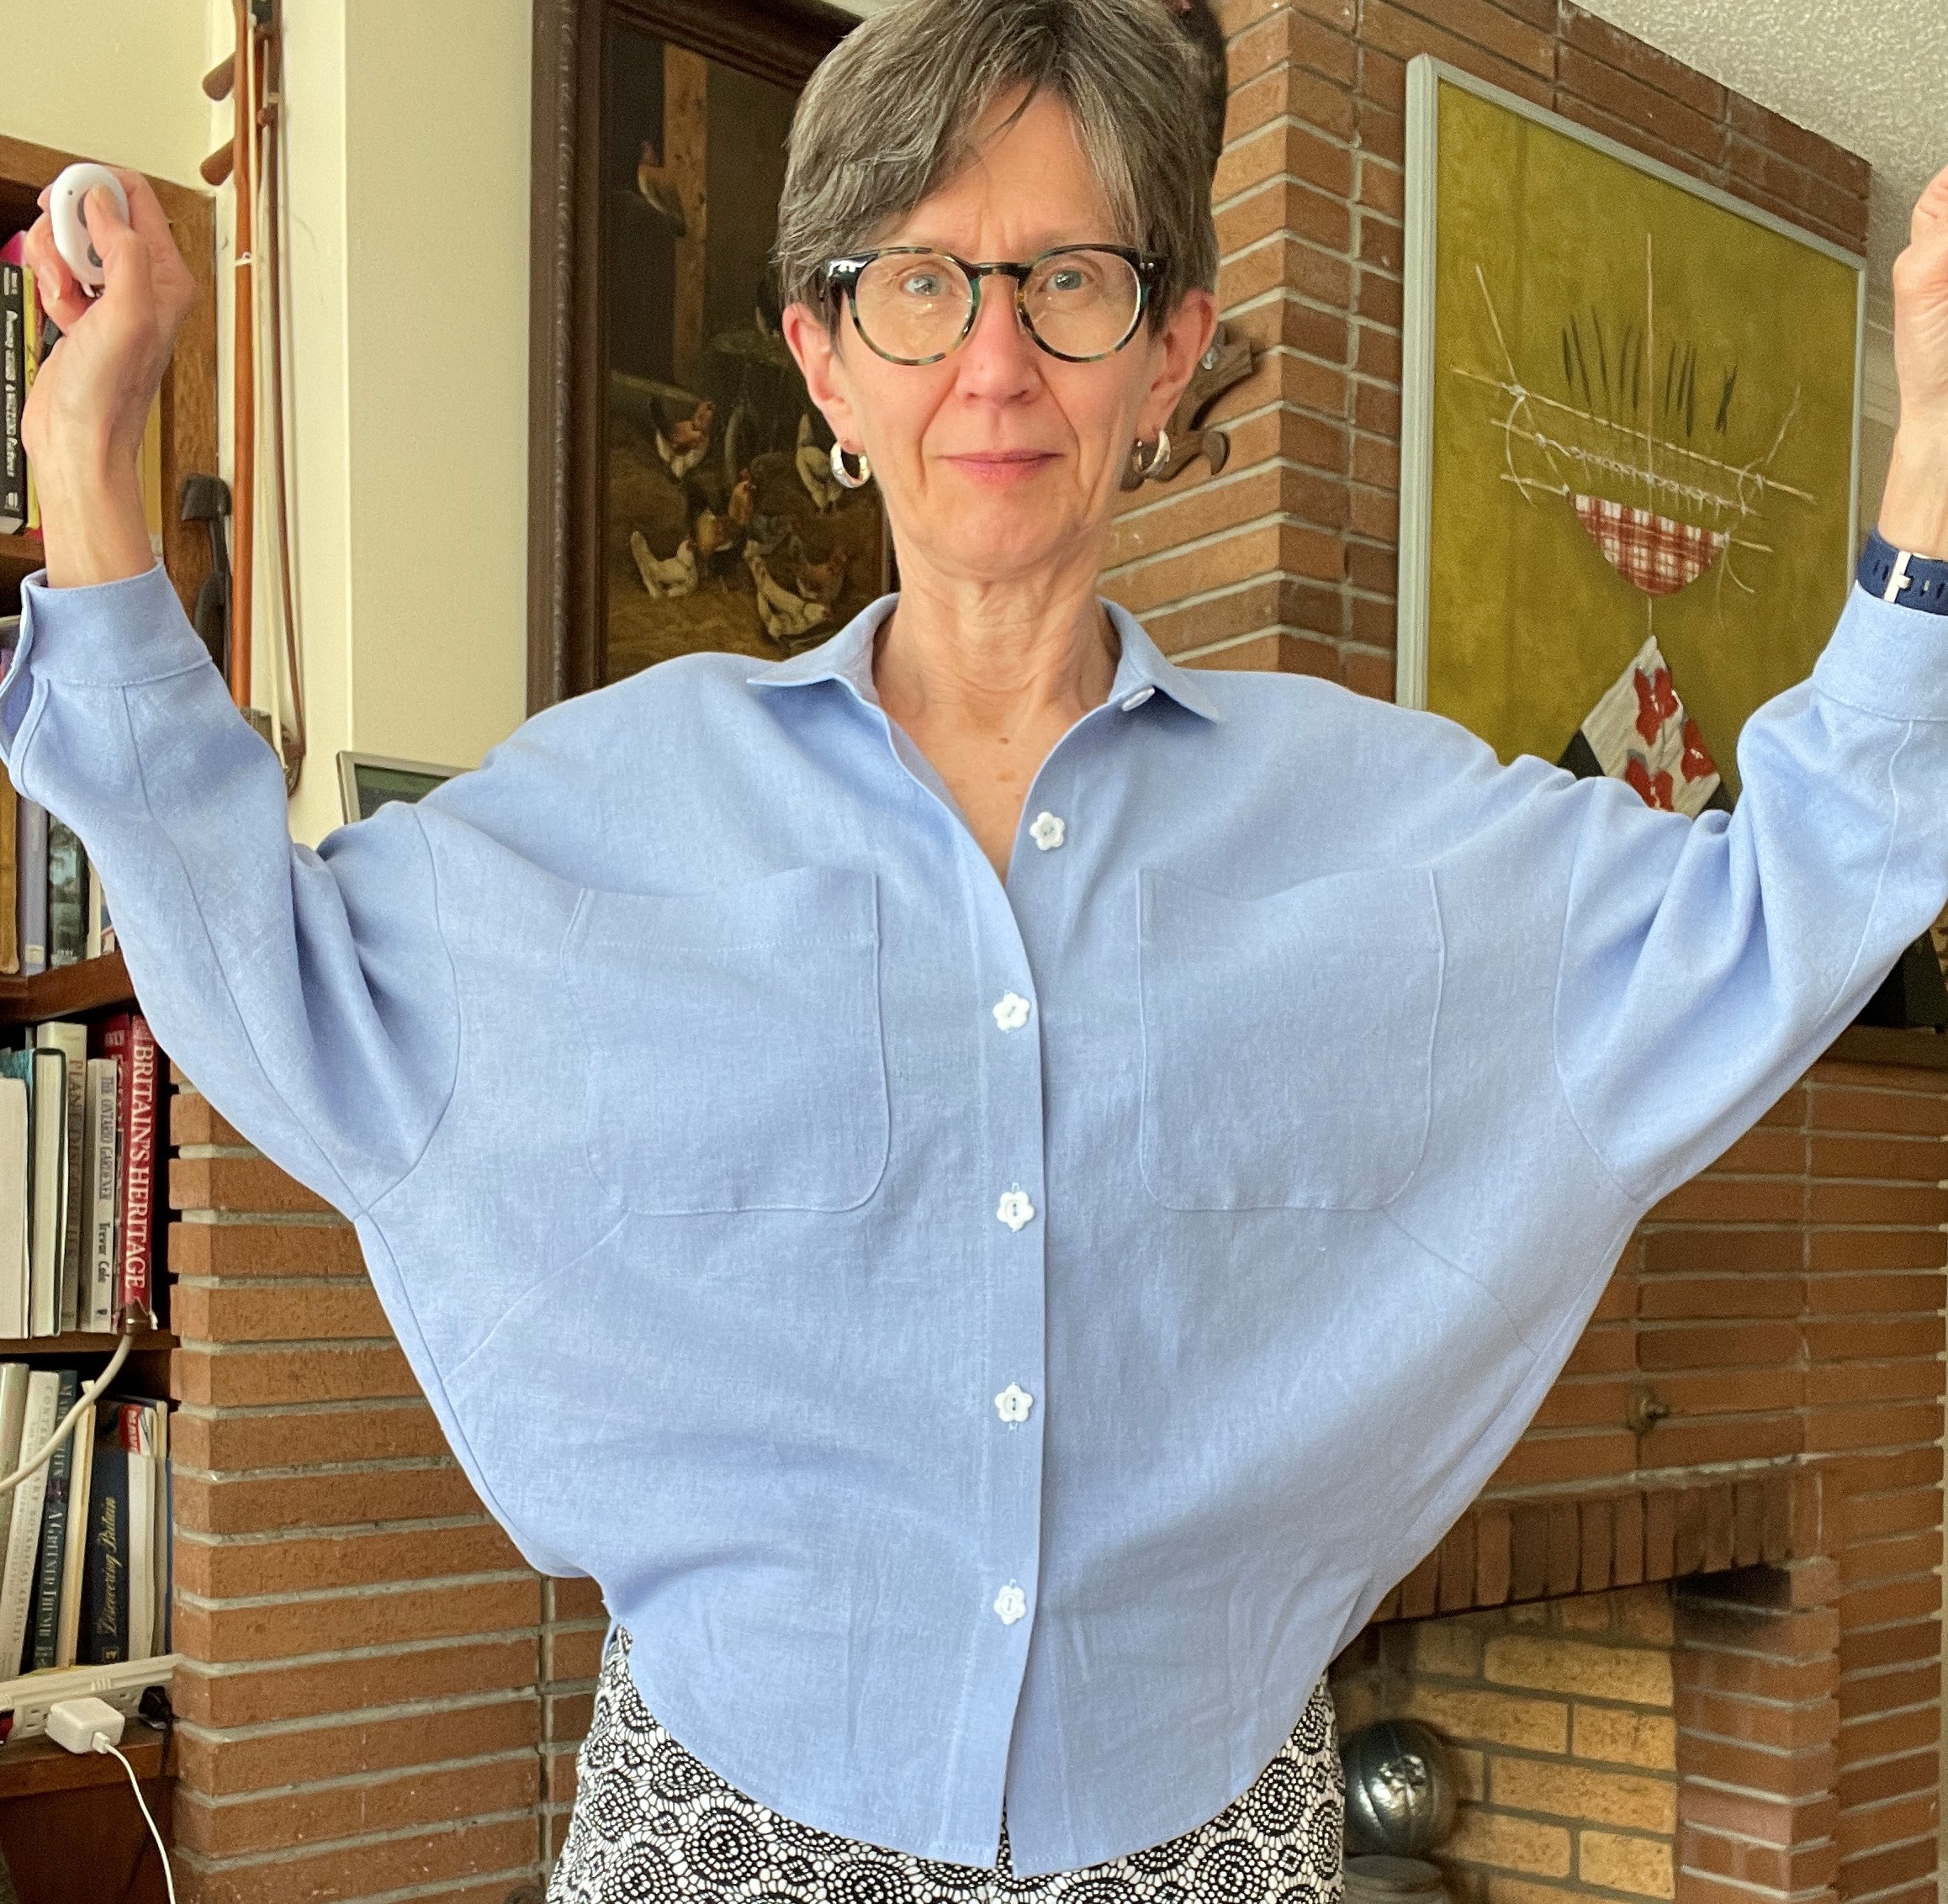 |
| Are there full length arms in there somewhere? |


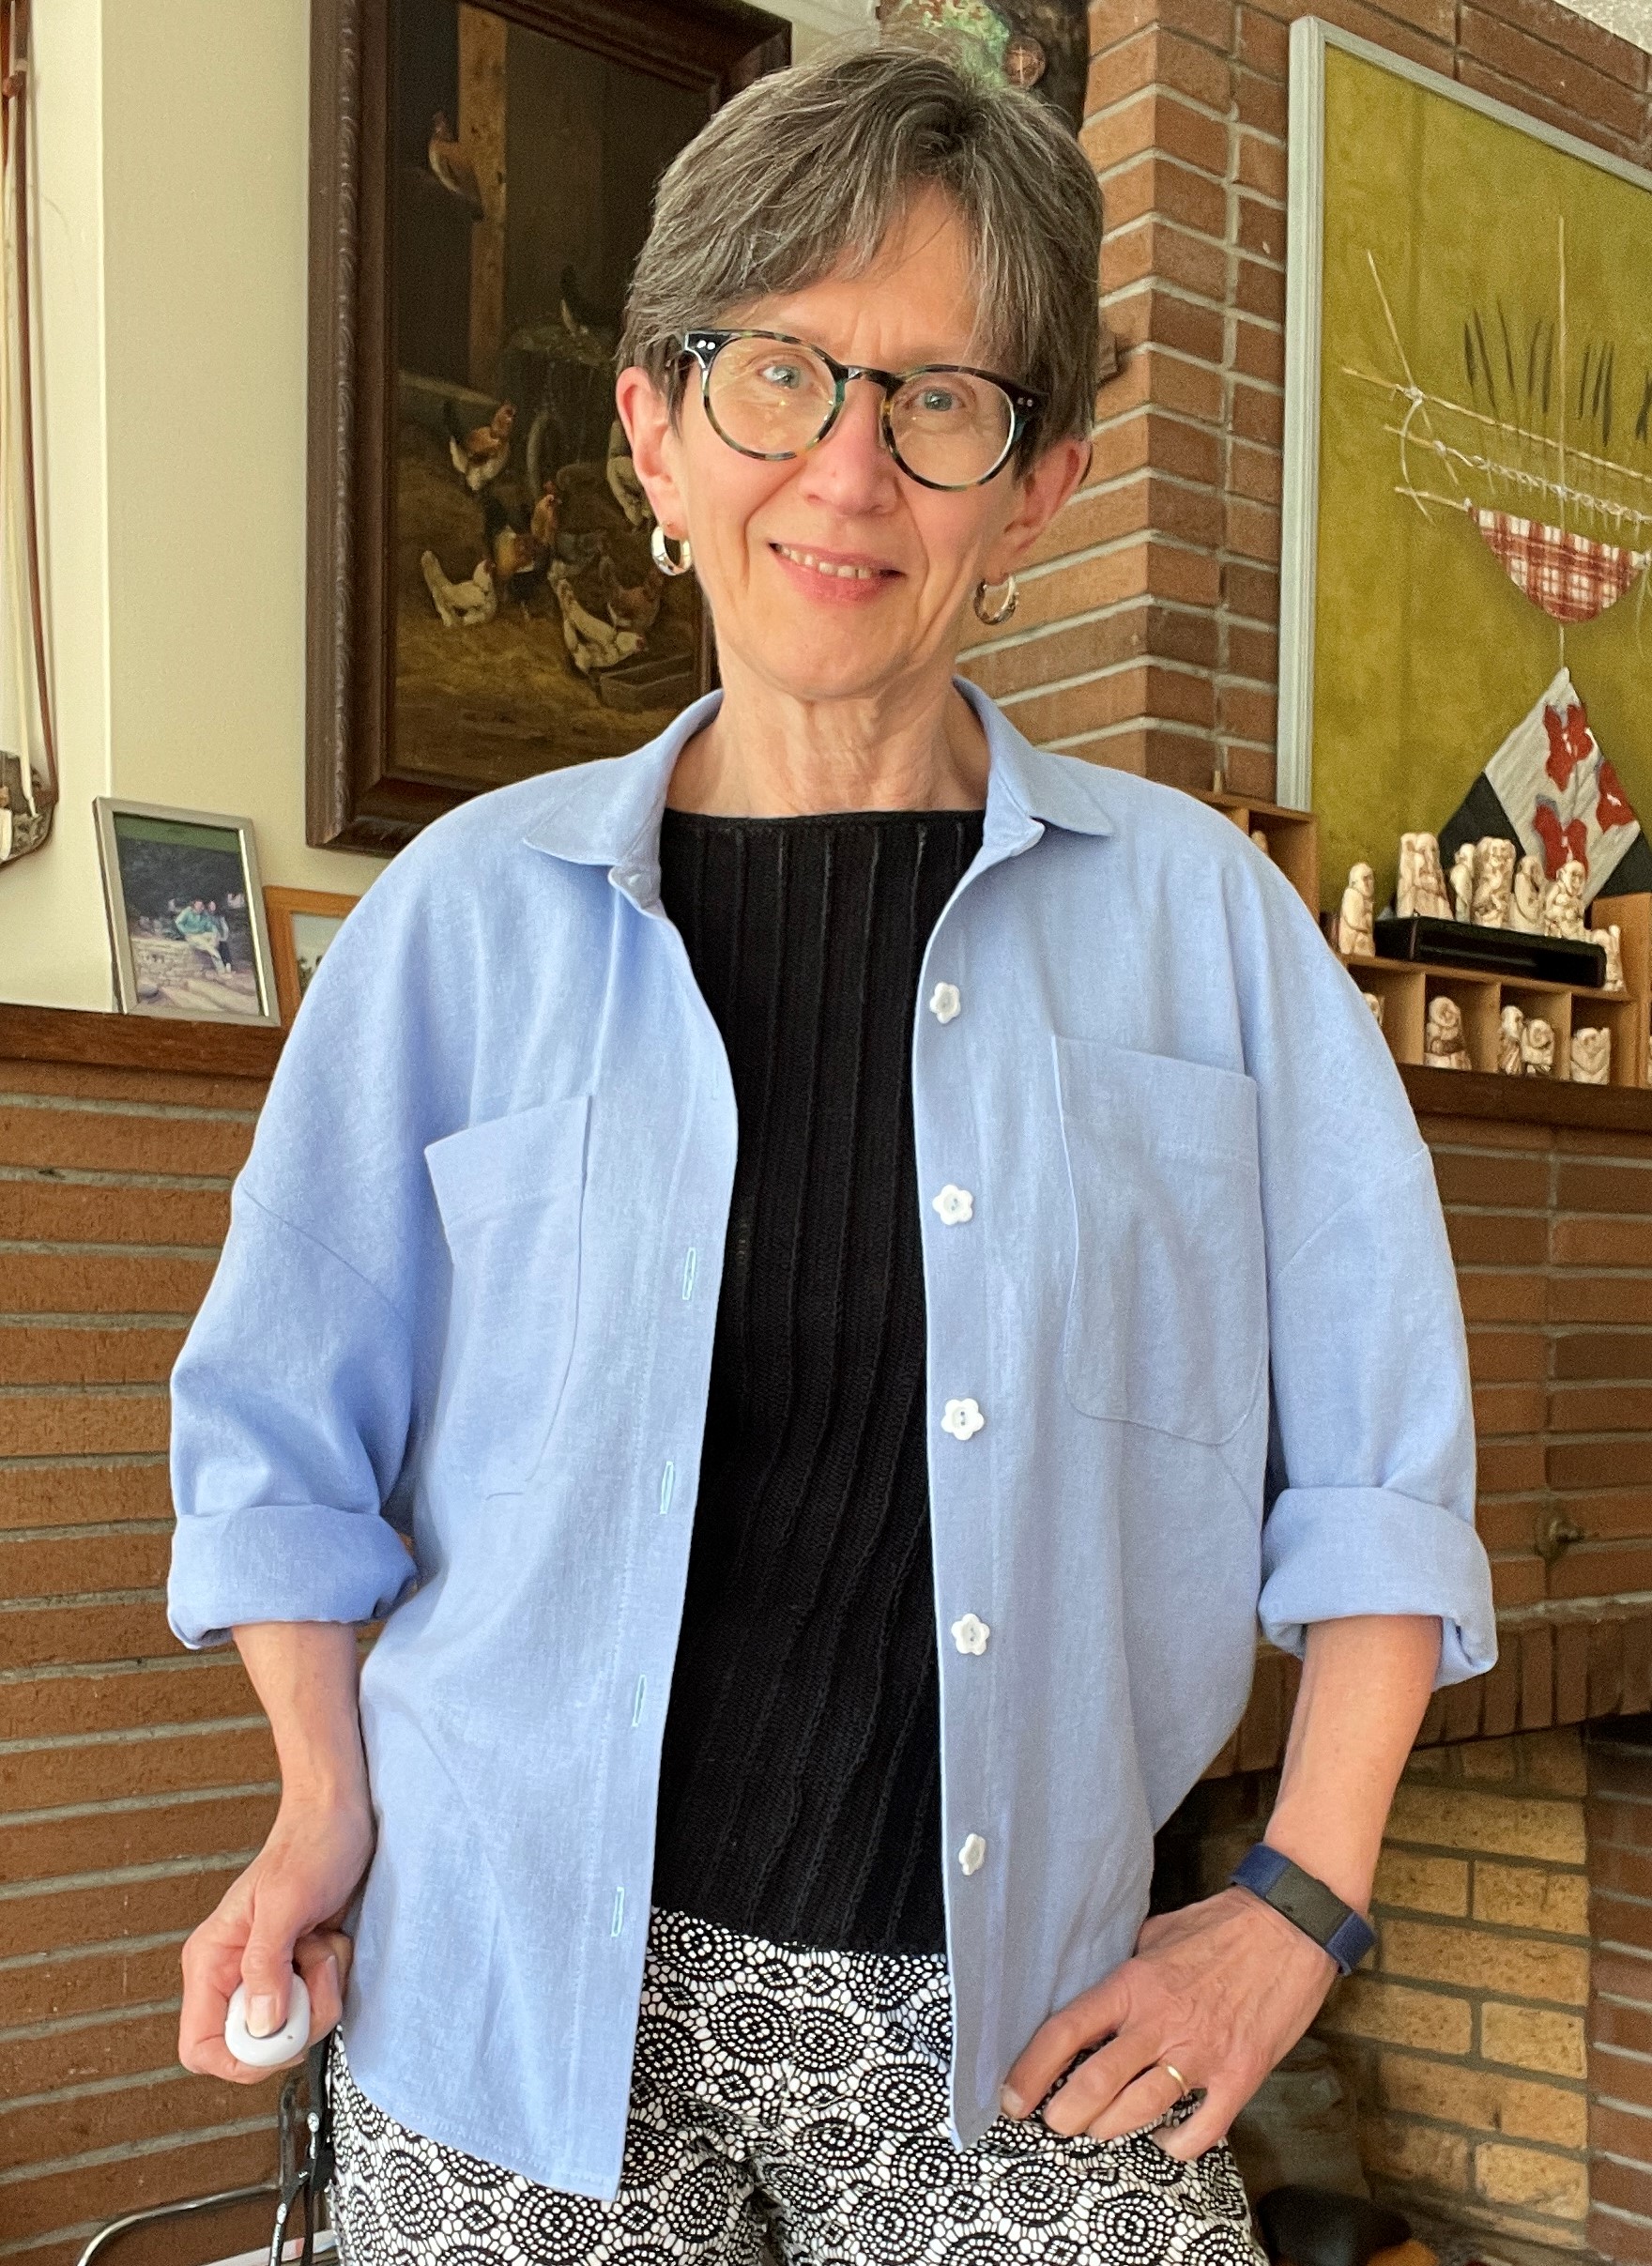 |
| It looks fine as an open over-shirt That's the way I will always wear it! |
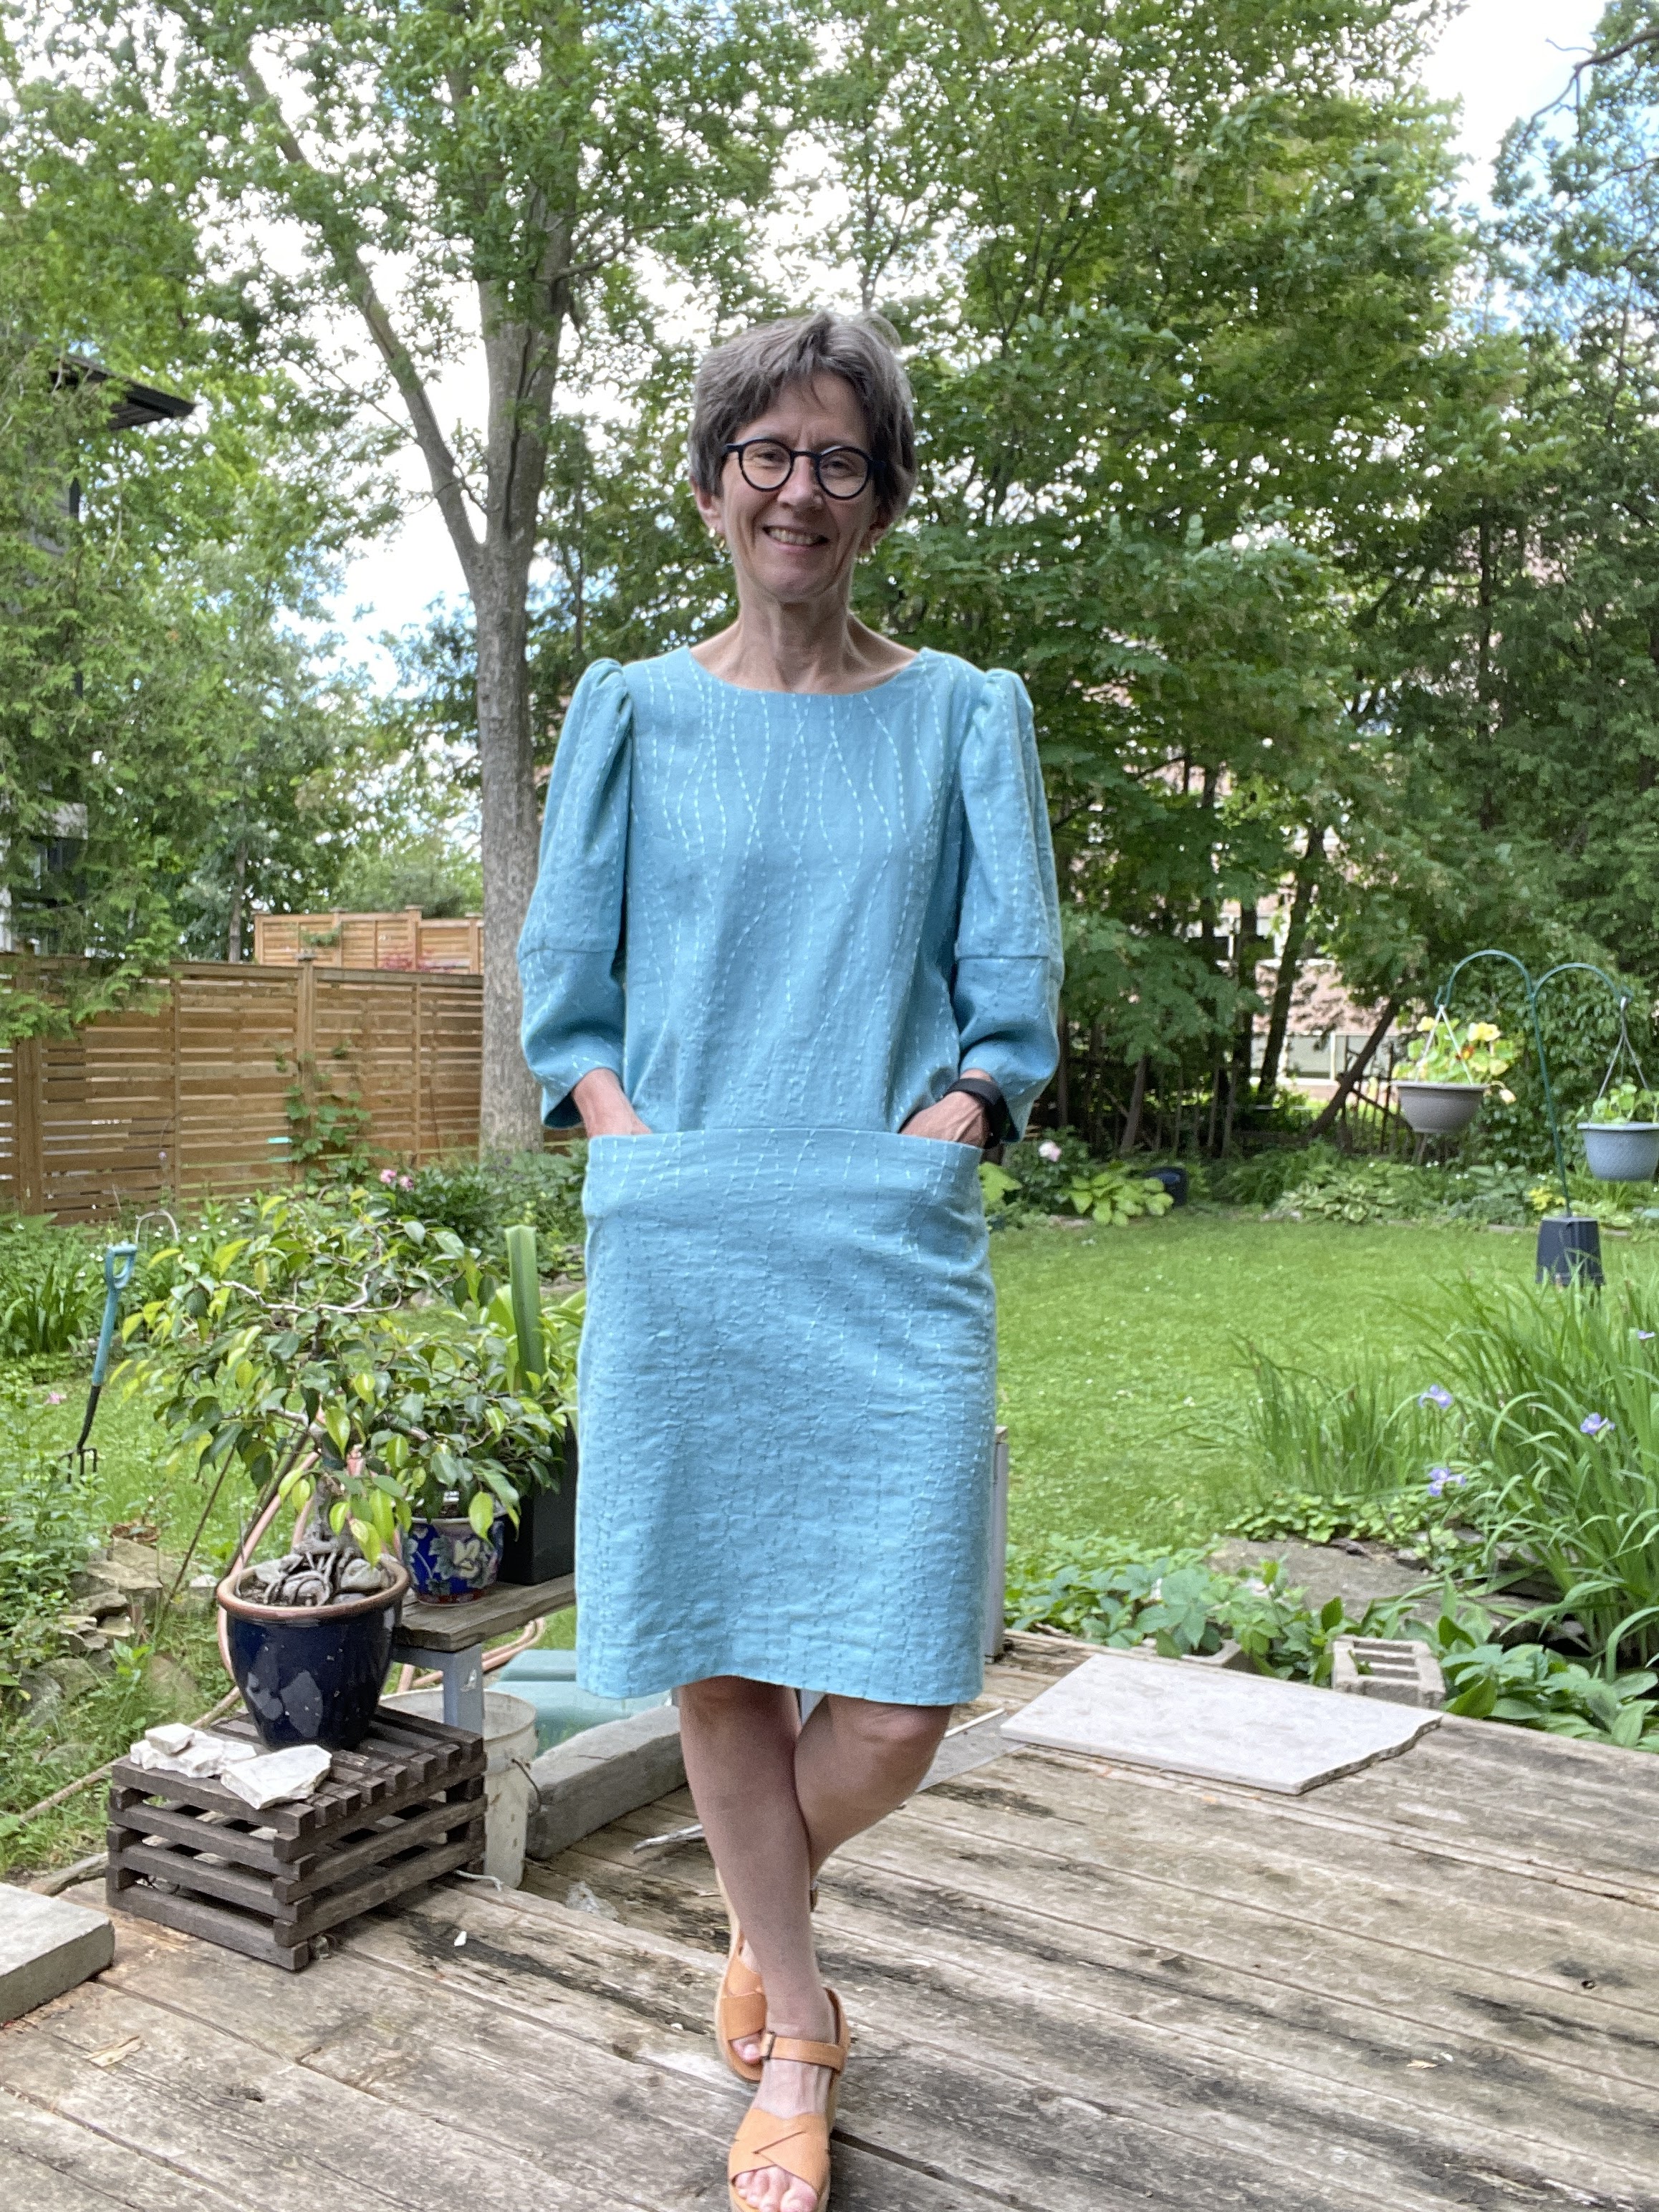
This version is made from a mid-weight woven embroidered blend (maybe viscose and something) from stash. I had more than enough to cut the extravagant sleeves and the pockets.
I predict more.
Not that this pattern is perfect. I had to tweak it to get it to a state I was prepared to live with.
This dress has 2 bust darts but otherwise no shaping at all. The side seams are dead straight - no flare, no curve in at the waist. This makes it challenging for a person whose hips (10) are typically 2 sizes bigger than her bust (6) to pick a size.
I did some flat pattern measuring and decided I should just cut the size indicated for my measurements. 6 for the bodice, grading out to 10 at the hips.
Readers, it hung off me. The finished dress is more like a 6 overall and if doing it again I think I would go for 4 in the bodice and sleeves.
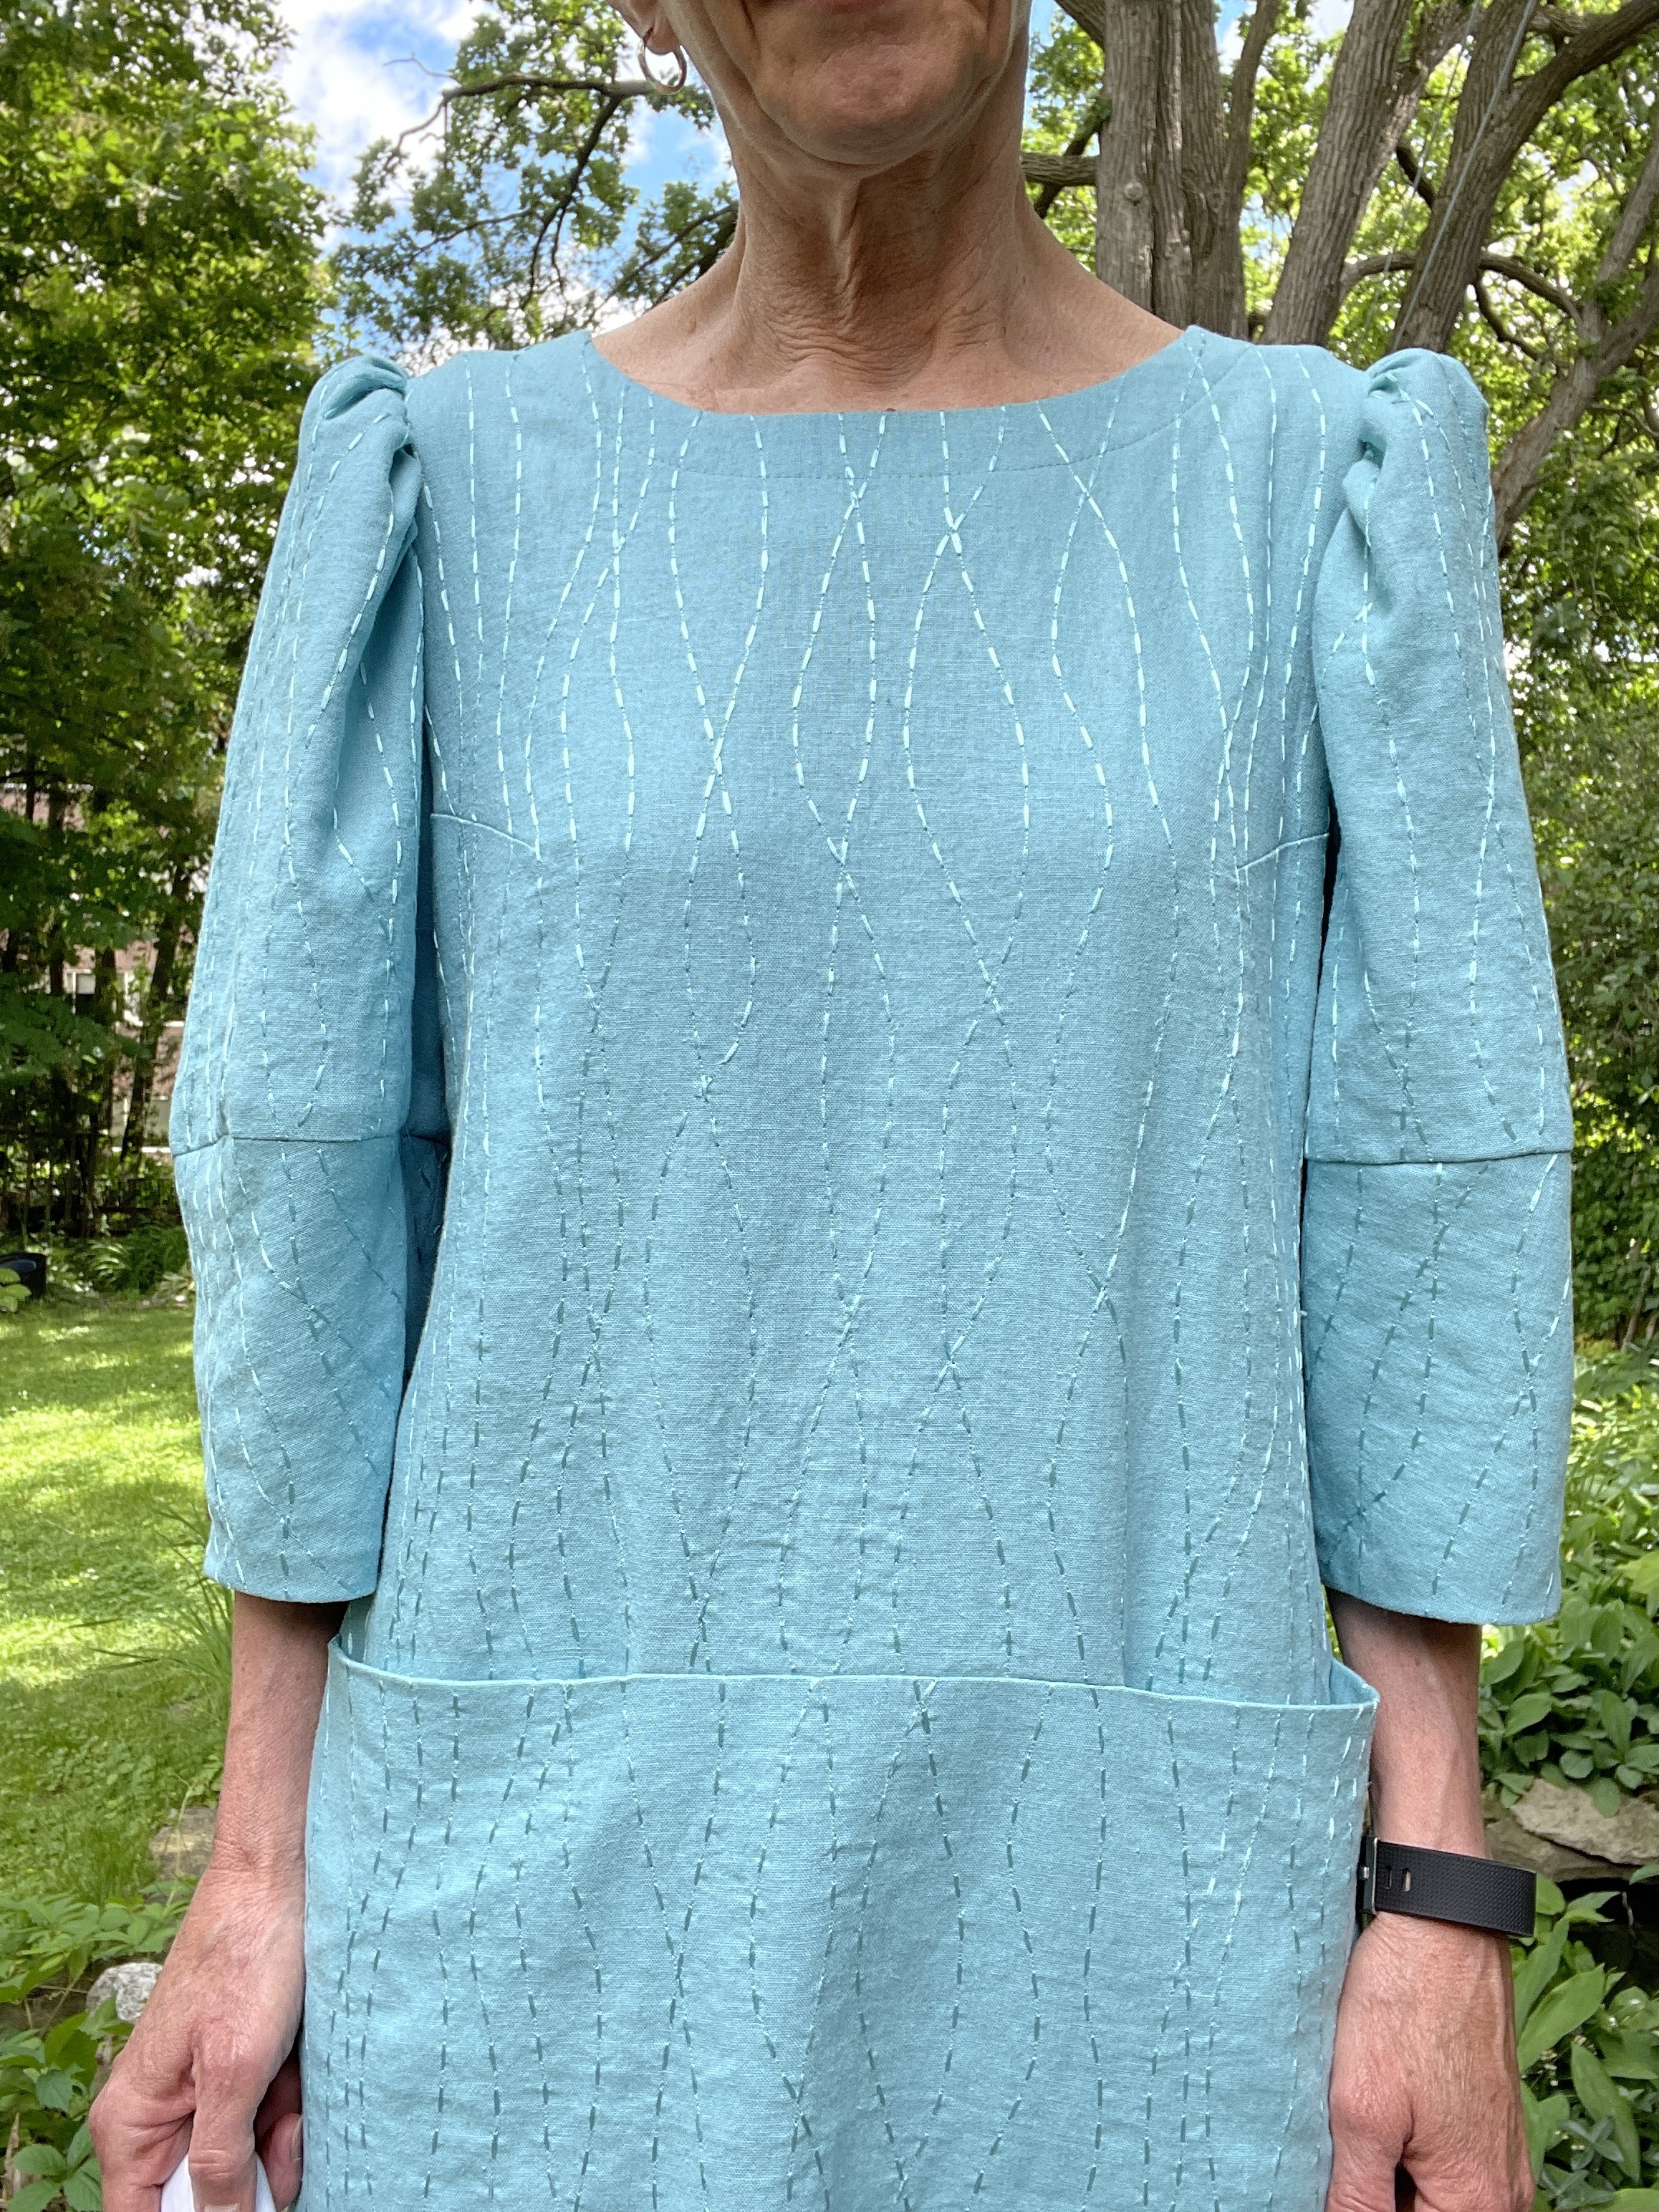
Unlike similar dresses from the 80s and 90s, this pattern doesn't call for shoulder pads to support the sleeves, but they needed support of some kind.
A roll of soft tulle to the rescue. I cut a strip approximately 11cm by 50cm, folded it lengthwise in 3 and gathered it. Then I inserted the gathered strip in the upper sleeve.
My sleeves went from sad to statement in a flash.

Someone asked if I can feel the tulle - I can't. It's soft stuff that I acquired in stash from a wedding dress maker, if memory serves. You never know when things like that will come in handy.
The other thing I changed while sewing this pattern is the order of construction. The instructions say to sew the dress at shoulder seams, finish the neck, then install the upper sleeves. The underarm seam is then sewn in one pass. After that, you add the lower sleeve.
I prefer sewing anything even slightly structured in the round, setting the sleeve into the armscye. Sewing the underarm/side seam in one pass flattens the seam joining the sleeve and body under the arm. Unless you're making a T-shirt, this risks distorting the garment.
(The same goes for the crotch seam in pants. Sew it last if humanly possible.)
I should have ignored the instructions from the start for this reason. I could have checked the fit of the dress before having to deal with the fit of the sleeves. Having attached sleeve 1 to the body before checking fit made it a lot harder to adjust things on the fly.
So it was a bit of a pain but in the end I have a dress that's quite wearable (at least if I don't need a sweater or coat...).
Rarely do I find fabric that I Must.Sew.Right.Now! This was one such piece.

Why? A print that looks like bulky stockinette!
The fabric is my nemesis; a soft rayon/lycra jersey. But who can resist an irresistible print? I had to have it even though it will stretch and become less lovely over time.I bought it on Saturday, and a few days later, it has become a completed top. I had enough fabric to cut out a tank top too, but it's still unassembled.

The pattern is one I mentioned a few posts ago - Jalie 2449, but altered to be less figure hugging. It's still plenty fitted.
It should be useful and comfy for a trip I'm taking this month.
Jalie 2679 has been around for a while - since before Jalie started giving name identifiers to its patterns. (I don't know about you, but I find "Stretch Softshell Jacket" a more useful moniker than ... say ... Monika.) It was in my pattern stash for years before I got around to making it.
Why did I wait? This is such a comfortable and useful jacket!

And in cold. I wore it cross-country skiing - a lot - this winter.
Here I am after a strenuous outing at -30 something C in January. I was toasty warm!
Yes I realize that you can't really see the jacket.
The zipped pockets are very big - the size of the entire front below the yoke and above the lower band. I used some miscellaneous mesh fabric from stash for the backing of the pockets.
The sleeves are nice and long so the jacket is great for biking.
The shape of the collar is perfect. I often find that stand collars jab me in the chin, but this one starts with a low enough scoop to be truly comfortable even when the jacket is zipped up to the top.

Almost as good as a modeled photo, no?
I'm going to try to figure out a good fabric combo for a windproof/water-resistant running jacket.
All my posts these last 2 years start by apologetically noticing how neglected my blog is. So I won't do that again.
I realized though that my blog is completely useful - to me at least. I bought some fun jersey yesterday and want to make a top I've made a few times before. The pattern is Jalie 2449, which is not in the catalogue any more (but is similar to 2910). I looked at the traced pattern and the top I last made from this pattern (in 2017) and thought hmmm it looks like I adjusted it to be less fitted. Sure enough, my blog entry mentions this. Stupidly, I didn't adjust the pattern though. This time, I retraced it so I can faithfully reproduce it the next time (maybe 2028 or so) I make this versatile top. Thanks to former me for mentioning it, thanks to present me for thinking to look it up.
And for a report on recent (ish) projects...
My garment sewing has been sadly neglected except for a few tester patterns for Jalie. Stay tuned to Jalie's web site to see what the new patterns will look like. They should be released soon.
Sewing has not been happening much, largely because the opportunities for wearing nice clothes are still evaporated. My work wardrobe has hung in my closet for 2 years, sadly neglected. Mostly I wear jeans and sweaters (winter) and am about to graduate to jeans and knit tops for spring and maybe to loose cotton dresses for summer.
My recent makes are comfy clothes (several pairs of pants - see above mention of Jalie testing - which I cannot show you) and a sort of a hoodie dress (ditto). I also made an Anne-Marie top out of some wonderful fabric (merino wool with some kind of high tech wicking backing) I bought in Sydney, Australia in 2018. It's hot pink and I love it. I seem to have failed utterly to take any photos.

Then there's workout wear. Who else is doing Zoom pilates? It keeps me sane.
I made two pairs of the GreenStyle Spark tights - one pair for myself and one (fleecy winter running tights) for my son's partner. This is a great pattern for two reasons: pockets (at the side) and multiple waistband choices. I made myself the "ultra contoured" high waist because I love tights that feel secure at the actual waist, and these really do. My son's partner requested mid-rise. Reportedly they are very comfy and warm.At left, my ultra high waist tights are modeled with the Audrey crop top, another Jalie pattern.
I love Jalie but Audrey is not my favourite pattern. I find it too small in the neck and a bit too cut-in at the arm in front, and cropped is not my favourite length. I tried to make this one longer but it is still a bit on the too-short side.
It is very secure once you wriggle into it though.

I believe I promised you information on how I hope to be free from laborious calculations for my machine knitting projects.

I bought software! Behold, at left, a top I made using it. (More details on the project below.)
Some machine knitters use a program called Design-A-Knit (DAK) but I couldn't warm to it. For one thing, the price is rumored to be many hundreds of US dollars (the website for the US distributor is remarkably bad, it's impossible to even find purchase details like cost). Also, I had looked at the demo and it didn't make a lot of sense to me. Plus, maybe it's more than I need.
So instead, I purchased Garment Designer, a program for creating patterns for sewing and knitting. Like DAK (currently on version 9), GD has been around for many years. I had heard of it way back in the day when I was working with PatternMaster Boutique (PMB).
My impression at the time was that GD was a less powerful program than PMB. I think I was right - while you can alter the basic shapes provided by GD to a point, it is not a full CAD type program. However, the positive side of that is that it does a lot of the hard work for you in providing those basic shapes. (As I recall, PMB was moving in that direction but I don't know how far it went down that road. You had to understand a lot about ease and pattern drafting to make it really work.)
Anyhow, I was seeing that some machine knitters (especially Miss Celie's Pants) were using GD with great success. So I forked out my $200 (US) and waited for the disk to arrive in the mail (I am convinced that people who sell pattern drafting software are still living in the 1990s.)

At right is a screenshot of my pattern. GD allows you to input your knitting gauge and then it calculates how many stitches and rows you need, and where all your shaping needs to happen. You can print out the shaping instructions and follow them while knitting. OK, so it's not interactive knitting like DAK offers, but it is a step up from a hand-drawn graph and it has worked quite well for me so far.

The chain stitch attachment at the shoulder is gorgeous and was quite easy to do (compared to garter stitch on a standard bed knitting machine).
Then I made a matching cardigan, also using GD to develop the pattern. I adapted the stitch detail from Sommerloch so it coordinates in style as well as yarn (more garter bar in black 24/100 NM yarn).

I nudged the neckline edges away from the original positions so I could attach a neck band which I didn't bother trying to draft using the program.
I also guessed at the cuffs, which are a bit looser than ideal, but very acceptable. I had to guess a bit at how deep they would be, and subtract that length from my overall sleeve piece.

Here I am wearing the pieces together. It's a very classic twinset, if I do say so myself.
Wow, talk about fits and starts. Part 1 was published August 1 and here it is the end of September already! Well, there has been more machine knitting. Quite a lot, actually.
In April, I joined the Machine Knit Community or MKC for short. It is a paid subscription, and it's open for new members only during 4 months of the year. Starting Oct. 1, it'll be accepting new members again for that month.
I had read somewhere that the site was a good boot in the rear for machine knitters and that it had really helped people keep knitting, and keep improving.
Having been on the site now for 6 months, I'd agree that this was a good move for me. The MKC is run by Nic Corrigan of Whitehall Studio in Yorkshire. Pre-pandemic, she had a shop/studio in her town where she designed patterns, made stuff and sold it, and also taught MK classes in person. Like everyone, in early 2020 she had to quickly readjust - she gave up the space in town and moved her workshop into her house. Then she set up the MKC. It will be one year old in October.
Here's what you get if you join:


I also think the little row of purl bumps at the join with the sleeves is very attractive. The top is all seamed on the machine, and tells you how to get this effect.