I'm a member of a group of local sewers (sewists, if you prefer). We got together initially because we all owned
PatternMaster Boutique (PMB) a pattern-drafting computer program. We still do, and we even use it - but it turns out we're also somewhat omnivorous when it comes to patterns and all of us are on the lookout for good ideas most of the time. So when one of our membership showed us a simple drapey jacket that she had made, and when we all - different ages, sizes and builds - tried it on and looked pretty good in it, we were intrigued. We decided we should all purchase suitable fabric and, with our sergers, make our own.
Here's mine.
This jacket design was attributed by my friend to
Carter Smith, an American fibre artist who specializes in shibori dying. There's more about him
here.
Shibori is a "
Japanese term for several methods of dyeing cloth with a pattern by binding, stitching, folding, twisting, compressing it, or capping. Some of these methods are known in the West as tie-dye", to quote
Wikipedia.
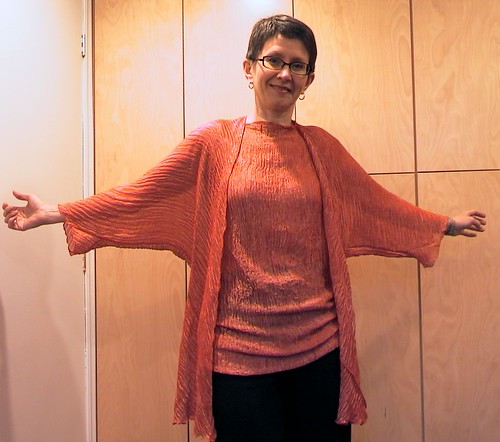
The jacket design takes advantage of the type of fabric Carter Smith tends to work with - drapey silk with beautiful pattern or surface design. This is because it's made with only two (2) pieces, and each of them is just a big square.
After I was introduced to the idea of this jacket, the perfect fabric presented itself. This was from Fabricland of all places - it's 85% silk and 15% metallic. It has a lovely soft hand and is supremely drapey - the crinkles don't lessen much and if they do, a quick dunk in the sink brings them back with no ill effects, I discovered. Great stuff! I bought the last of the bolt and it was the perfect amount for these two pieces.
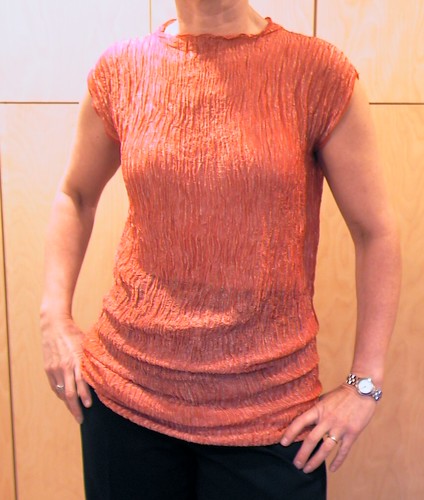
The second piece is this top, which is essentially a tube (CB seam) with shoulder seams and simple slit arm openings.
So, do you want to know how to make the jacket?
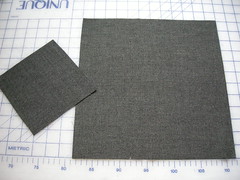
First, you need 2 squares of your chosen fabric. The small one's sides are half the length of the sides on the big square. My sample squares measure 12" and 6".
Instructions for a bias garment like this jacket were published in issue no. 143 of Threads Magazine ("Get biased - create a bias topper from two squares of fabric"). However there is a serious error in the article as published. It said to adjust the size of the smaller square according to your hip measurement - and that the diagonal measurement on the small square should be 1/2 your hip measurement. In the next issue, after several people complained that this made a garment which was much too small, Threads acknowledged that each side of the small square should be 1/2 your hip measurement. (Or, more straightforwardly, each side of the large square should be the same measurement as your hip circumference...) My jacket squares are 40" and 20".
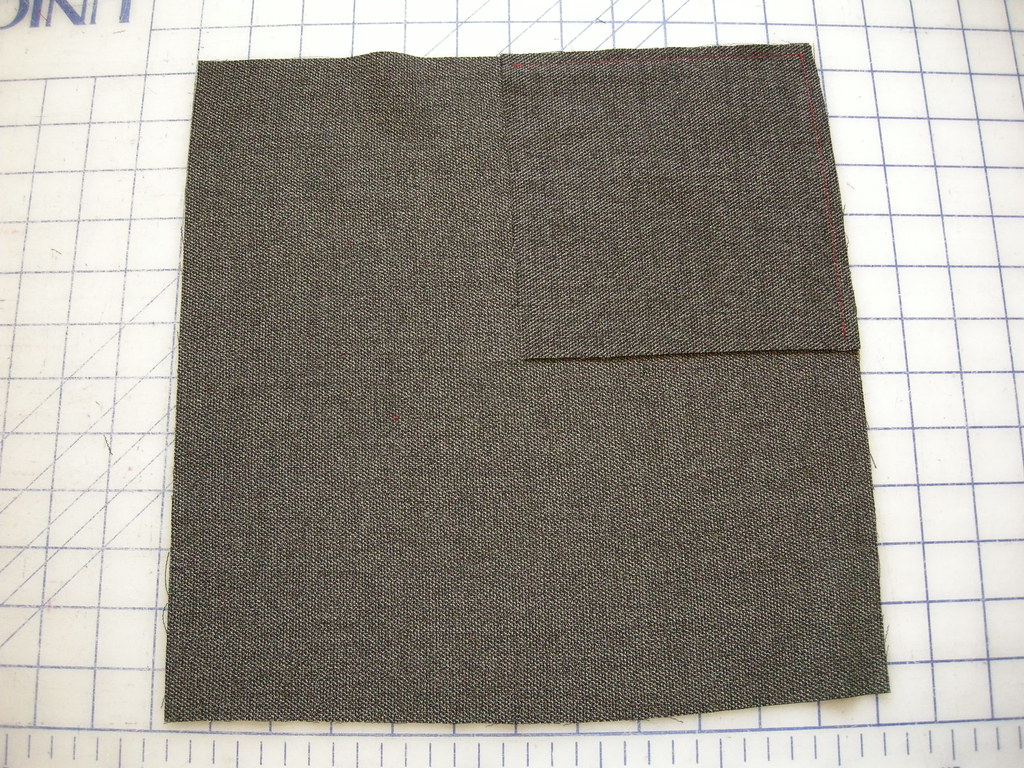
Place your small square on the big one, right sides together, with edges matching at one corner. Sew the edges together using a narrow seam. If you trust your fabric you can use a rolled hem on the serger to do this. I used a 4 thread stitch on my serger but without the stitch finger - the resulting seam is rolled, a bit wider than the rolled hem, but much stronger.
(If you click on the pictures, they should enlarge.)
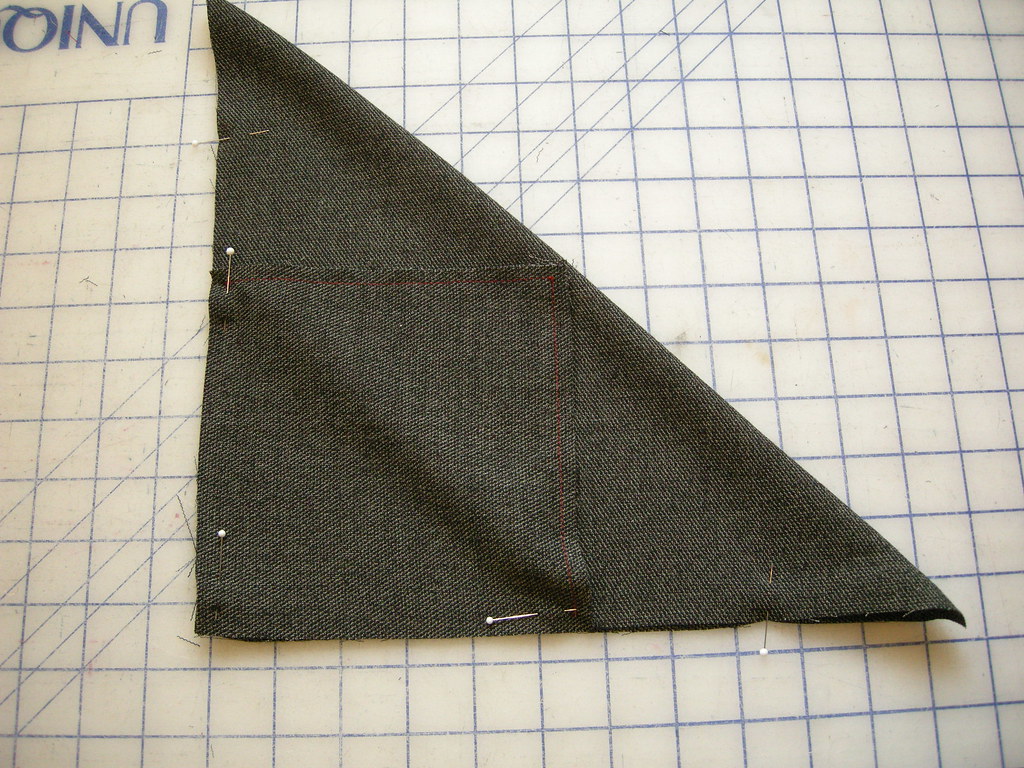
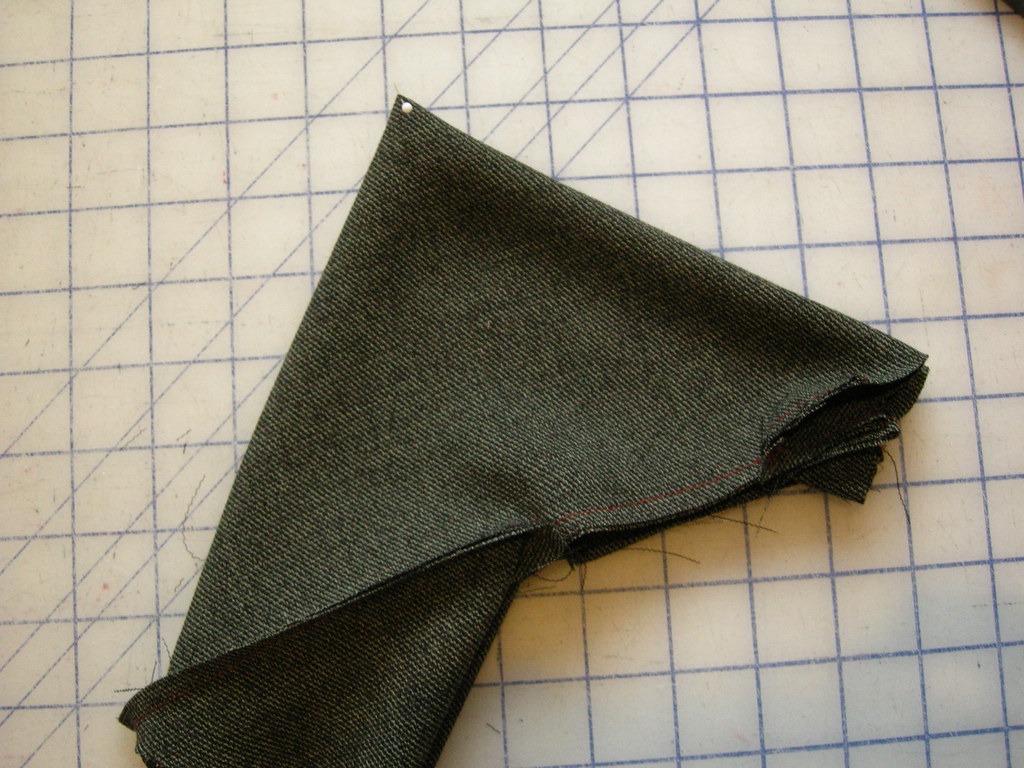
The next step is to take the free corner of your small square, and pull it diagonally across so the edges match those of the opposite corner of the big square. Then, mark a point some distance away from the pointy ends of the resulting triangle. For a full-size jacket, 10" is about right; at right my opening is about 3", and is marked with pins.
Sew the right angle of the triangle from one marked point to the other, i.e. leaving the pointy ends unsewn.
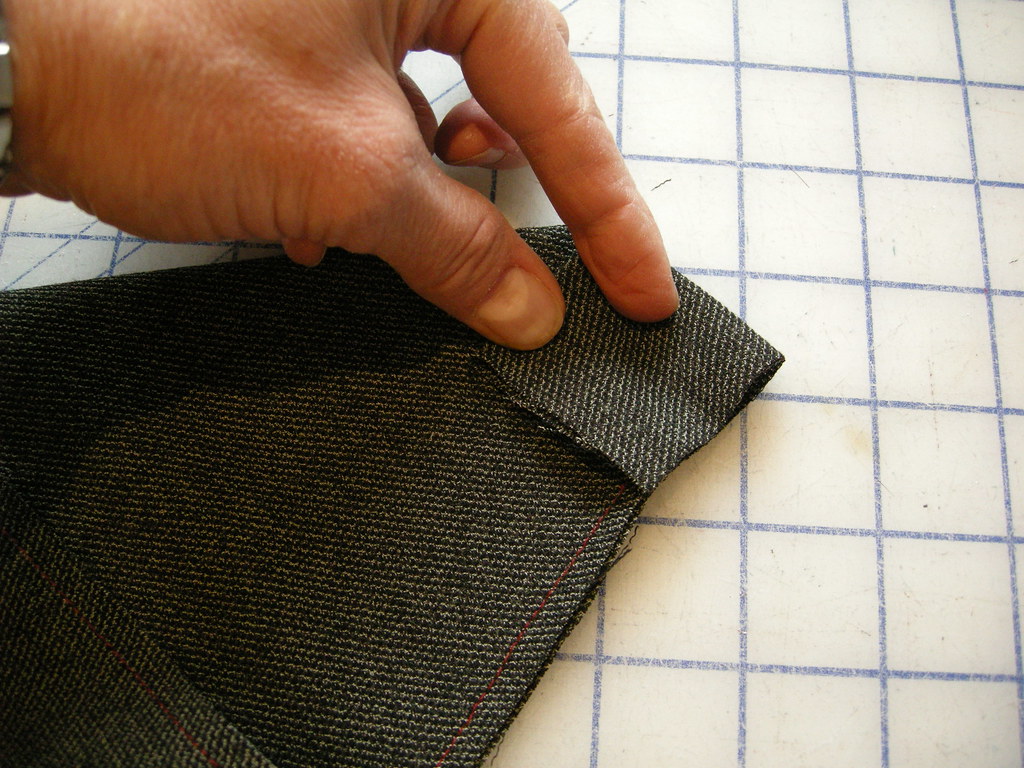
Take that pointy end and fold it down so the free corner is above the end of your stitching, and the unsewn edges are matching. Sew the remaining open sides of that little square.
At this point you have a fully enclosed thing which is vaguely triangular with a square bottom. To turn it into a wearable garment you have to cut openings at the bottom, sleeve ends, and neck. A front opening is optional since you can make this as a pullover.
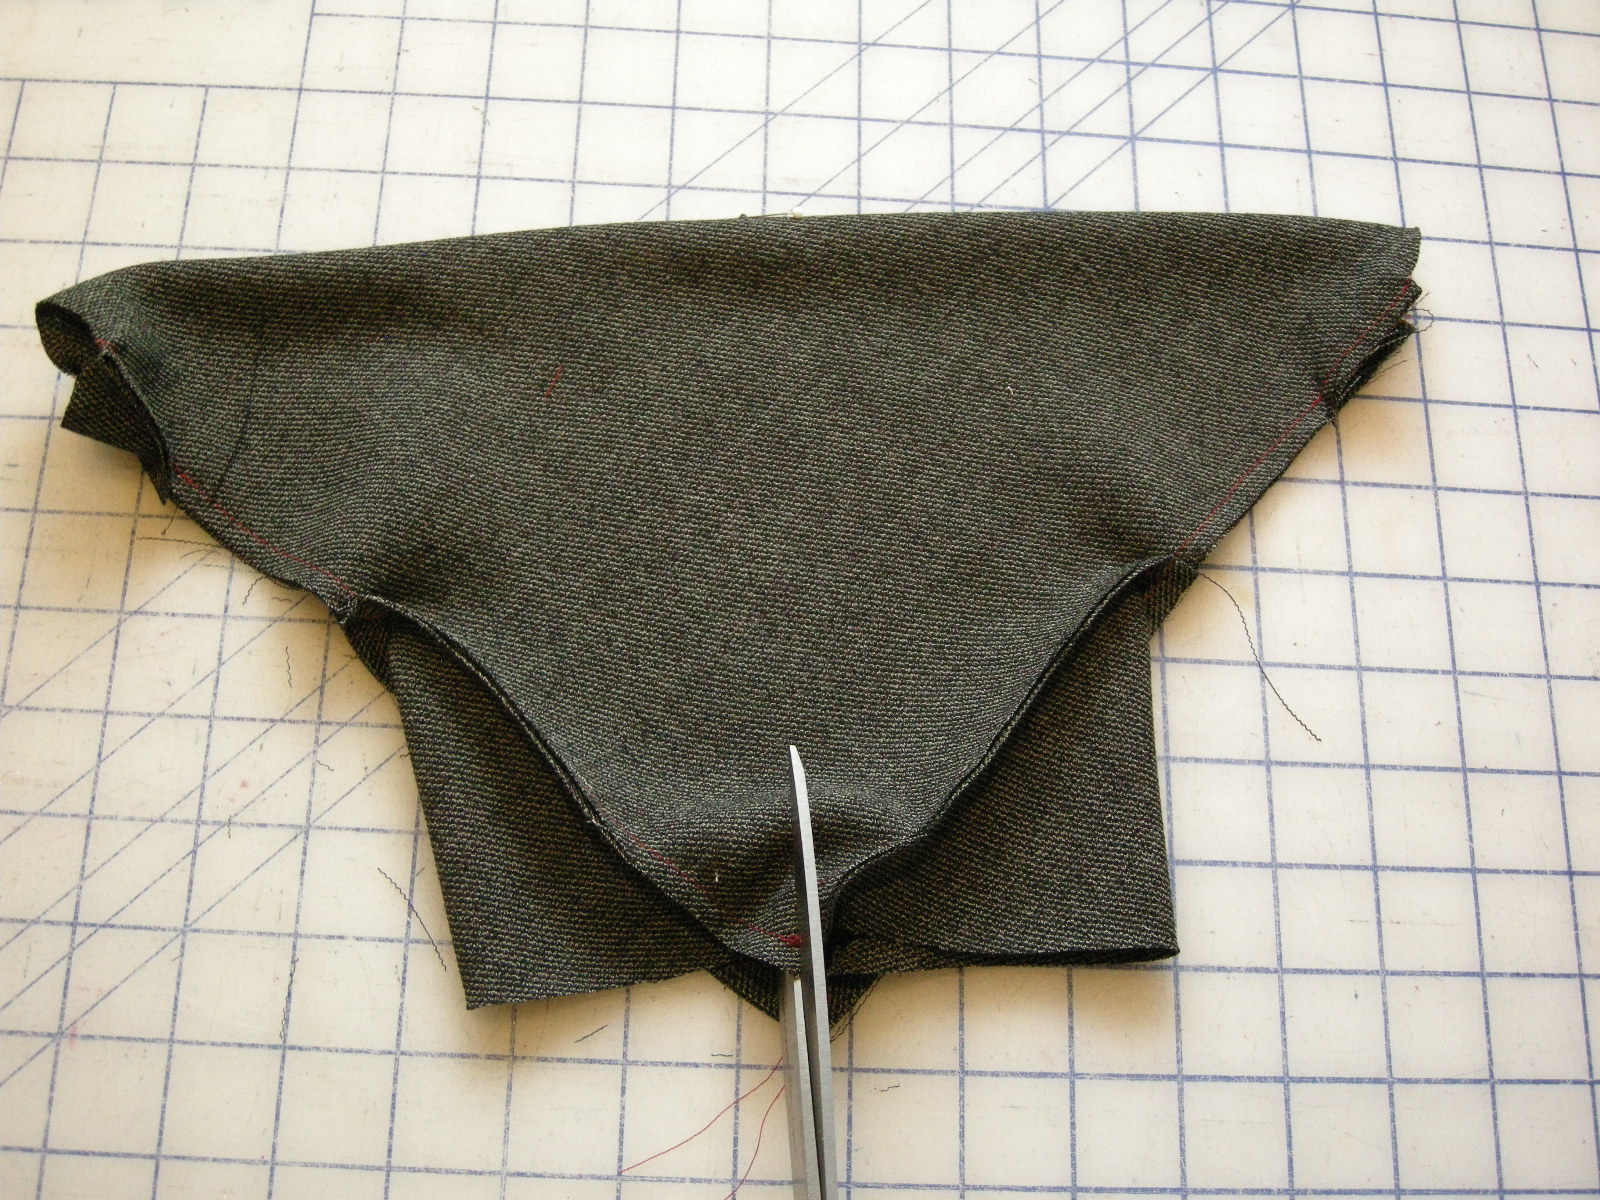
For the bottom (hip) opening, you slit the small square diagonally. In the photo at right, I've marked where the ends of the slit will be with little stickers. It seems slightly counterintuitive to cut in this direction, but just do it - if you paid attention to your intuition at this point, there would be tears...
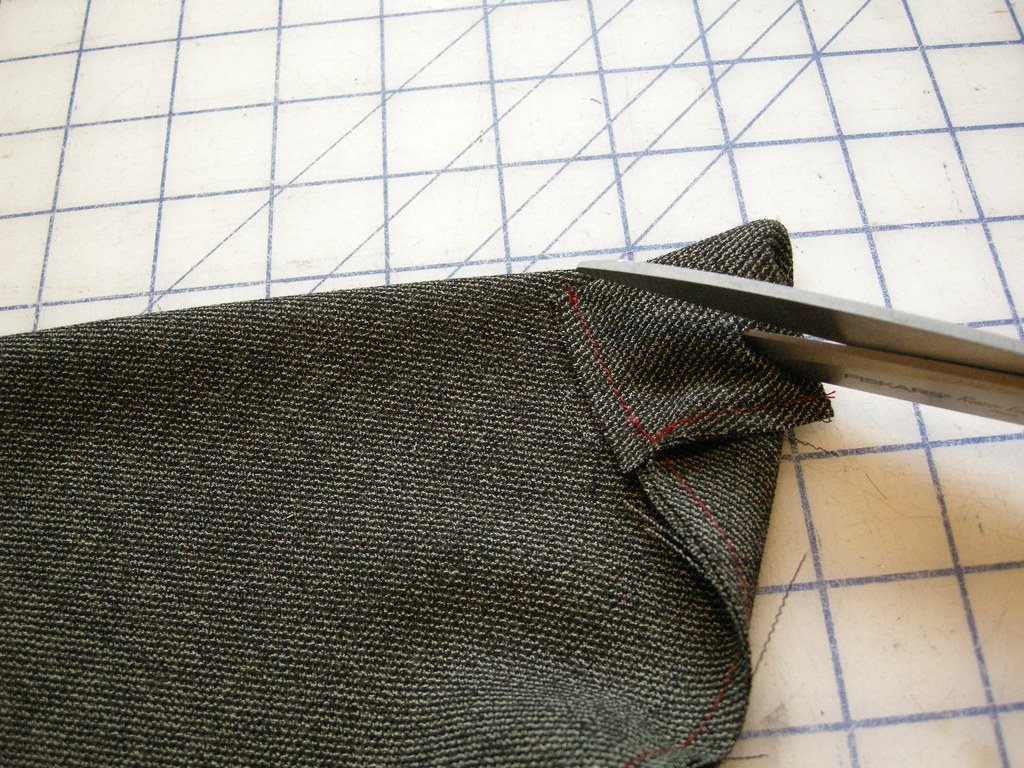
Do the same thing at the pointy ends of the triangle, which by now you may have guessed will be the sleeve openings.
This is a different sleeve finishing method than in the Threads article - they want you to just cut the pointy end off. This method makes a neat little gusset instead - it fits better and I think looks better than a batwing shape ending right in the cuff.
Then find the neck point by folding your jacket in half. Mark this point with a pin.
If you are making a jacket, cut open the CF up to the point marked by the pin at neck point.
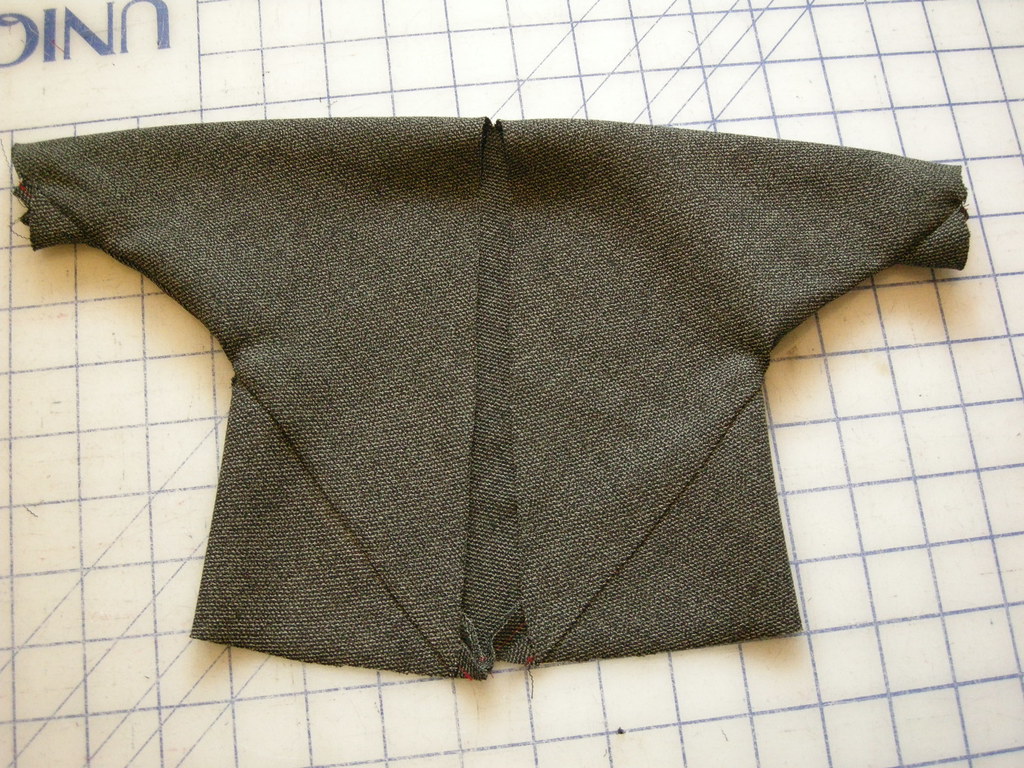
Here's what the jacket looks like, in basic outline. Try it on now to check that the neckline works. You may need to cut it further into the back, and you may need to widen the opening.
Obviously, for a real garment you would, once satisfied, finish all the edges using a narrow rolled hem.
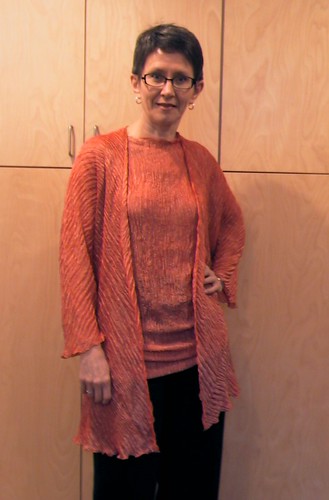
But my client insisted on trying her jacket on, right away!


Pretty! shibori is so tempting
ReplyDeleteWhat a great design and I love the color you choose for your jacket!
ReplyDeleteYour client is sew chic ;)!!
ReplyDeleteYour fabric is beautiful! I loved the crinkly orange.
ReplyDeletethat's such a cool little jacket!
ReplyDeleteWonderful jacket and top. Looks great on you. LOVE your client!
ReplyDeleteLovely! I have 2 yards of crystal pleated fabric from Mary McFaddon that I've never been able to figure out what to make with it. This may be just perfect and your tutorial is great.
ReplyDeleteClever design. Style with flair. Thanks for the tutorial!
ReplyDeleteThank you, thank you. Would you please start writing for Threads?:-) I couldn't follow all the permutations of correct sizing or not when they published it and your tutorial is exactly what I was seeking. I'm eager to try this now.
ReplyDeleteI like it - do you think it would work with a wool?
ReplyDeleteNot sure what you mean by "without the stitch finger"? I have the perfect knit fabric for this and would like to give it a try.
ReplyDeleteWhat a lovely combination. Great tutorial, it's very temmpting to try this.
ReplyDeleteBeautiful fabric. I am curious to try this pattern. Thanks for the tutorial.
ReplyDeleteThank you so much for posting this! So interesting. It's a keeper, and your versions look great.
ReplyDeleteGorgeous style, and you wear it beautifully and what gorgeous fabric. Turned out great.
ReplyDeleteThat is really cool. Thank you for the tutorial!
ReplyDeleteWhat a great jacket and top, Kay. I am such a HUGE fan of your sewing that you could sew a pot holder and it would be spectacular, I think! I wish there was more of that fabric and that it was at a fabric shop near me. It's beautiful.
ReplyDeleteKathryn
What an interesting piece of clothing. Humm lovely on you !!!!!!!!
ReplyDeleteThis is so cool! I have the exact same fabric - I picked it up from Fabricland this fall. I love your design, and your client is obviously pleased with her jacket.
ReplyDeleteThank you for this tutorial.
ReplyDeleteI used my intuition with the Threads Issue Pattern and, yes, tears. LOL
I am not a quitter. This design intrigues me and I plan to master it.
Thank you