Up until now I was wearing exercise gear which had really seen better days. I was a YMCA member in the 1990s and sewed a bunch of tights/leotard combo outfits for my step class (stop laughing!). Time for some new stuff.
In Montreal at PR Weekend one of our big draws was that Jeanne Binet and Émilie Fournier from Jalie Patterns were in attendance, and would do a sewing demonstration for us. Jeanne set up her Pfaff Creative 4.0, and BabyLock serger and coverstitch machine and talked pretty much nonstop about what she was doing, with Émilie translating as she went. She had prepared 6 garments and partially sewed them up to demonstrate the techniques and construction methods needed for each. One is a new pattern (to come out before the end of September, we were told) for a dress with two bodice views. This pattern will unveil a new technique for finishing and binding the edges (neckline and armscye) of a stretchy garment, without using elastic. Jeanne gave us the preview, and it is a really wonderful technique that produces a stable and professional-looking finish and, best of all, you do not need to fiddle with any elastic.
The next day, Jeanne and Émilie took us to three of their favourite stores in Montreal for buying stretchy exercise/technical fabrics - Suzie Spandex, Stretch Text and Tonitex. These are all located on St. Laurent Blvd, north of highway 40. I had been to Tonitex before but would never have found the others which are located upstairs in a nondescript building.
You may be able to guess where I'm going with this. Yes, I purchased some stretchy fabric. In fact, I sort of went overboard...
But my first piece of fabric purchased in Montreal has been sewn up, along with a good chunk of fabric I probably bought 10 years ago. To the right is the completed outfit.
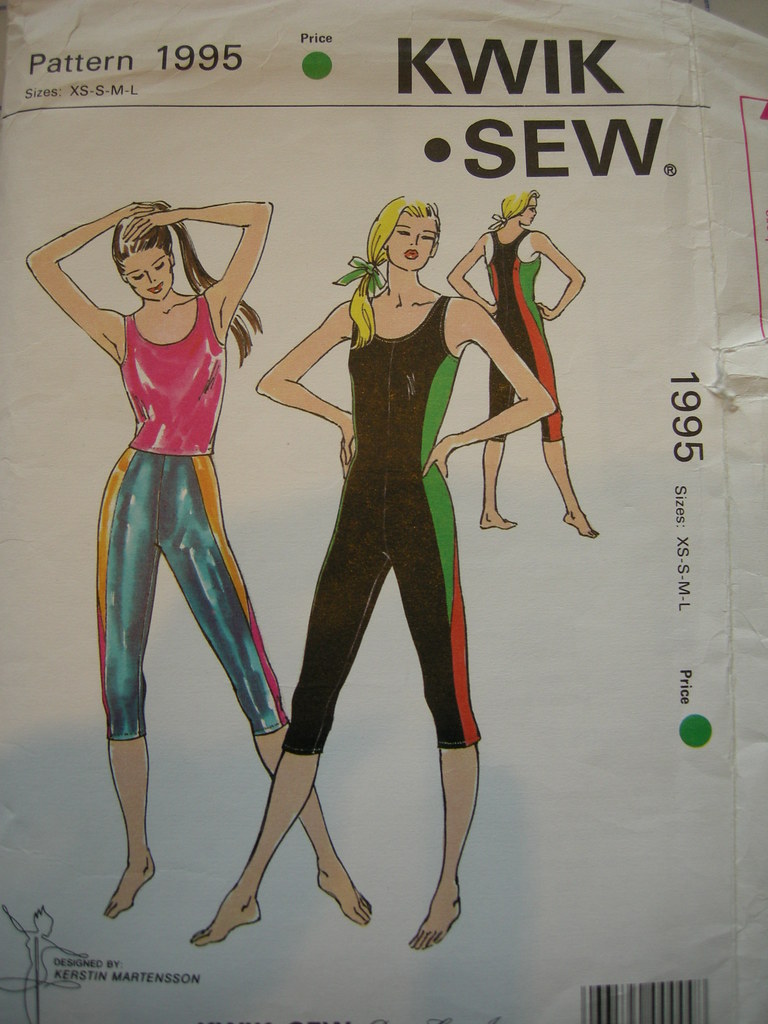
 This is from three different Kwik Sew patterns which I have had for many years. The top is from KS 1995, which is actually 20 years old (ca 1990 or as KS amusingly styles their copyright date, MCMLXXXX). The unitard is rather fetching, no?
 The shorts are from another 1990 beauty, KS 2005. Gotta love the heavily shoulder-padded T-shirt (not) but the tights are classic - and super easy to make with only two seams).
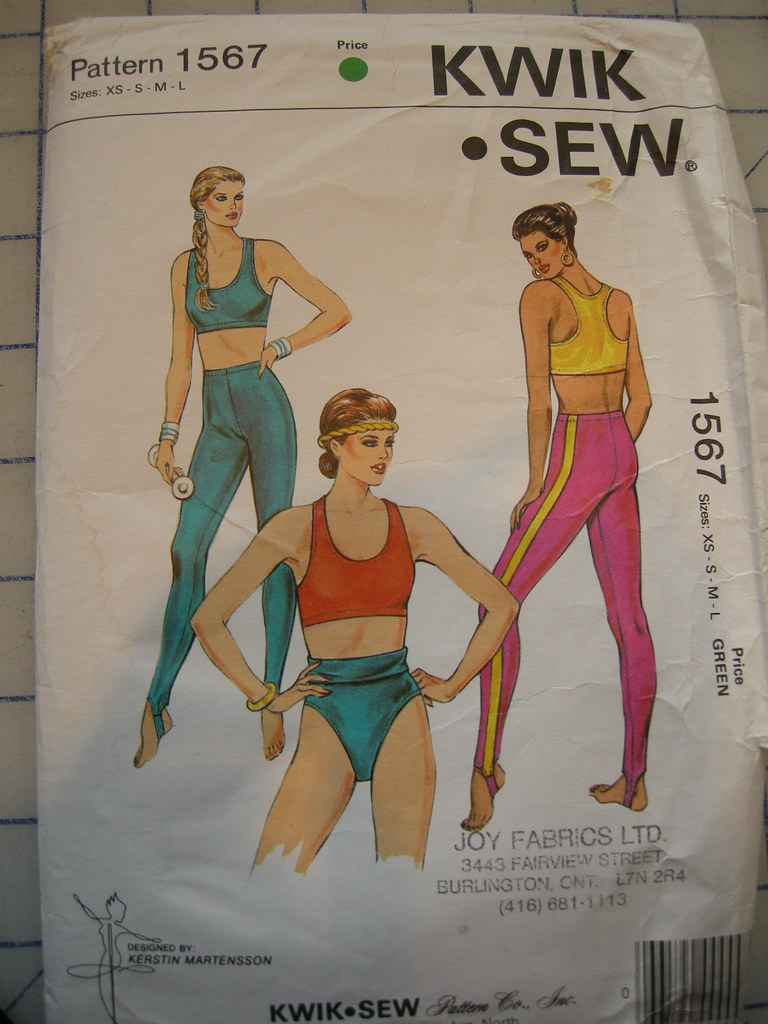
 And there's a sports bra too, which is made from KS 1567 from 1986. It's very Jane Fonda.
I bought the patterned jersey in Montreal. It seems to be a sort of cottony blend and only has moderate stretch. The rest of the outfit is some lovely supplex nylon/lycra. I love this stuff. It feels soft, never fades, and wears like iron.
I used Jeanne's new technique to bind the edges on the tank. Here are some photos.
First, cut strips of a jersey fabric - you can use the same fabric or, as I'm doing, choose a coordinating jersey. The strip needs to be about 90% of the length of the opening you are binding, and the width is a hair over three times the width of the serged seam. I'm using a 4 thread safety stitch which is about 6.5mm wide (1/4") and my strip was 22mm (7/8") wide. The strip is cut along the lengthwise grain of the jersey. This grain is more stable and the strip will curl along its length towards the right side.
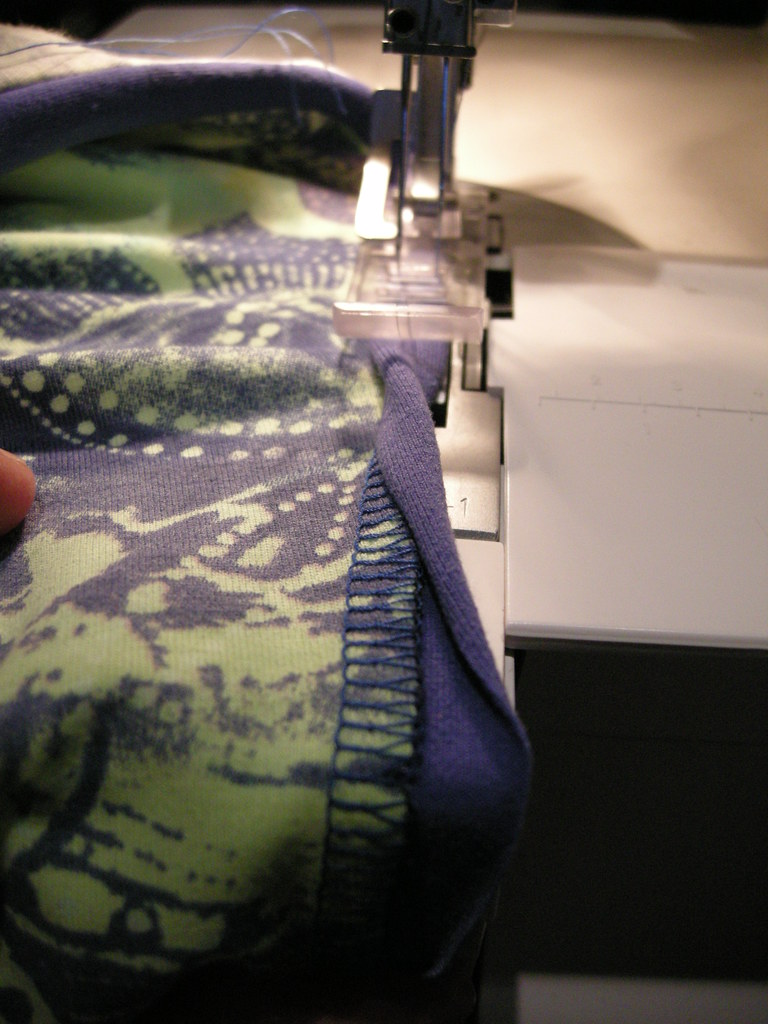
Sew the strip in a loop with a tiny seam. Mark the quarter points on the loop and do the same on the edge you are binding. Then serge the binding loop to the garment, letting the knife just skim the edges without cutting off any fabric (Jalie and KS both use narrow seam allowances). Ensure that the binding will curl towards the seam (as shown to the left). If you want the binding to be visible on the outside of the completed garment, sew it to the WRONG side of the fabric, as I have done. If you sew to the right side, your binding will be inside.
 Smooth the serged seam towards the binding. Then flip the binding over the seam allowance - it should just cover the stitching. The last step is to fold the entire thing along the seam line, and using your cover stitch machine, topstitch neatly. I hope you can see how this works from the photo to the right.
This is a wonderful finishing technique for knits. To the left is a close up of the completed top.


First, I need to tell you that the trainer is paying off. My mom kept referring to you as 'the fit one in the dress'. Second, thanks for posting the technique. I couldn't remember how to do it for the life of me. Most of my gym clothes have been around since....at least 2002. Hence, my going over board too.
ReplyDeleteYour post screams "get thee to the gym and use your membership!". Great tutorial on seam binding. PS I have a personal trainer named Alf. Only problem is that he has four legs and stops at every tree.
ReplyDeleteWow! thank you for showing the binding technique as well as providing incentive to hit the gym! great job on both accounts!
ReplyDeleteRose in SV
You look great....I used to have arms like that but 2 years being lazy (but still paying the membership fees) has reduced the muscle and increased the flab. Time to get back to it......
ReplyDeleteNice outfit too!
The technique looks so wonderful. Great result on the gym outfit and the workouts!
ReplyDeleteI need to make some exercise wear, and get myself back to the exercise routine as well. You have certainly pointed me in the right direction. Thanks for the tutorial, and inspiration.
ReplyDeleteWhat an incentive! You have always looked fabulous! I do some exercizing, but you really do provide and incentive to get back with that trainer.
ReplyDeleteFirst let me say - your biceps are looking terrific! All of your hard work is paying off.
ReplyDeleteI have the Kwik Sew book and master patterns for exercise clothes and I am ashamed to say - I have never used it! I am inspired to pull out the book and look hard at your binding technique. Maybe this will move my workout gear from thrift store discards into something I'm not ashamed to be seen in.
Great technique for binding knits, thanks for sharing. I have some of those same Kwik Sew patterns. I used them during the 80"s to sew all my aerobic dance outfits. I think having nice exercise clothing helps motivate a person to exercise. Unfortunately the corporate fitness centers, where I exercise, have a boring unisex shorts and T shirt uniform. Oh, and bright orange socks the same color as your lovely cocktail dress, because the normal looking white socks kept disappearing.
ReplyDeleteGreat tutorial. Do you think this would work without a coverstitch machine?
ReplyDeleteLooking good. I wondered if you would share if you were using a special foot???
ReplyDeleteColette
Great technique --- thank you for sharing the steps. I feel guilty now --- I think I need to get to the gym tomorrow!
ReplyDeleteThanks for sharing. I wondered the ame as the person above, is that a special foot on your coverstitch machine?
ReplyDeleteLooking great in your new exercise wear!!
Kay, I just read the review of your new Jalie tee and found this link. Cool technique! Just as everyone else has said, you look mahvelous! And echoing everyone else, as well, I need new gym clothes, too!! Thanks for the inspiration!
ReplyDeleteKay, I have just found your blog and have been enjoying it immensely. I am just now getting back into sewing after a few decades. I googled "cover stitch machine" as I am not familiar with that term and it appears to be a serger. Is that correct? What type of machine do you use?
ReplyDeleteJust what I am looking for!! thank you!! are you using a special foot to get such an even fold?
ReplyDeleteI would also like to know. I have such a hard time with binding like this!!!
DeleteNo special foot is needed! The brilliance of this binding solution is that its width is regulated by the width of the served seam.
DeleteGaah! *serged* seam...
Delete