|
| Issa of London silk jersey dress |
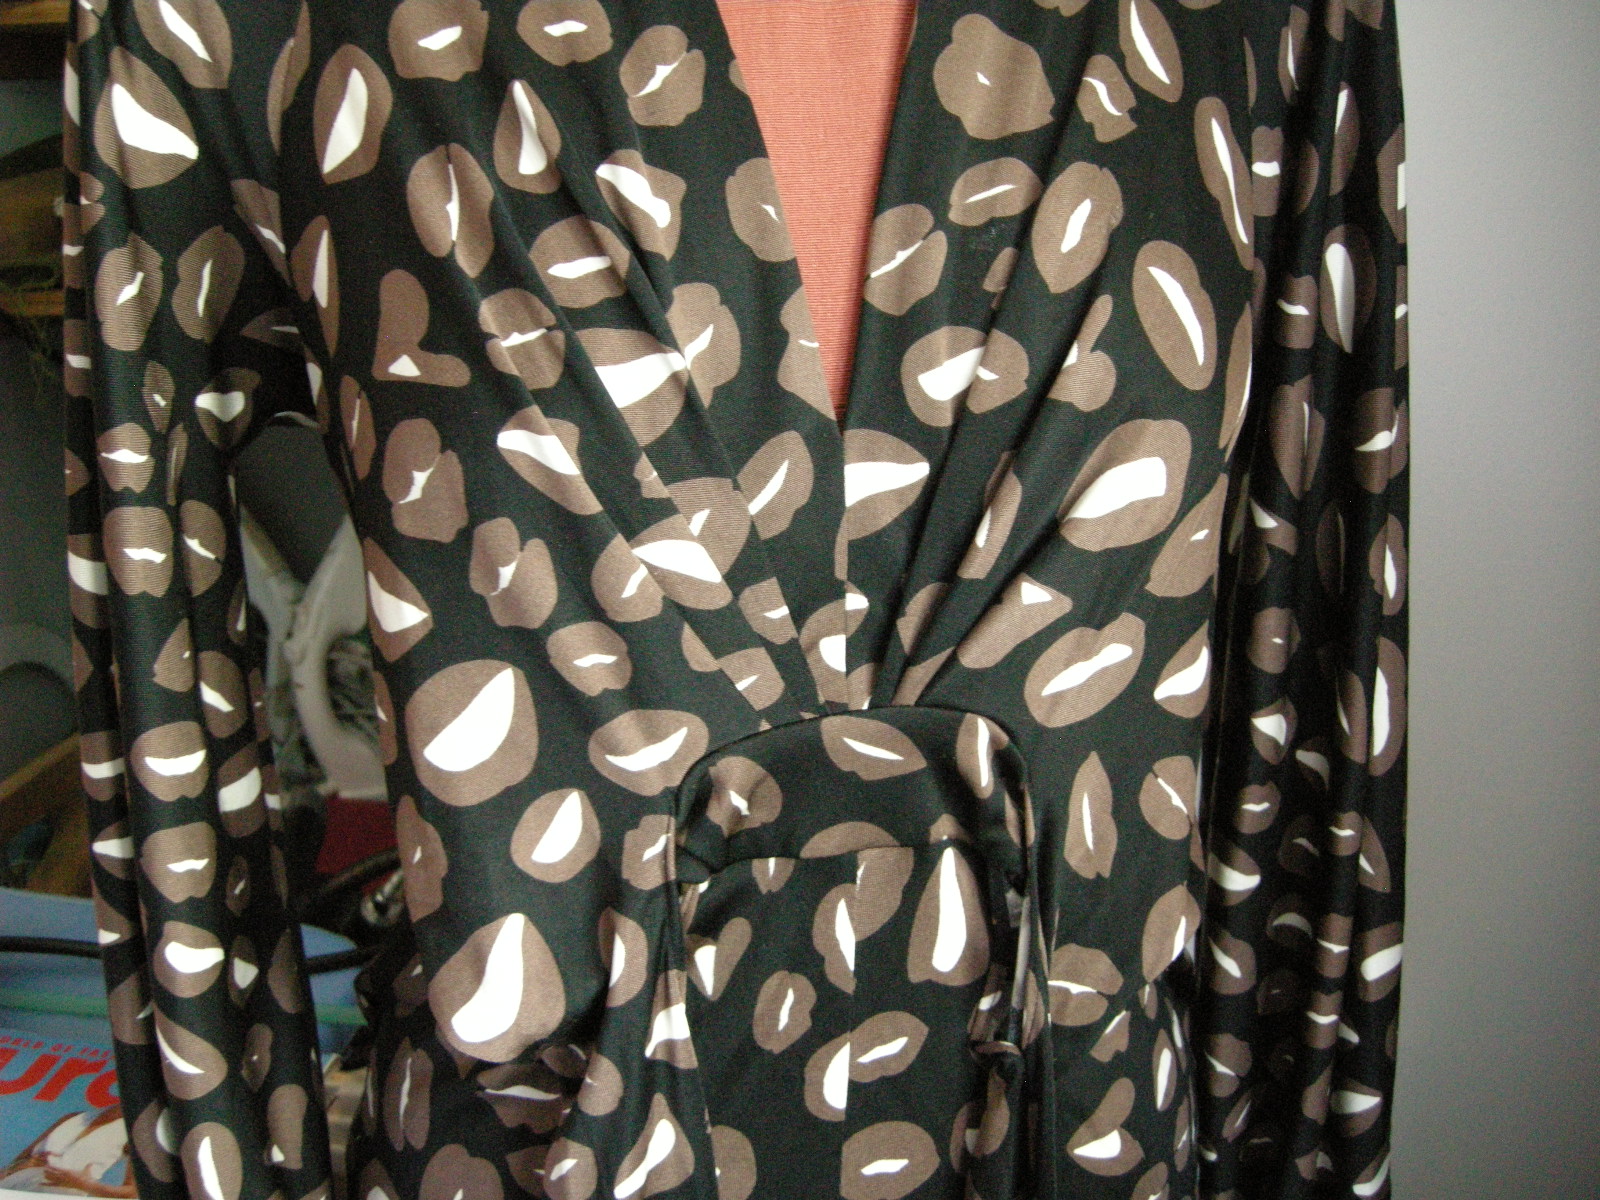
The Sewing Lawyer has
previously mentioned her super-talented (and lucky) thrift-shopping friend. Her most recent fabulous find is an Issa of London silk jersey dress. The fabric is superb. It may have been worn, but it's in mint condition. I think my friend paid $15 for it.

Issa dresses go for about 35 times that or more new, and several used ones are listed at well over $300 on eBay. The brand got a serious boost from Kate Middleton who wore a blue jersey dress made by Issa when she and Prince William announced their engagement.
I've got the dress on loan for a week or so to see if I can figure out what the pattern for it would look like. It is
truly intriguing! Here's a verbal description which hints at the complexity of this apparently-simple wrap style. My inept photos can be enlarged if you click on them.
Starting at the top, the dress has a high back neck which extends from the front bodice (think shawl collar). There are two ingenious tucks in the collar just at the shoulder point which control the fullness beautifully. They are released at the front (where the fullness contributes to the deeply plunging neckline) and at the back, so that the back of the collar hugs the neck.
The very full sleeves are cut in one with the back of the dress, which has a centre back seam.
 |
| Back sleeve - cut on |
The sleeve is gathered into a generous cuff, which is a
single layer of silk jersey, folded double at the wrist opening and machine-hemmed.
 |
| Raglan seam at front |
The sleeve (all cut in one with the back) extends over the shoulder (no seam) to the front where it attaches to the front bodice with a raglan seam.
The V neck has a self facing, which is simply folded back twice. It's not interfaced (there is no interfacing anywhere in this dress).
But the most astonishing feature of the dress is the pleats and ties in the front bodice.
At left you can see the bodice, untied. The upper part has three tucks on each side. One of them (the closest to CF) is very deep - maybe 2" or 5cm. The others are about half as deep.
The bodice tucks are sewn into a little front band, and to either side the bodice curves down and extends into the ties.
 |
The skirt extends upwards
into the tie (the Issa logo
is part of the print, as you
may be able to see here) |
The bottom part of the tie is similarly cut in one with the skirt. The bottom piece of the tie is narrower than the top layer so the seams of the tie roll around to the bottom as you may be able to see at right.
 |
| Mysterious waist opening |
The curved edges where the bodice and skirt curve into the tie are not sewn together. In fact, there is an opening to either side of the short waistband piece at CF. It is, however, anchored by a piece on the inside. I can't begin to describe how this works.
The dress is worn with the ties wrapped towards CF and then around twice. This conceals the openings where the ties attach, and cinches in the skirt, creating diagonal folds from the hip (see the top photo of the dress on my duct tape double).
This size 2 dress looks astonishingly good on - and it seems to fit different body types very well. My friend is giving it to her 18 year old daughter because she thinks it's too short for her. It's too short for me too. Which is just as well.
If I can manage to make a pattern, I'll show it to you here.
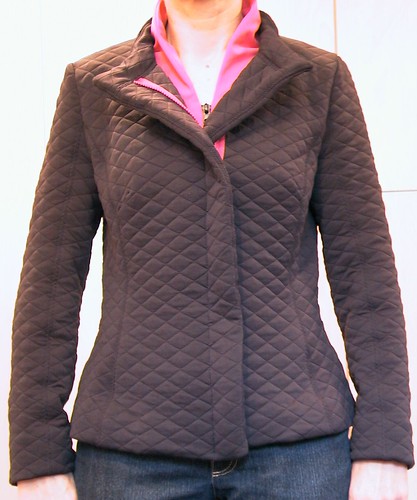
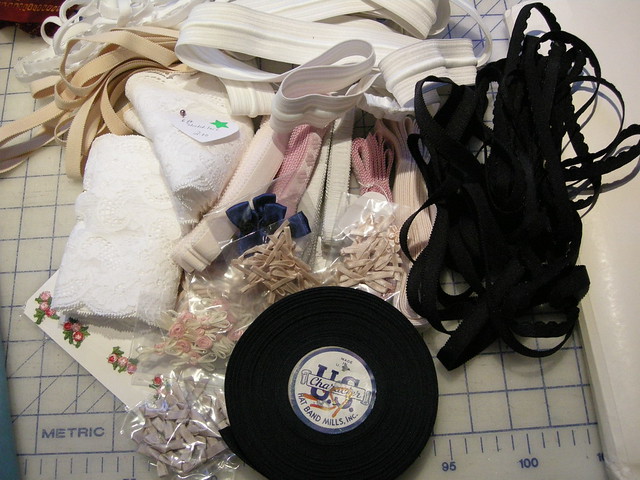
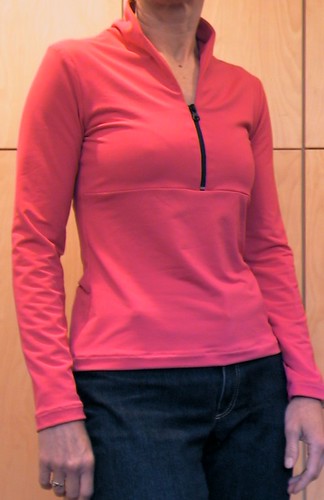 Remember the pink zipper? There is a tiny bit of method at work. The Sewing Lawyer has a new pink top to match. Actually, it makes the zipper look a little ... dull.