Showing posts with label Kathryn Brenne. Show all posts

Wednesday, November 10, 2010

Invisible zipper pockets - an illustrated guide

One of the features of the Material Things Fearless Jacket is its in-seam zippered pockets.  I figured the pattern is called "fearless" because you'd have to be to sew such a thing and expect it to look any good.  I've put in my share of invisible zips over the years but tend to approach the task with a bit of a quaver in my voice, if you know what I mean.  I learned how to do it back when the world was young and zippers came in packages with instructions.  They said to sew the zipper in first and sew the seam closed afterwards, and you used one of those special blue plastic feet that fit on any kind of sewing machine.  It's hard to manoeuvre your zipper foot close enough to the end of the zipper to make a really neat transition between zipper and seam.  Sometimes you had to fudge a few hand stitches at the seam below the zipper opening.  More often, you had to rip and re-sew.  Neither would be a good idea in leather.

By contrast, Kathryn Brenne's method worked perfectly, the first time (a practice zipper) and the second and third times too (the real thing)!  Here's how:

First, prepare your seam.  Interface the pocket opening if it isn't already.  In my jacket, the centre front panel is fully interfaced but not the side panel.  I cut a strip of fusible and applied it as shown to the left.  Mark the pocket opening.  Then sew the seam above and below it.  Press the seam open, including the seam allowances beside the pocket opening.


It turns out that things go a lot better when you have the right tricks up your sleeve.  The trick, in this case, is Wonder Tape.  Stick this stuff on the zipper tape, both sides, as shown to the right.
Next, peel off the Wonder Tape paper backing on one side.  Position the zipper so the top stop is a little bit above the end of the stitching at the top of the pocket opening (above).  The bottom stop should be a bigger bit below the end of the stitching at the bottom of the opening (right).  Stick the zipper down on the seam allowance so that the coil is just along the pressed-open seam allowance on that side.

Sew that side of the zipper down using your choice of special foot.  At left is the Bernina invisible zipper foot.  The first side is easy, I tell you.  The second is much harder because you have to somehow get the zipper coil in the opposite groove while the first side of the zipper is snugged right up against it.  When I complained about this, Kathryn said "It'll be fine.  That part of the stitching is in the seam allowance and you will never see it."  She said exactly the same thing when I complained that it was hard to sew right to the bottom of the zipper on the second side.
And just look at the mess I made of it!  Oh no!

Once both sides are sewn, you have to fish the zipper pull out of the little well you've sewn it into below the pocket opening so that it's accessible in the pocket opening.


Look!  Kathryn was right!  No sign of the ugly mess behind.


It'll be fine...

Tuesday, November 9, 2010

Leather Workshop - "It'll be fine"

This phrase was oft-repeated during the four days I spent working under Kathryn Brenne's supervision at her fantastic and well-equipped sewing studio in North Bay Ontario last week.  Kathryn has endless patience and seems unfazed by any mistake or imperfection her students turn out (and there were some).  And you know what?  I think she's right - my leather jacket (which I shall finish once my teflon foot arrives from Mr. eBay) will be fine.

I did in the end go with the Material Things Fearless Jacket pattern.  Kathryn mostly approved of the fitting changes I had made but on her recommendation I trimmed up the pieces even more.  The first day of the class was mostly taken up with finalizing the pattern changes, and then making brown paper pattern pieces (doubles so there's a right and a left of everything for single layout on the skins).  I had cut out some of it by the end of that  day.

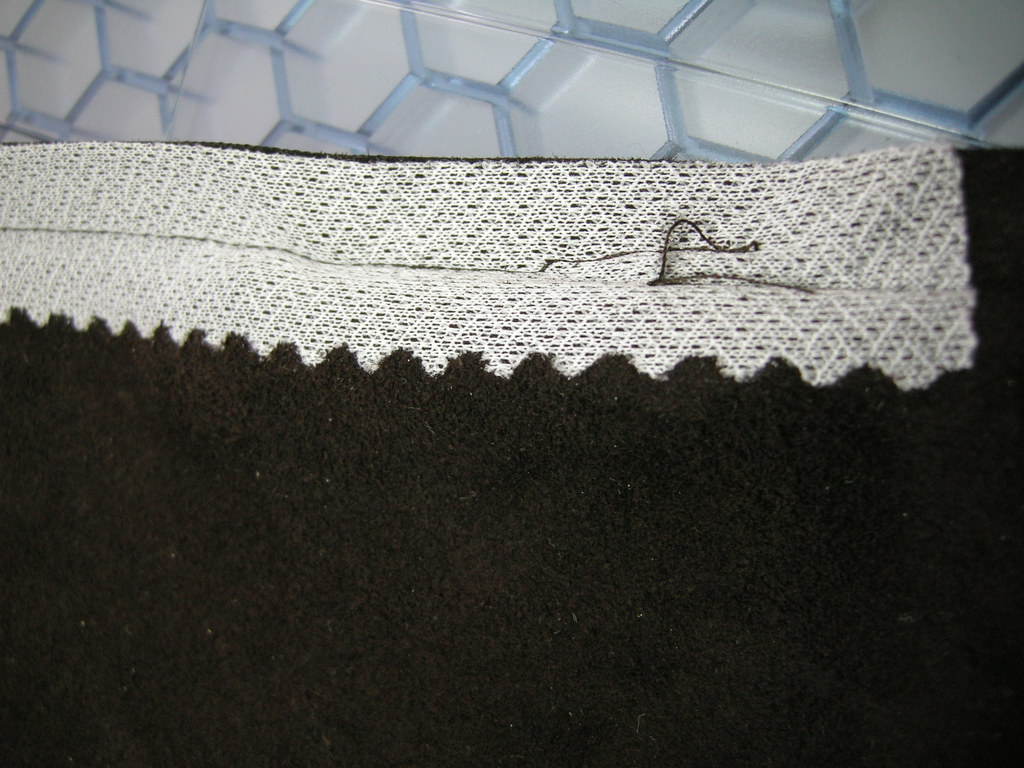
The second day was occupied with cutting out all the jacket pieces and interfacing, and fusing the interfacing where it needed to be fused.  I had assembled the backs by the end of that day.

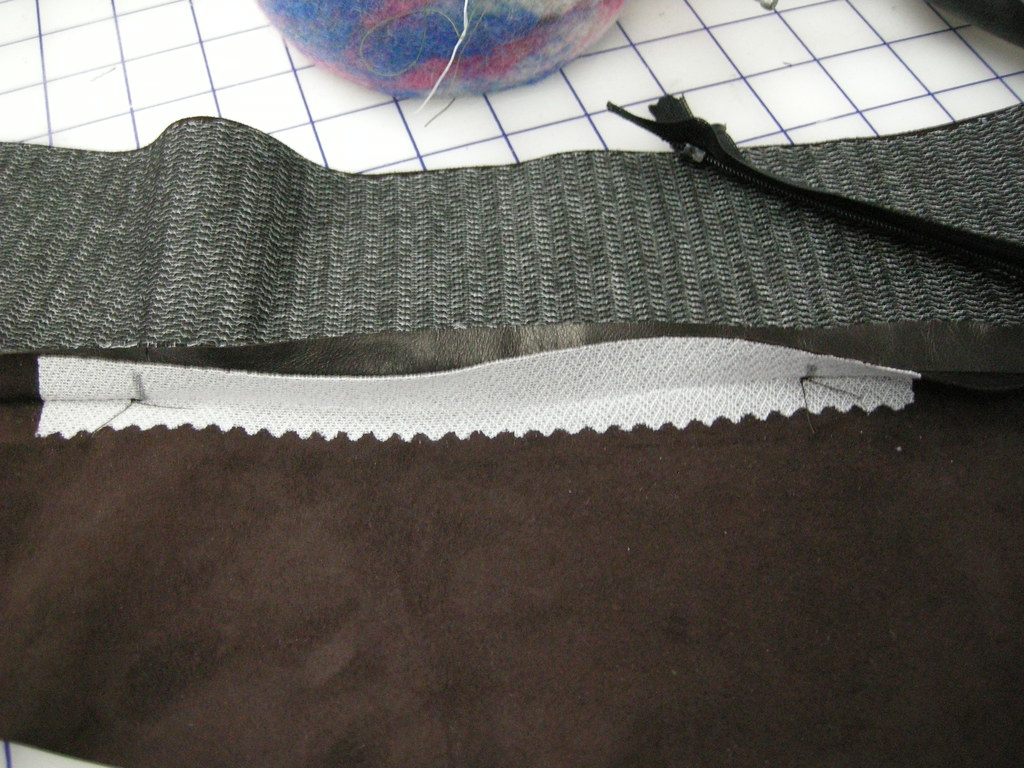
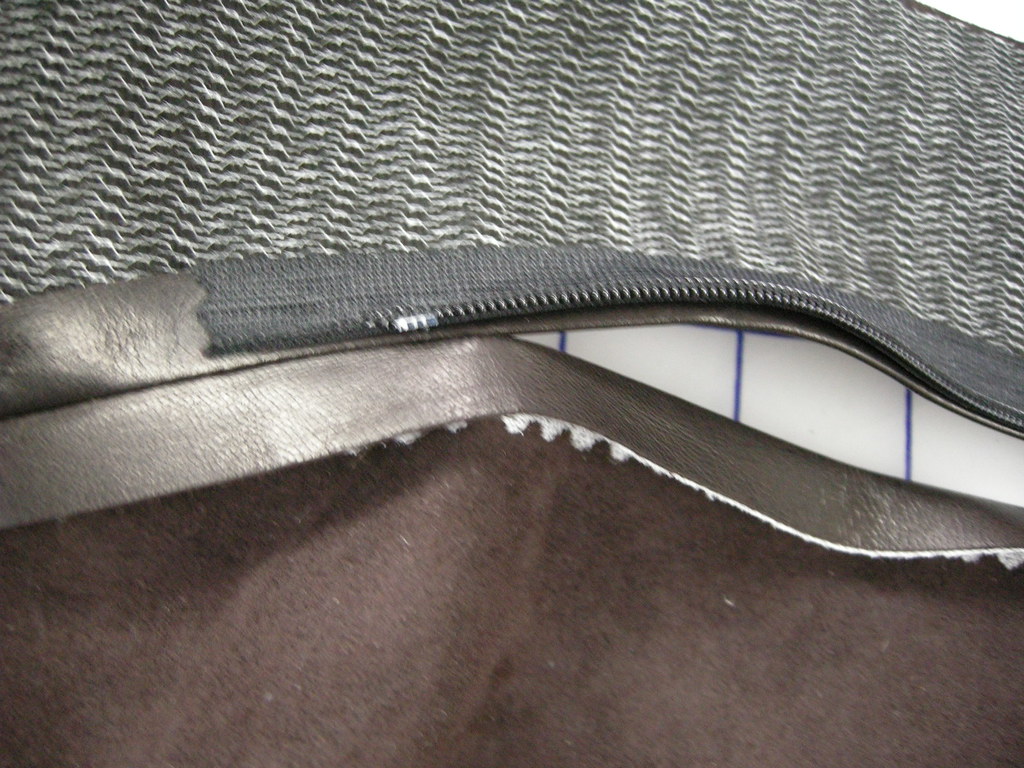
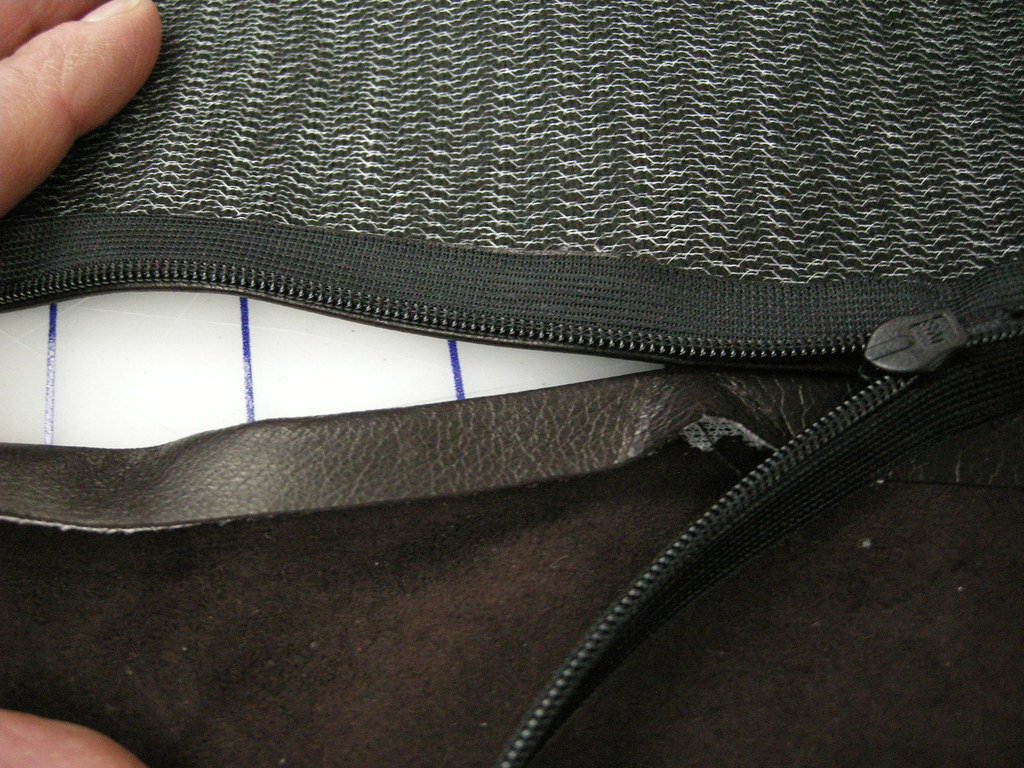
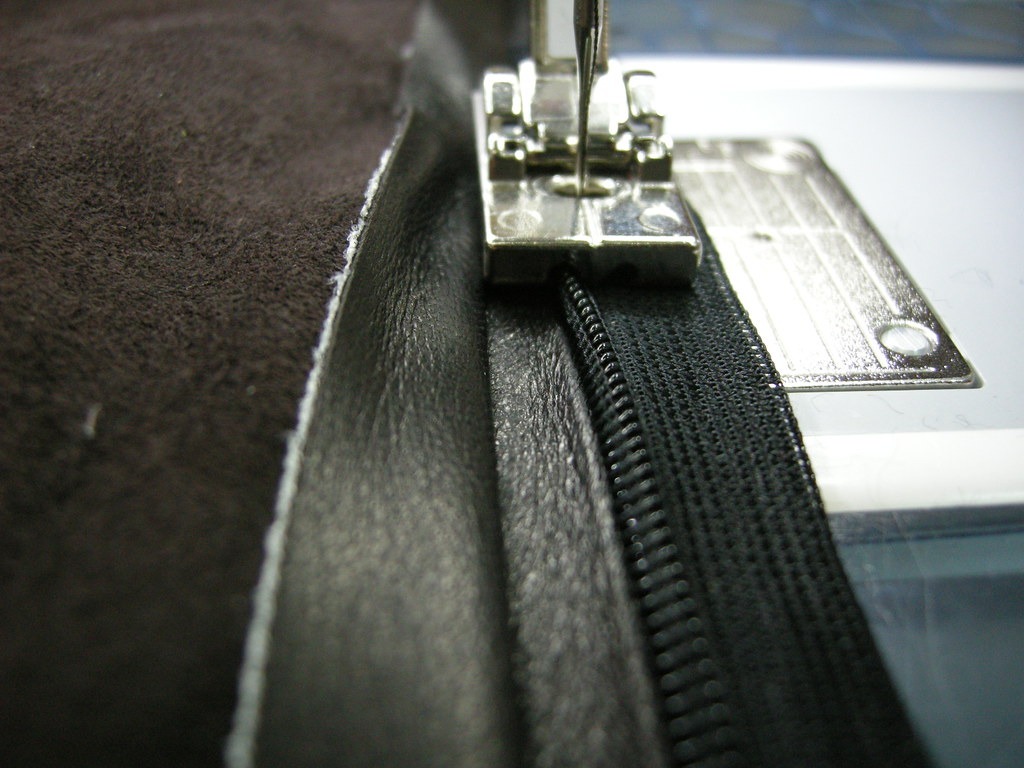
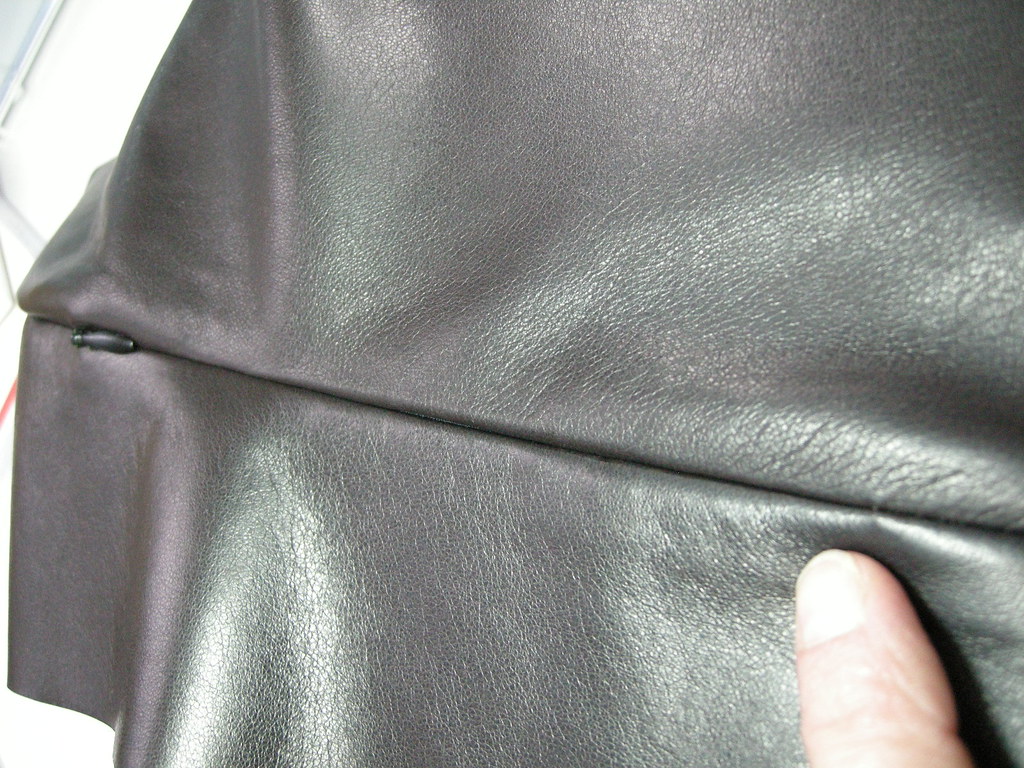
On day three I felt brave enough to tackle the invisible zipper pockets and assemble the jacket fronts.  Day four involved sewing the sleeves and setting one of them in, inserting the front separating zipper, and almost completing the facings.

It doesn't seem like I did a lot each day, when I write it out like that, but believe me these were full days of sewing and associated learning (9AM to 5:30PM, with breaks for delicious homemade snacks and lunch).  Of course if I had known what I was doing, I would have been more efficient...

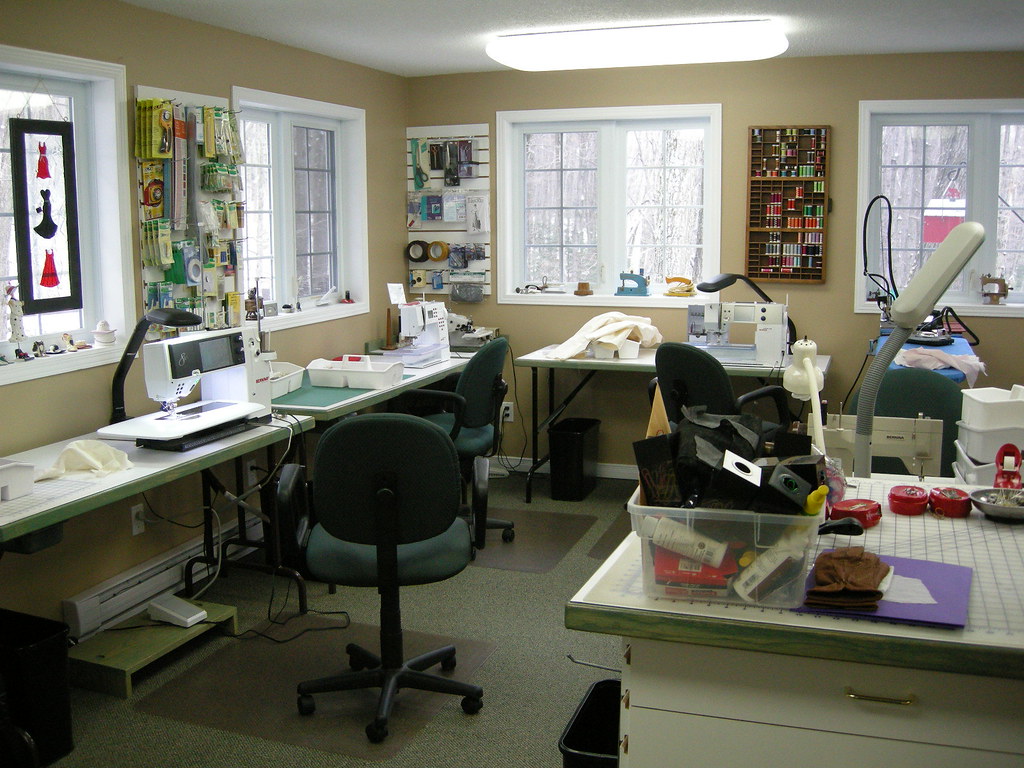
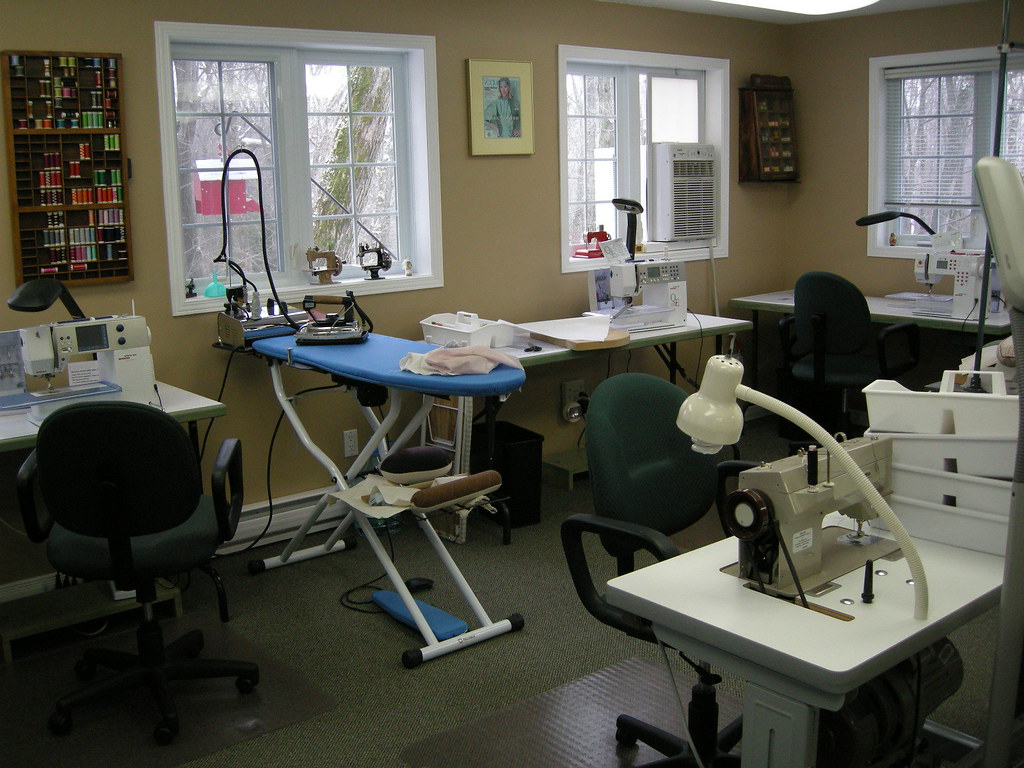
Anyway, here are some photos of the sewing studio.  It's on two levels.

Upstairs are the latest Berninas.  Kathryn invited us to choose any one of them - I tried out the 640.

She also has two steam generator irons and a full kit of tools for every table.


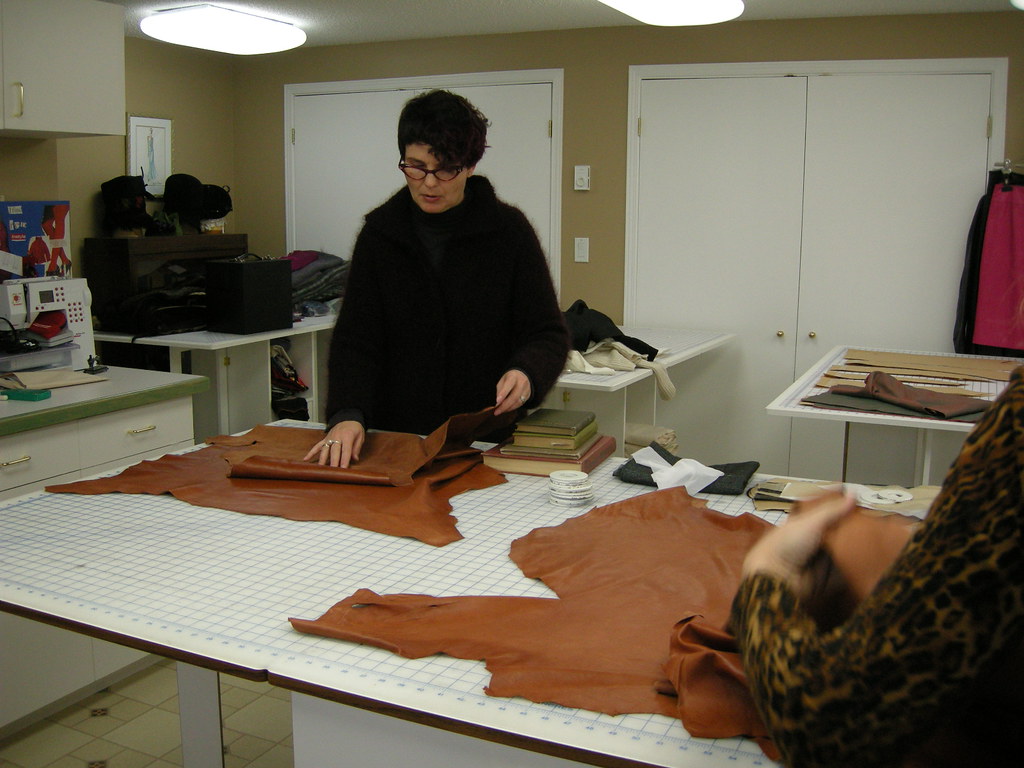
Downstairs are the cutting tables, including one that was big enough for me to lay out five lamb skins at once.  Here, Kathryn is examining another student's skins and talking about leather quality.

Kathryn is extremely generous with her knowledge and brought out numerous things for us to ogle and examine, including the fannnnnntastic sheared mink lined coat which is featured in the latest issue of Vogue Pattern  magazine!

I was so inspired that when I spied an XL sized mink coat in good condition at the Value Village that night, I snapped it up.


That's it for now - stay tuned for pictures of my jacket in progress.