I love sewing with cushy textured wool. It's so forgiving! This fabric is so thick and resilient that I decided it needed minimal interfacing on the under collar and stand, the front edge of the jacket, and the skirt waistband pieces. I'm using
Pam Erny's Pro-Weft fusible. It stabilizes the fabric (which has quite a bit of natural give) without changing its hand appreciably.
I quickly assembled the jacket fronts and backs, and then paused since I'm planning to make three bound buttonholes. One has to fortify oneself for bound buttonholes, although I'm confident that in this fabric, I could make many mistakes and no one would ever notice.
In the meantime I decided to test out the piping on the skirt. This caused me to stop and ponder sewing order. Burda instructs sewing the lower front skirt (with pockets) first, then the lower back (which has no CB seam). The right side seam is sewn. Then the waistband is constructed, except for the left side seam (which has the zipper). The entire waistband is then sewn in one pass, and the left side seam with zipper is constructed last.
Phooey to that I say! First, I find it easier to insert the zipper in the relatively straight CB so I made a seam there. This also allows me to make a back vent, for walking ease.
A brief word on fitting: This pattern is meant for quite stretchy cotton/lycra twill and as designed it has almost no ease. All the PR reviews showed it was very tight. Based on flat pattern measurement, I added a 1cm strip down the CF and CB (4cm or 1.5"). This gives about the right amount of ease. Then all I had to do was fine tune the shape of the side seams.

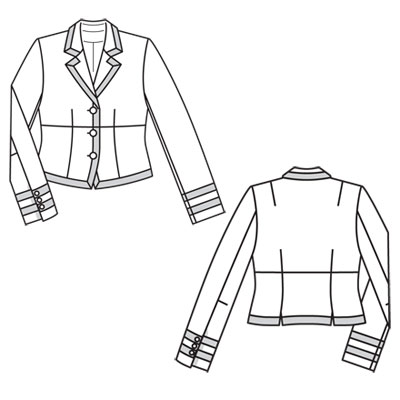
Back to construction. I like to put in the zipper flat, then sew the side seams last. This allows me to do fine changes to improve the fit as I sew. Normally I would make the front starting with the pockets, then apply the waistband in one pass, as illustrated in green at right.

However, I'm piping the seams shown in pink at left. I wanted a continuous line of piping which would be impossible if I sewed the waistband seam last.
So I changed the sewing order. It isn't all that hard.
First I sewed the CB waistband to the lower skirt front (the curved waistband seam between the lines of piping). Then I piped the edges in a continuous line.
Then I attached the pocket facing piece, but stopped sewing at the waistband seam.
Next, I attached the side waistband at the piped seam, again stopping sewing at the waistband seam. Ideally there is no more than a tiny gap between the two.
Finally, I attached the side piece, which forms the back of the pocket. I sewed the top seam first, again stopping at that point (or as close as I could get to it) where all the seams meet. After that it was an easy task to sew the pocket bag.
The last step was to anchor the waistband seam through all layers by stitching in the ditch (did I say this fabric is very forgiving?) for a centimetre or so. It's invisible.
For piping and the pocket facings, I'm using left over black wool fabric from
these pants. I'll do the bound buttonholes in this too, as narrow and unobtrusive as I can make them. Later.

 It's still pretty cold here so it does not seem at all ridiculous to have just finished this nice warm wool skirt in the first half of May.
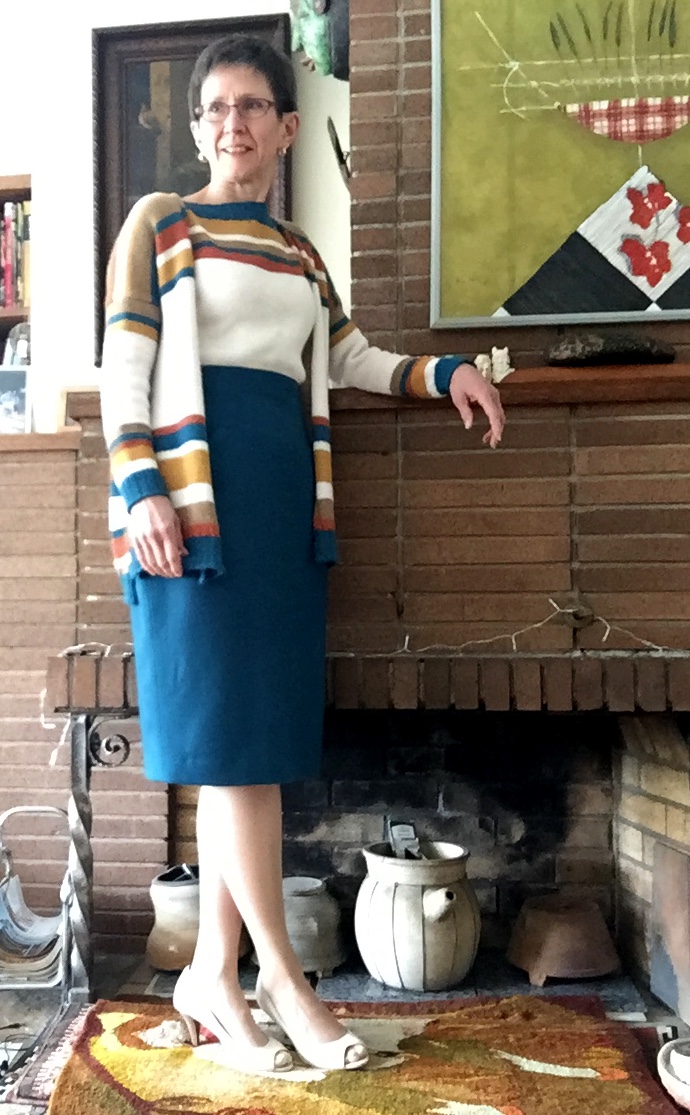
 The colour is truer to life in the photo at right.
 I love how the lines of the shaped waistband flow into the pocket openings.