A friend of mine actually
likes to shop, and she finds the most astonishing things at thrift shops. Today, I'm going to show you one of her finds. She bought it because it was too good to leave in the store, even though it didn't fit her. I'm the beneficiary and have had the pleasure of owning this jacket for several years. I'm now in the process of replacing the lining, which was shredding. I thought to document the jacket before proceeding.
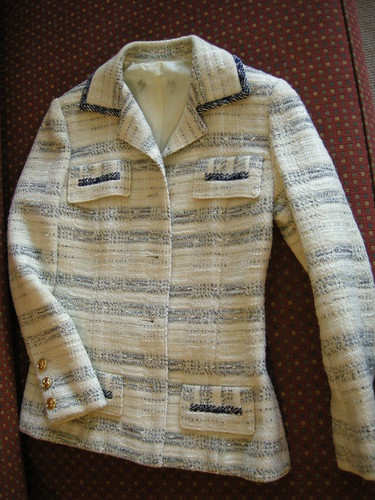
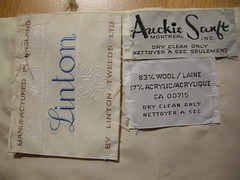
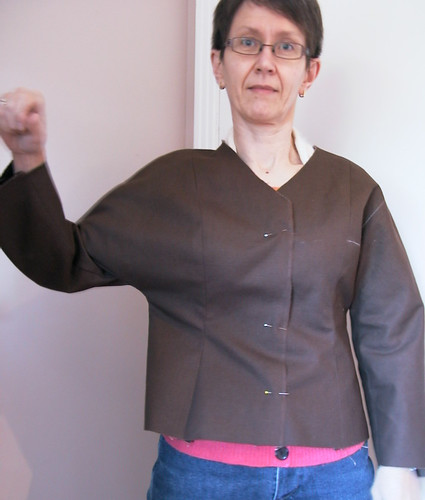
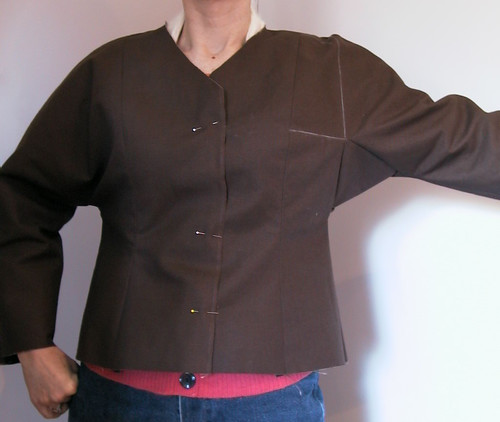
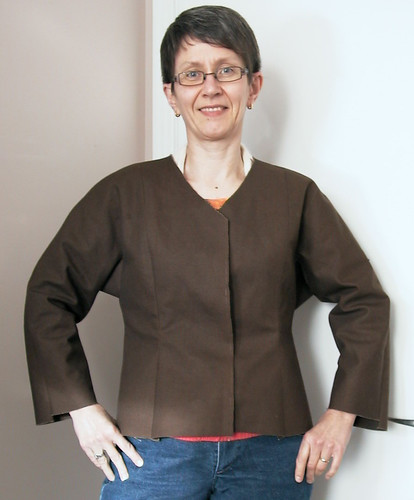
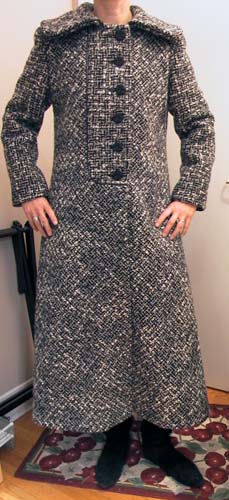
So, I introduce to you my vintage Auckie Sanft jacket. I can't say exactly when this was made but it was probably the mid-1970s. It is very close fitting and came with a mid-knee length, matching A-line skirt with a plain back and large box-pleated front. The skirt never fit but I have worn the jacket a lot.
Auckie Sanft was a high-quality Montreal manufacturer. Perhaps this jacket was designed by
John Warden, though maybe not, as it seems Warden did not work with Auckie Sanft for long. Whoever was responsible for it was a master.
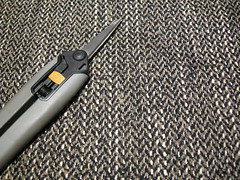
There are several things about this jacket that are special. First, the fabric. This jacket is made from beautiful
Linton Tweed. "There has never been a Chanel collection without Linton tweeds", apparently (according to a 2004 story on
Scotsman.com News). I believe it! This fabric is absolutely luscious. It's predominantly cream, with novelty threads in silky/shiny white, dark blue and white, and soft grey woven through it to create an irregular plaid. The label says 83% wool, 17% acrylic. From a distance, a little unfortunately, it looks like a horizontally-striped jacket. No matter, it's gorgeous! Here's the back.
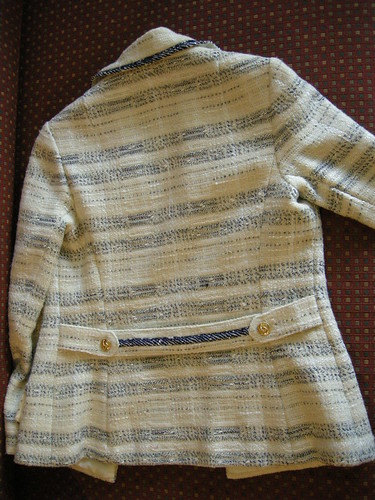
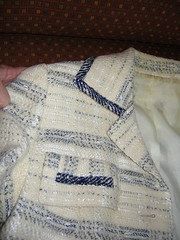
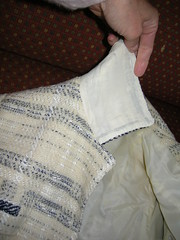
The stripiness of the fabric tells an interesting story. First, it's beautifully matched at all body seams, and the sleeve cap matches perfectly, but only in the back. Hmmmm. In the front, the sleeve cap is not matched to the jacket at the armscye, but the sleeve and body do match lower down.
This is a mystery! The solution is that the upper pocket flap disguises a little seam which does not match. It has something to do with the bust shaping provided by the princess seam.
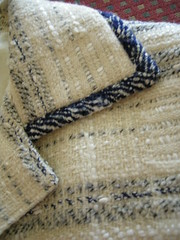
The designer used what I believe was the darker blue selvedge edge of the fabric to provide a coordinating trim found on the pocket flaps, collar and back belt.
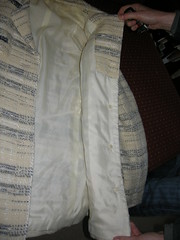
The next feature of the jacket is that the maker has reduced bulk almost everywhere by using lining fabric as facing - the collar, pocket flaps and front are lined to the edge.
There is also very very little internal structure in the jacket. There is a very light shoulder pad and very light-weight and supple canvas (possibly linen?) at the front edges, around the armscye, and behind the pocket flaps. The chest area has a single layer of a slightly stiffer woven interfacing. The back shield and hem interfacing are the softer canvas, cut on the bias. I believe there is no interfacing at all in either the collar or pocket flaps!
Here are some photos of the details.

Only the lapel area, sleeve hems and vents are not faced with thin lining fabric. The sleeve hems are bulky! But check out the Chanel buttons. Are they real??
Check out all photos in more detail at my
Flickr page.


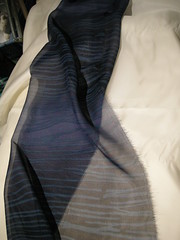


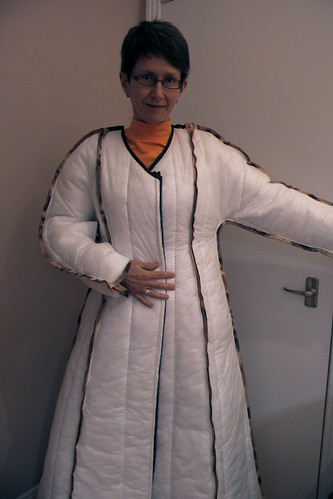


 This year I thought I'd make a different kind of coat altogether. One that would be presentably elegant, would cover any wardrobe item I might choose to wear in deepest winter, would be warm, but would be L I G H T. This requires abandonment of heavy wool, and the embracing of impermeable synthetic fabrics and Thinsulate!


